最近开始阅读 Spring 源码,一步步教大家我是如何阅读的。
1.下载源文件
我使用的图形化工具 SourceTree 下载 github 上的源码,拉取 https://github.com/spring-projects/spring-framework.git 文件,挺多的、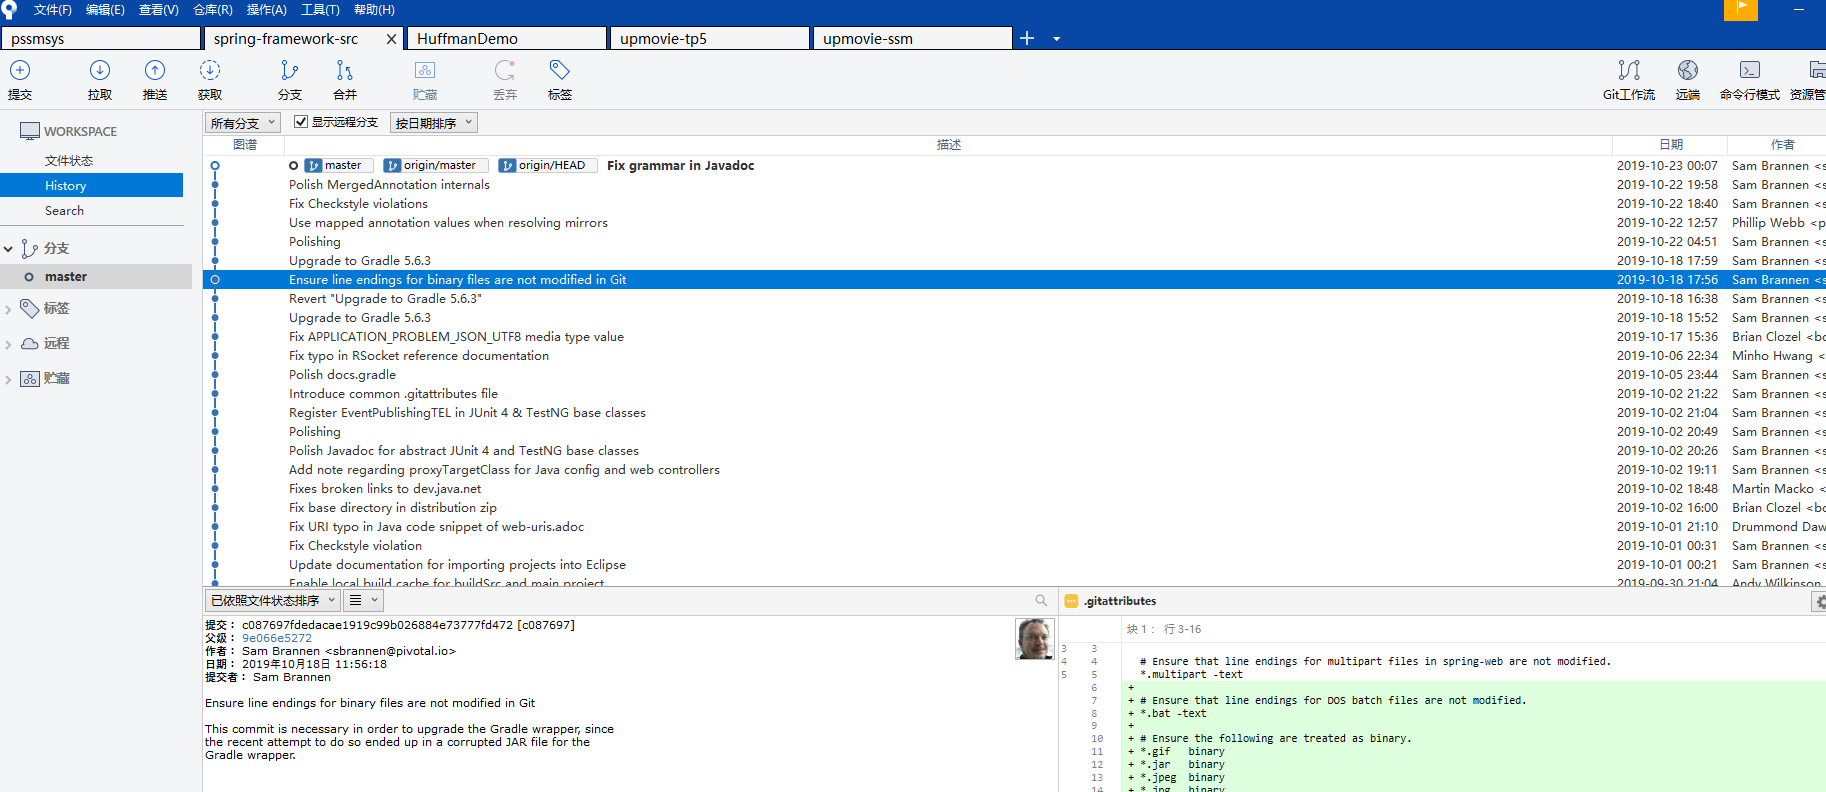

2.编译
参考 import-into-eclipse.md 文件进行导入工程
2.1 下载安装好 gradle 然后配置 gradle 环境变量,执行 gradlew.bat 我的目录是 I:\mygit\java\spring-framework-src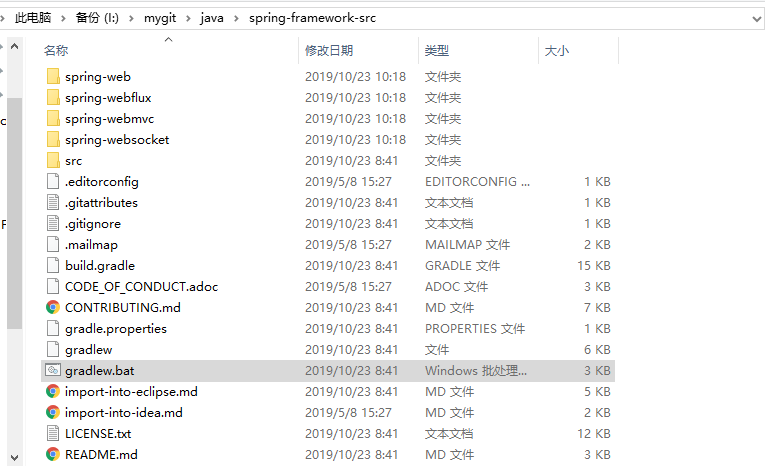

2.2 确保 eclipse 使用的 JDK8 以上的
2.3 安装 [Kotlin Plugin for Eclipse] 打开Eclipse,使用Help -> Eclipse Marketplace… 菜单,搜索 Kotlin 插件,并安装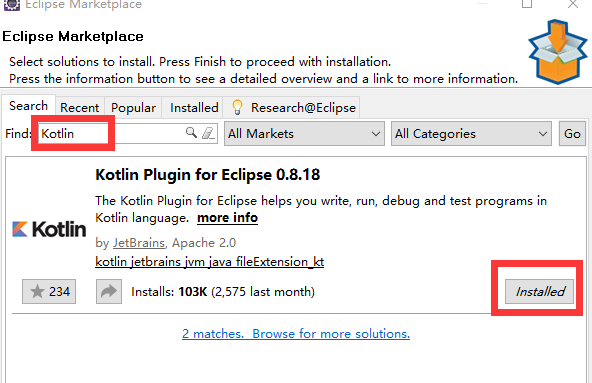

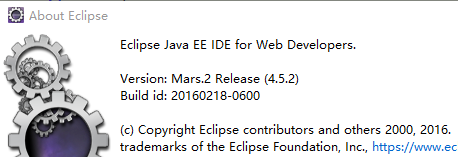
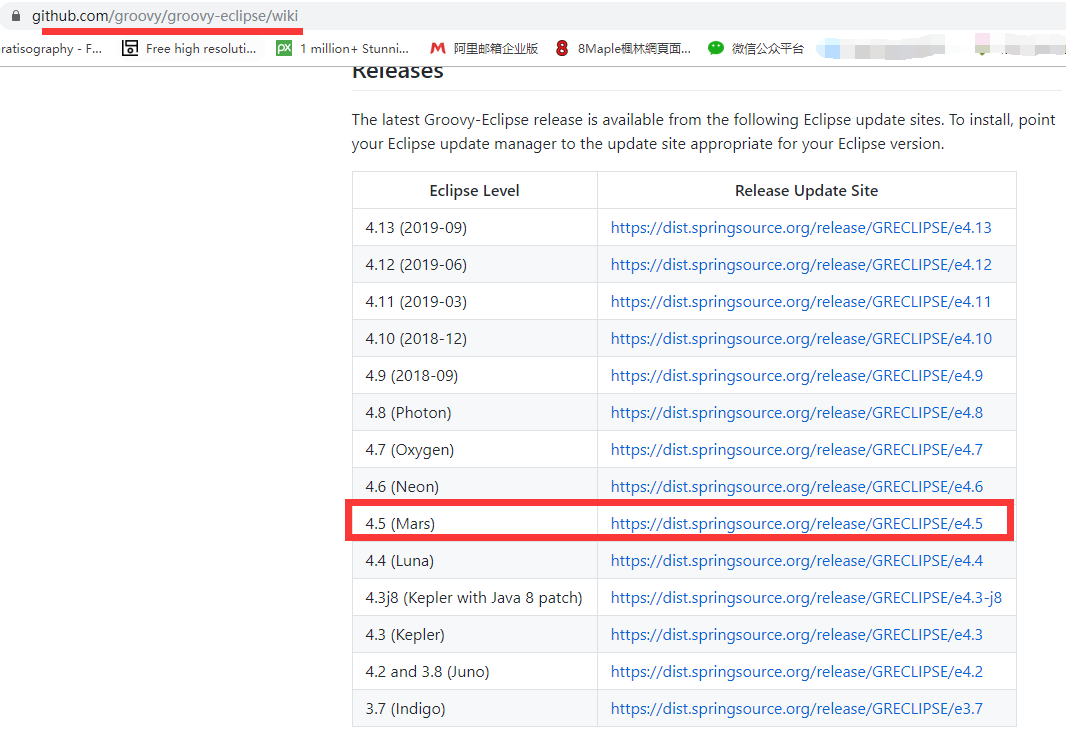
2.4 安装 [Eclipse Groovy Development Tools] ,查找自己 eclipse 版本 help->About Eclipse
在 https://github.com/groovy/groovy-eclipse/wiki 找到自己的版本 复制地址 https://dist.springsource.org/release/GRECLIPSE/e4.5
2.5 打开eclipse,在eclipse中,选择help -> Install New Software… 粘贴地址,全选并下一步,进行安装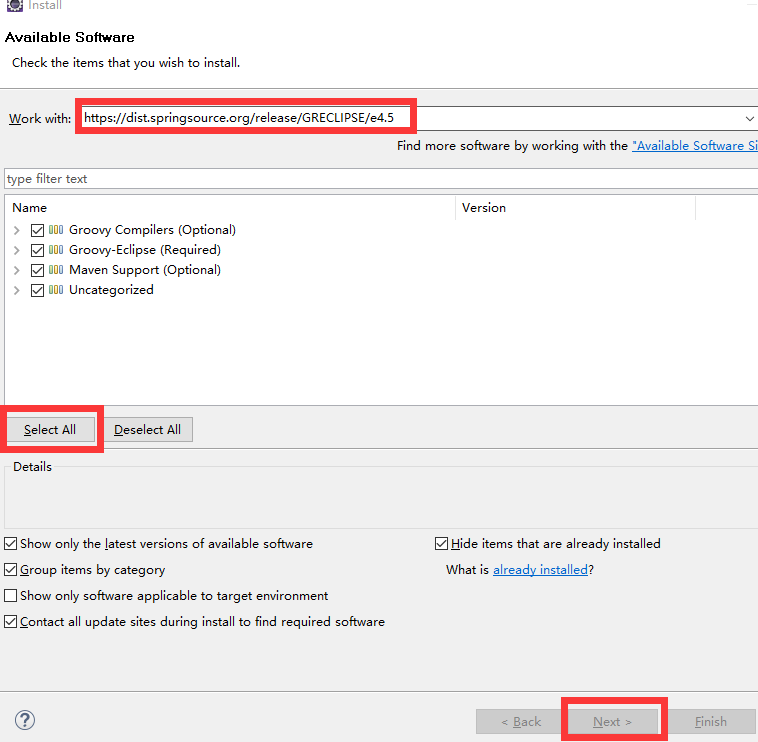
2.6 在 Eclipse 中转换 Groovy 2.5 (Preferences -> Groovy -> Compiler -> Switch to 2.5…)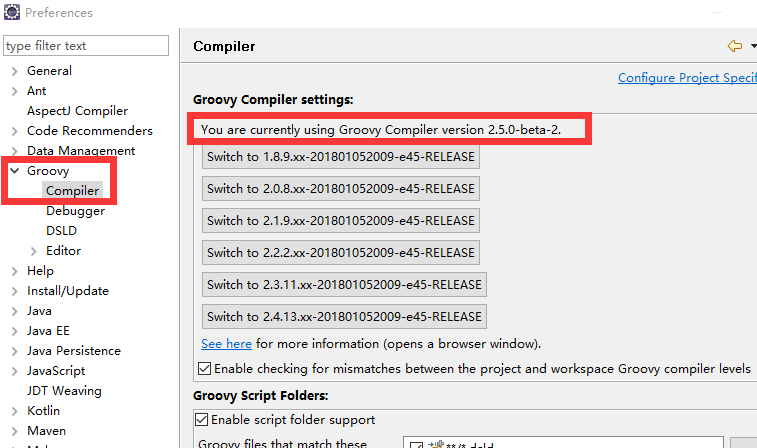

2.7 修改参数
(Preferences -> Java -> Compiler -> Errors/Warnings -> Deprecated and restricted API -> Forbidden reference (access rule)).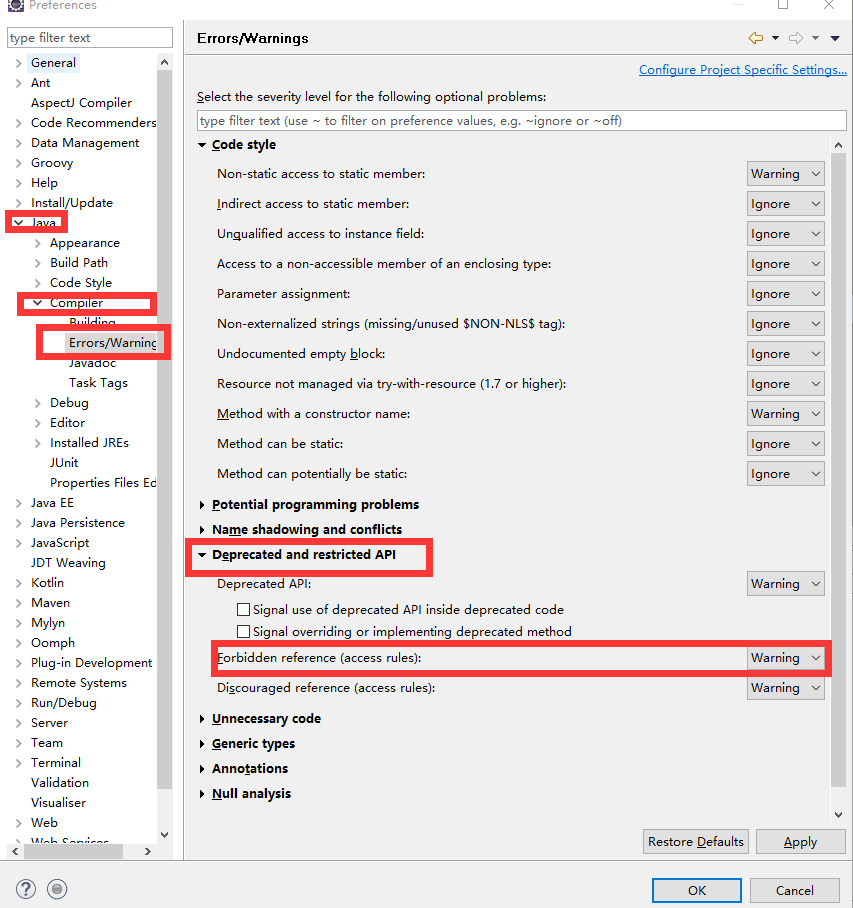

2.8 (可选择)如果需要 spring-aspects 项目.安装 AspectJ Development Tools (AJDT)
2.9 通过命令行 ./gradlew :spring-oxm:check.构建 spring-oxm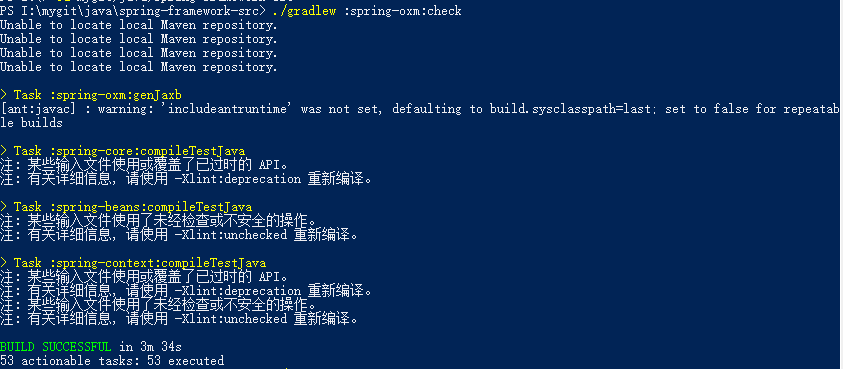

3.0 命令行执行 ./gradlew eclipseBuildship

3.导入 Eclipse
(File -> Import -> Existing Projects into Workspace -> Select root directory -> Browse spring-framework-src directory -> Select Finish).
阅读
然后我们就可以愉快的开始阅读源码了……确实很枯燥的源码,建议结合书还有 Demo 代码来理解其中的含义,代码量还是蛮多的,而且,注释基本都英文的,所以想学好代码,英语还是不能差的。
原文步骤:Steps
When instructed to execute ./gradlew from the command line, be sure to execute it within your locally cloned spring-framework working directory.
- Ensure that Eclipse launches with JDK 8.
- For example, on Mac OS this can be configured in the
Info.plistfile located in theContentsfolder of the installed Eclipse or STS application (e.g., theEclipse.appfile).
- For example, on Mac OS this can be configured in the
- Install the Kotlin Plugin for Eclipse in Eclipse.
- Install the Eclipse Groovy Development Tools in Eclipse.
- Switch to Groovy 2.5 (Preferences -> Groovy -> Compiler -> Switch to 2.5…) in Eclipse.
- Change the Forbidden reference (access rule) in Eclipse from Error to Warning
(Preferences -> Java -> Compiler -> Errors/Warnings -> Deprecated and restricted API -> Forbidden reference (access rule)). - Optionally install the AspectJ Development Tools (AJDT) if you need to work with the
spring-aspectsproject. - Optionally install the TestNG plugin in Eclipse if you need to execute TestNG tests in the
spring-testmodule. - Build
spring-oxmfrom the command line with./gradlew :spring-oxm:check. - To apply project specific settings, run
./gradlew eclipseBuildshipfrom the command line. - Import into Eclipse (File -> Import -> Gradle -> Existing Gradle Project -> Navigate to the locally cloned
spring-frameworkdirectory -> Select Finish).- If you have not installed AJDT, exclude the
spring-aspectsproject from the import, if prompted, or close it after the import. - If you run into errors during the import, you may need to set the Java home for Gradle Buildship to the location of your JDK 8 installation in Eclipse (Preferences -> Gradle -> Java home).
- If you have not installed AJDT, exclude the
- If you need to execute JAXB-related tests in the
spring-oxmproject and wish to have the generated sources available, add thebuild/generated-sources/jaxbfolder to the build path (right click on thejaxbfolder and selectBuild Path -> Use as Source Folder).- If you do not see the
buildfolder in thespring-oxmproject, ensure that the “Gradle build folder” is not filtered out from the view. This setting is available under “Filters” in the configuration of the Package Explorer (available by clicking on the small downward facing arrow in the upper right corner of the Package Explorer).
- If you do not see the
- Code away!
总结
Spring 最主要的是理解 Bean 的概念,理解 AOP 、 IOC,最好是结合实际的代码,而不是只看源码。
1024,程序员们要加油鸭!
共同学习,写下你的评论
评论加载中...
作者其他优质文章