


 童雷 ·
童雷 ·OAuth2 集成社交网站登录
1. 前言
上一节我们介绍了「密码认证」的实现方法,本节我们讨论如何通过 OAuth2.0 方式直接从第三方机构获取用户身份信息的方法。
OAuth(开放授权)是一个开放标准,允许用户授权第三方移动应用访问他们存储在另外的服务提供者上的信息,而不需要将用户名和密码提供给第三方移动应用或分享他们数据的所有内容,OAuth2.0 是 OAuth 协议的延续版本,但不向后兼容 OAuth1.0 即完全废止了 OAuth1.0。
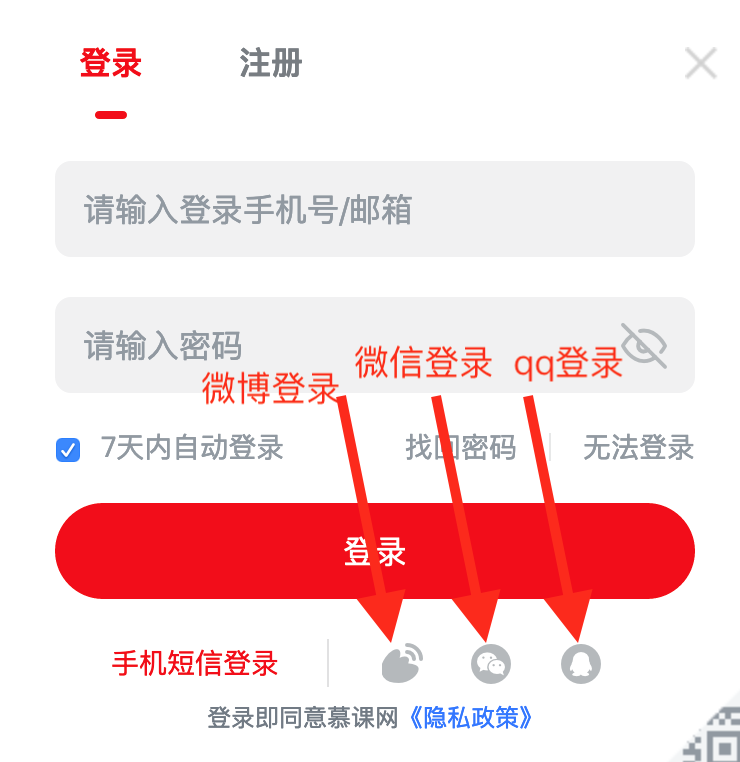
除了自建认证中心外,常用的互联网 OAuth2.0 认证中心还包括:QQ、微信、微博、Github 等,例如 imooc.com 的登录选项里,我们能看到「微博登录」、「微信登录」和「QQ 登录」,这些其实就是对 OAuth2.0 认证的应用。
本节将以 Github 作为第三方认证中心为例,讨论如何使用 Spring security 实现 OAuth2 登录的功能。
本节开发环境
- JDK 1.8
- Maven 3.5.3
- 依赖项:
- spring-security-config:5.3.2.RELEASE
- spring-security-oauth2-client:5.3.2.RELEASE
- spring-security-oauth2-jose:5.3.2.RELEASE
- spring-boot-starter-thymeleaf:2.3.0.RELEASE
- spring-boot-starter-web:2.3.0.RELEASE
- thymeleaf-extras-springsecurity5:3.0.4.RELEASE
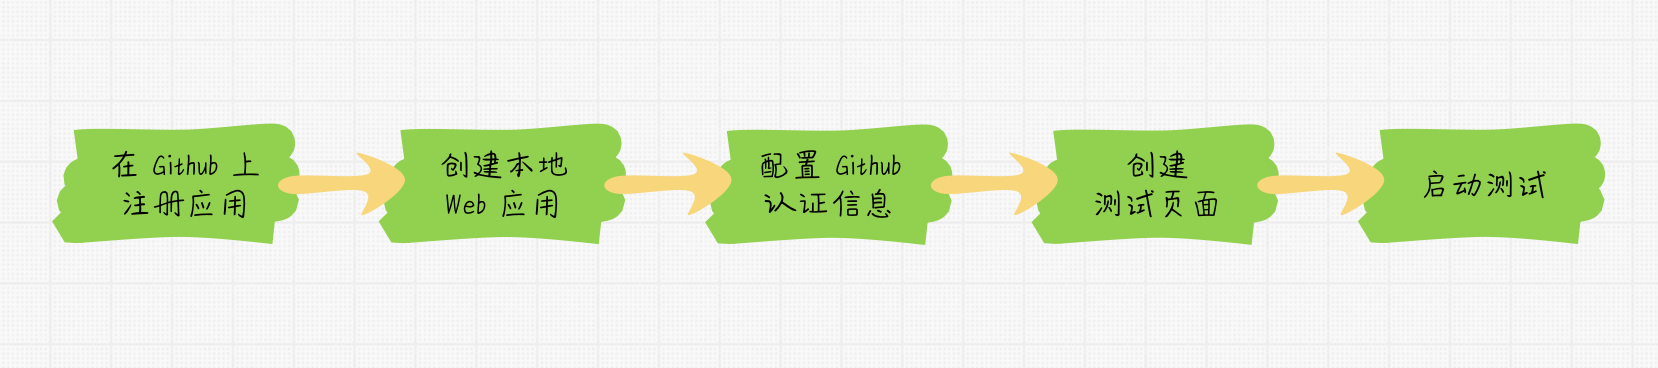
2. 过程概述
3. 过程实现
3.1 在 Github 上注册应用
要实现 OAuth2.0 认证,第一步要将自己的应用注册到 Github 管理中心。这里需要提前准备以下信
- 一个可用的 Github 账号;
- 应用名称,本例中将使用:spring-security-demo-1-oauth2-client ;
- 应用的主页,本例中将使用:http://localhost:8080/ ;
- 应用描述信息(非必填);
- 认证回调地址,本例中将使用:http://localhost:8080/login/oauth2/code/github 。
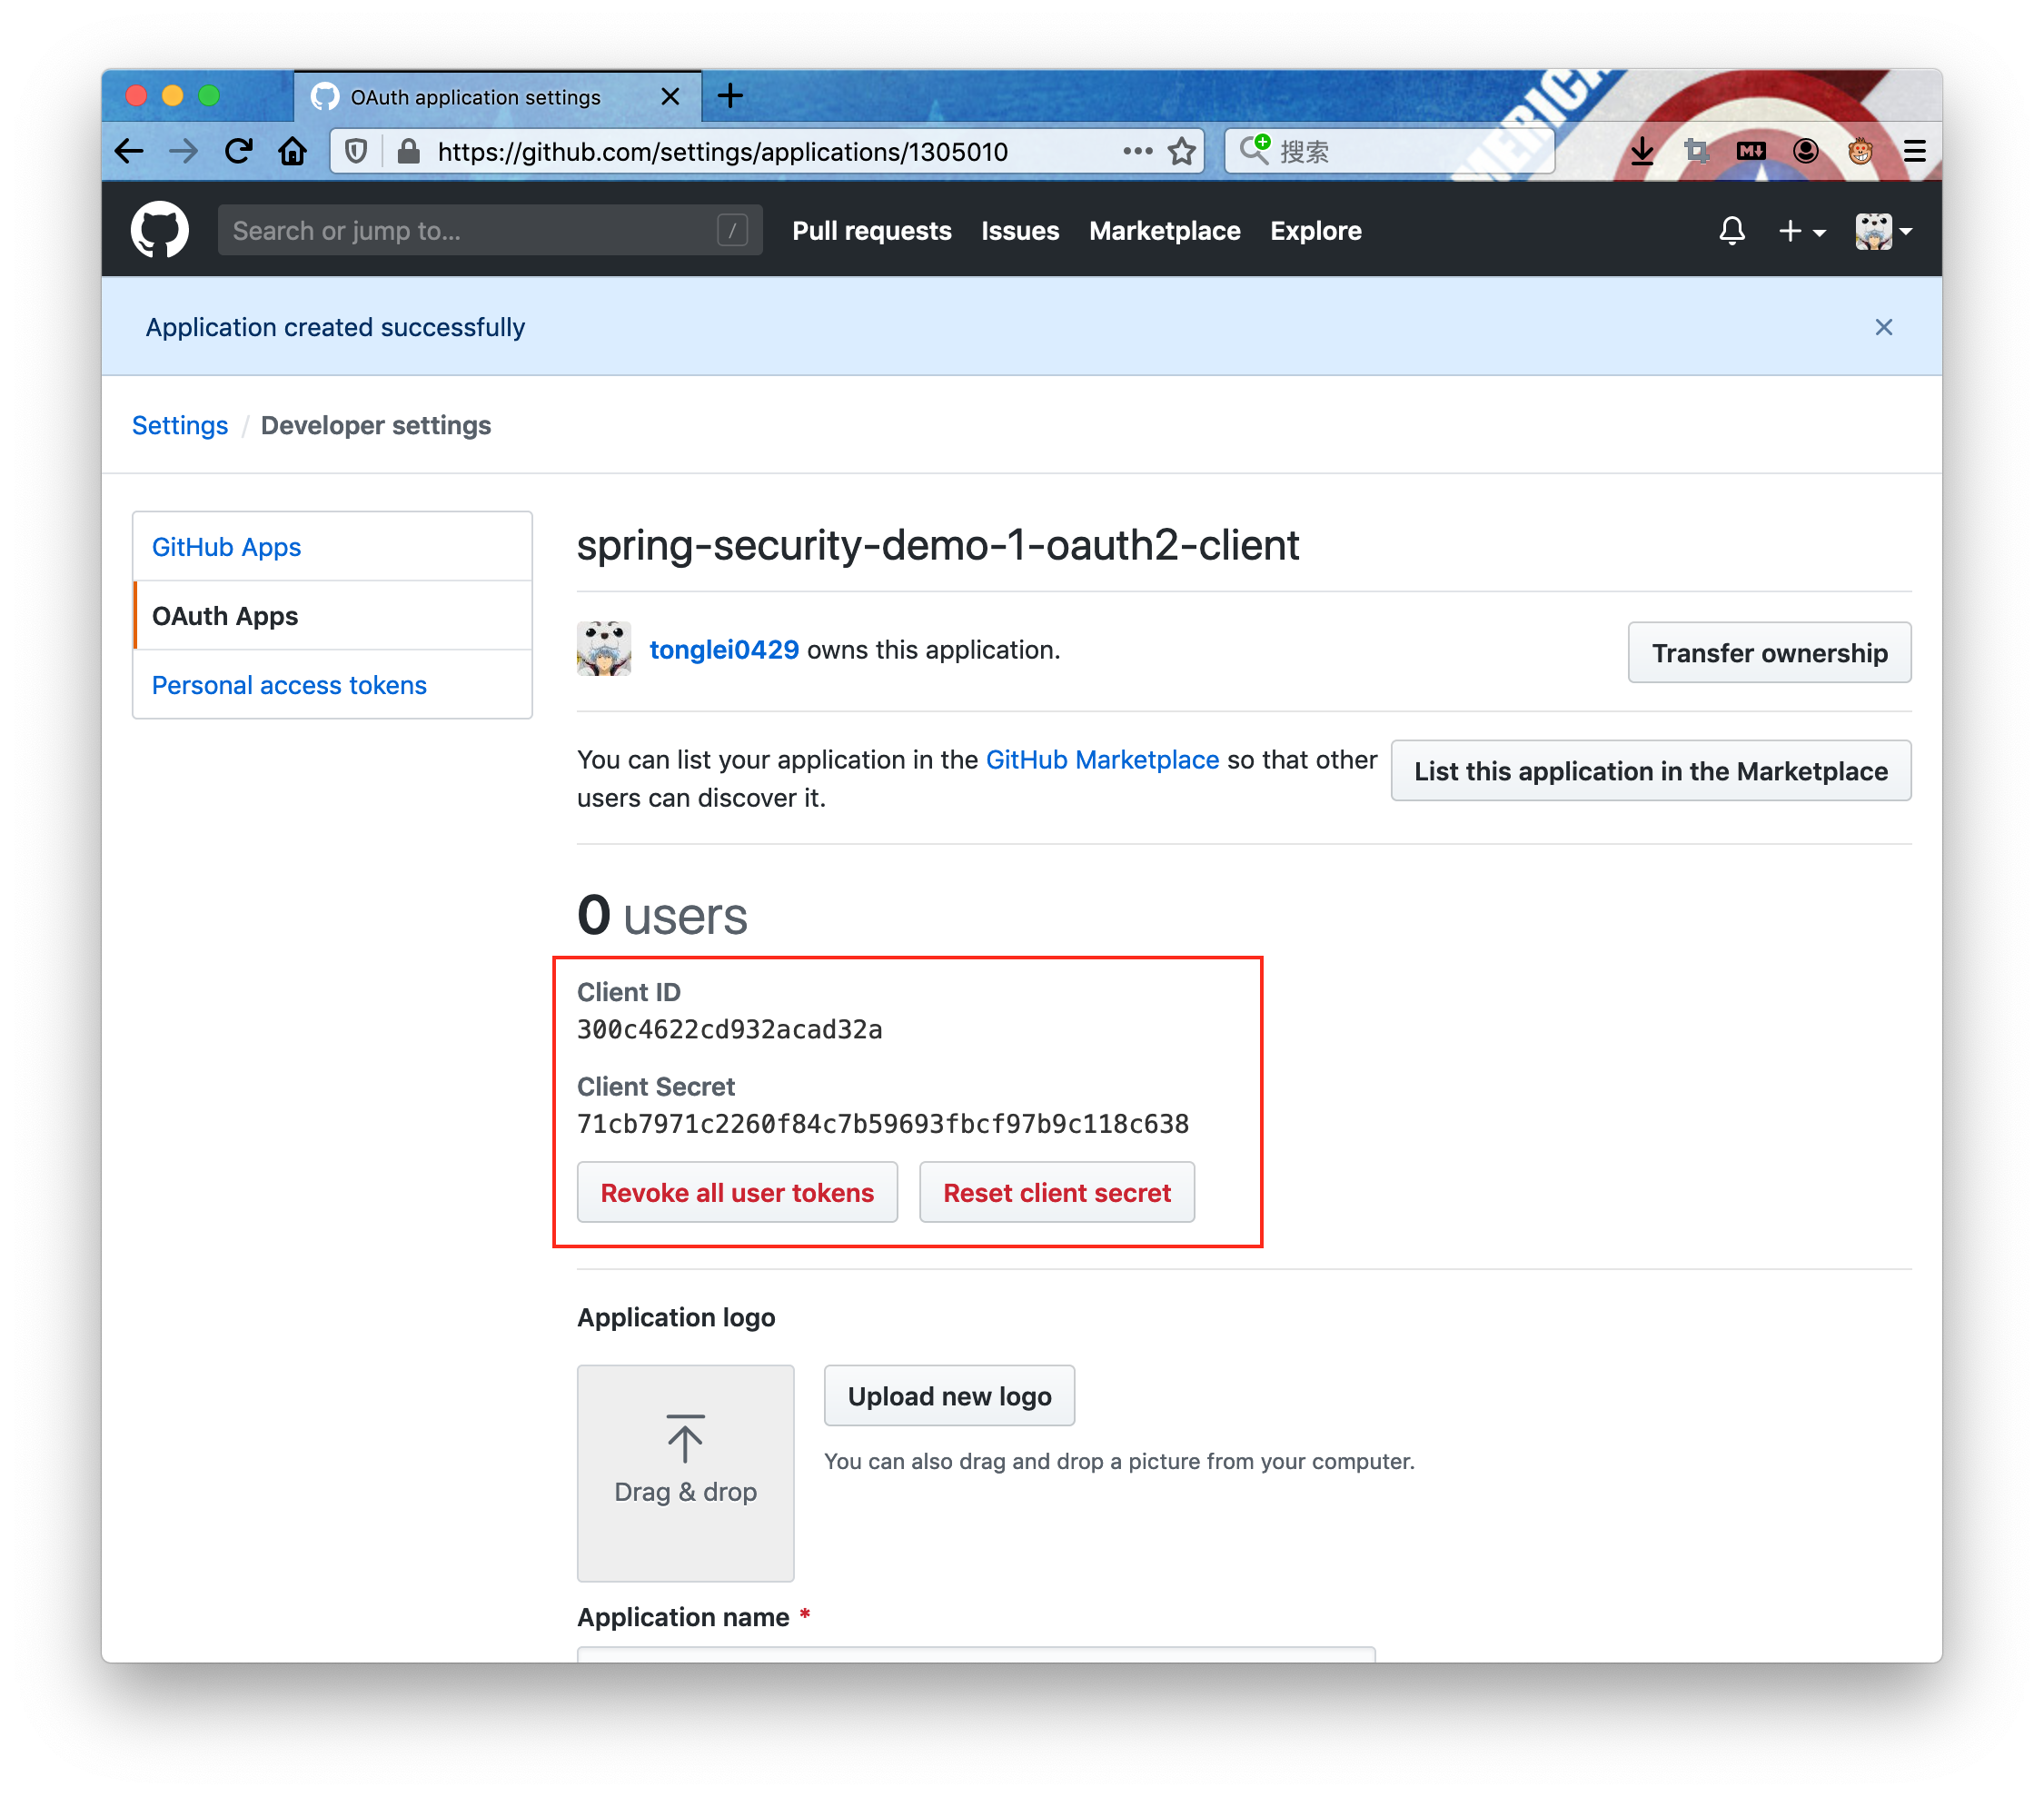
准备好信息后,访问 Github 的 Register a new OAuth application,填写好信息后提交,在提交成功后将得到如下反馈页面,记录下「Client ID」和「Client Secret」两个值。如下图:
3.2 构建 OAuth2.0 客户端
3.2.1 创建 Maven 项目
创建 Maven 项目,本例中 Group ID 为 imooc.tonglei0429.springsecurity,Artifact ID 为 login.oauth2.github
在控制台输入以下命令:
mvn archetype:generate \
  -DgroupId=imooc.tonglei0429.springsecurity \
	-DartifactId=login.oauth2.github \
  -DarchetypeArtifactId=maven-archetype-quickstart \
  -DinteractiveMode=false
等待执行完毕后,执行目录下会自动生成名为 login.oauth2.github 的目录,包含完整的 Maven 项目结构。
3.2.2 添加相关依赖
打开 login.oauth2.github/pom.xml 文件,在其中添加以下依赖项:
<!-- Spring Security 框架的配置模块 -->
<dependency>
    <groupId>org.springframework.security</groupId>
    <artifactId>spring-security-config</artifactId>
    <version>5.3.2.RELEASE</version>
</dependency>

<!-- Spring Security OAuth2 认证客户端模块 -->
<dependency>
    <groupId>org.springframework.security</groupId>
    <artifactId>spring-security-oauth2-client</artifactId>
    <version>5.3.2.RELEASE</version>
</dependency>

<!-- Spring Security OAuth2 授权信息加密模块 -->
<dependency>
    <groupId>org.springframework.security</groupId>
    <artifactId>spring-security-oauth2-jose</artifactId>
    <version>5.3.2.RELEASE</version>
</dependency>

<!-- Spring Boot thymeleaf 启动模块,用于 Web 服务中的页面模板 -->
<dependency>
    <groupId>org.springframework.boot</groupId>
    <artifactId>spring-boot-starter-thymeleaf</artifactId>
    <version>2.3.0.RELEASE</version>
</dependency>

<!-- Spring Boot thymeleaf 启动模块,用于启动 Web 服务 -->
<dependency>
    <groupId>org.springframework.boot</groupId>
    <artifactId>spring-boot-starter-web</artifactId>
    <version>2.3.0.RELEASE</version>
</dependency>

<!-- Spring Boot thymeleaf 启动模块,包含适用于 Thymeleaf 的 Spring Security 扩展 -->
<dependency>
    <groupId>org.thymeleaf.extras</groupId>
    <artifactId>thymeleaf-extras-springsecurity5</artifactId>
    <version>3.0.4.RELEASE</version>
</dependency>
添加完以上内容后,保持文件。
在命令行中输入 mvn compile 测试依赖是否添加成功。
3.2.3 创建 Web 项目
创建 src/main/resources 目录,增加配置文件 application.yml,并添加如下配置:
server:
  port: 8080
spring:
  thymeleaf:
    cache: false
修改 src/main/java/imooc/tonglei0429/springsecurity/App.java,使其作为 Spring Boot 项目启动。
@SpringBootApplication
public class App
{
    public static void main( String[] args )
    {
        SpringApplication.run(App.class, args);
    }
}
创建 src/main/resources/templates/index.html 页,用于展示测试结果,index.html 文件内容如下:
<!DOCTYPE html>
<html xmlns="http://www.w3.org/1999/xhtml" xmlns:th="https://www.thymeleaf.org" xmlns:sec="https://www.thymeleaf.org/thymeleaf-extras-springsecurity5">
<head>
	<title>OAuth2 登录测试</title>
	<meta charset="utf-8" />
</head>
<body>
<div style="float: right" th:fragment="logout" sec:authorize="isAuthenticated()">
	<div style="float:left">
		<span style="font-weight:bold">User: </span><span sec:authentication="name"></span>
	</div>
	<div style="float:none"> </div>
	<div style="float:right">
		<form action="#" th:action="@{/logout}" method="post">
			<input type="submit" value="Logout" />
		</form>
	</div>
</div>
<h1>Spring Security 示例:使用 OAuth2.0 + Github 实现用户认证</h1>
<div>
	您已成功登录,当前用户 ID 为: <span style="font-weight:bold" th:text="${userName}"></span>
	所属的客户端名称为: <span style="font-weight:bold" th:text="${clientName}"></span>
</div>
<div> </div>
<div>
	<span style="font-weight:bold">返回的用户属性:</span>
	<ul>
		<li th:each="userAttribute : ${userAttributes}">
			<span style="font-weight:bold" th:text="${userAttribute.key}"></span>: <span th:text="${userAttribute.value}"></span>
		</li>
	</ul>
</div>
</body>
</html>
为了使 http://localhost:8080/springsecurity/ 可以访问,还需要配置该路径的控制器,src/main/java/imooc/tonglei0429/springsecurity/web/OAuth2LoginController.java,其代码如下:
@Controller
public class OAuth2LoginController {

	@GetMapping("/")
	public String index(Model model,
						@RegisteredOAuth2AuthorizedClient OAuth2AuthorizedClient authorizedClient,
						@AuthenticationPrincipal OAuth2User oauth2User) {
		model.addAttribute("userName", oauth2User.getName());
		model.addAttribute("clientName", authorizedClient.getClientRegistration().getClientName());
		model.addAttribute("userAttributes", oauth2User.getAttributes());
		return "index";
	}
}
此时如果运行项目,访问 localhost:8080/springsecurity,系统会默认跳转到 localhost:8080/login 要求登录,我们需要继续将认证源指向 Github。
3.2.4 配置 OAuth2 认证服务器
继续配置 application.yml 文件,添加配置项 security.oauth2.client.registration.github.client-id 和 security.oauth2.client.registration.github.client-secret 两项,其值来自于 Github 上注册应用后的返回页面。具体代码如下:
spring:
  thymeleaf:
    cache: false
  security:
    oauth2:
      client:
        registration:
          github:
            client-id: 300c4622cd932acad32a
            client-secret: 71cb7971c2260f84c7b59693fbcf97b9c118c638
3.3 启动及测试
在命令行输入启动命令 mvn spring-boot:run。待程序启动完毕后,打开浏览器访问 http://localhost:8080,将看到以下页面:
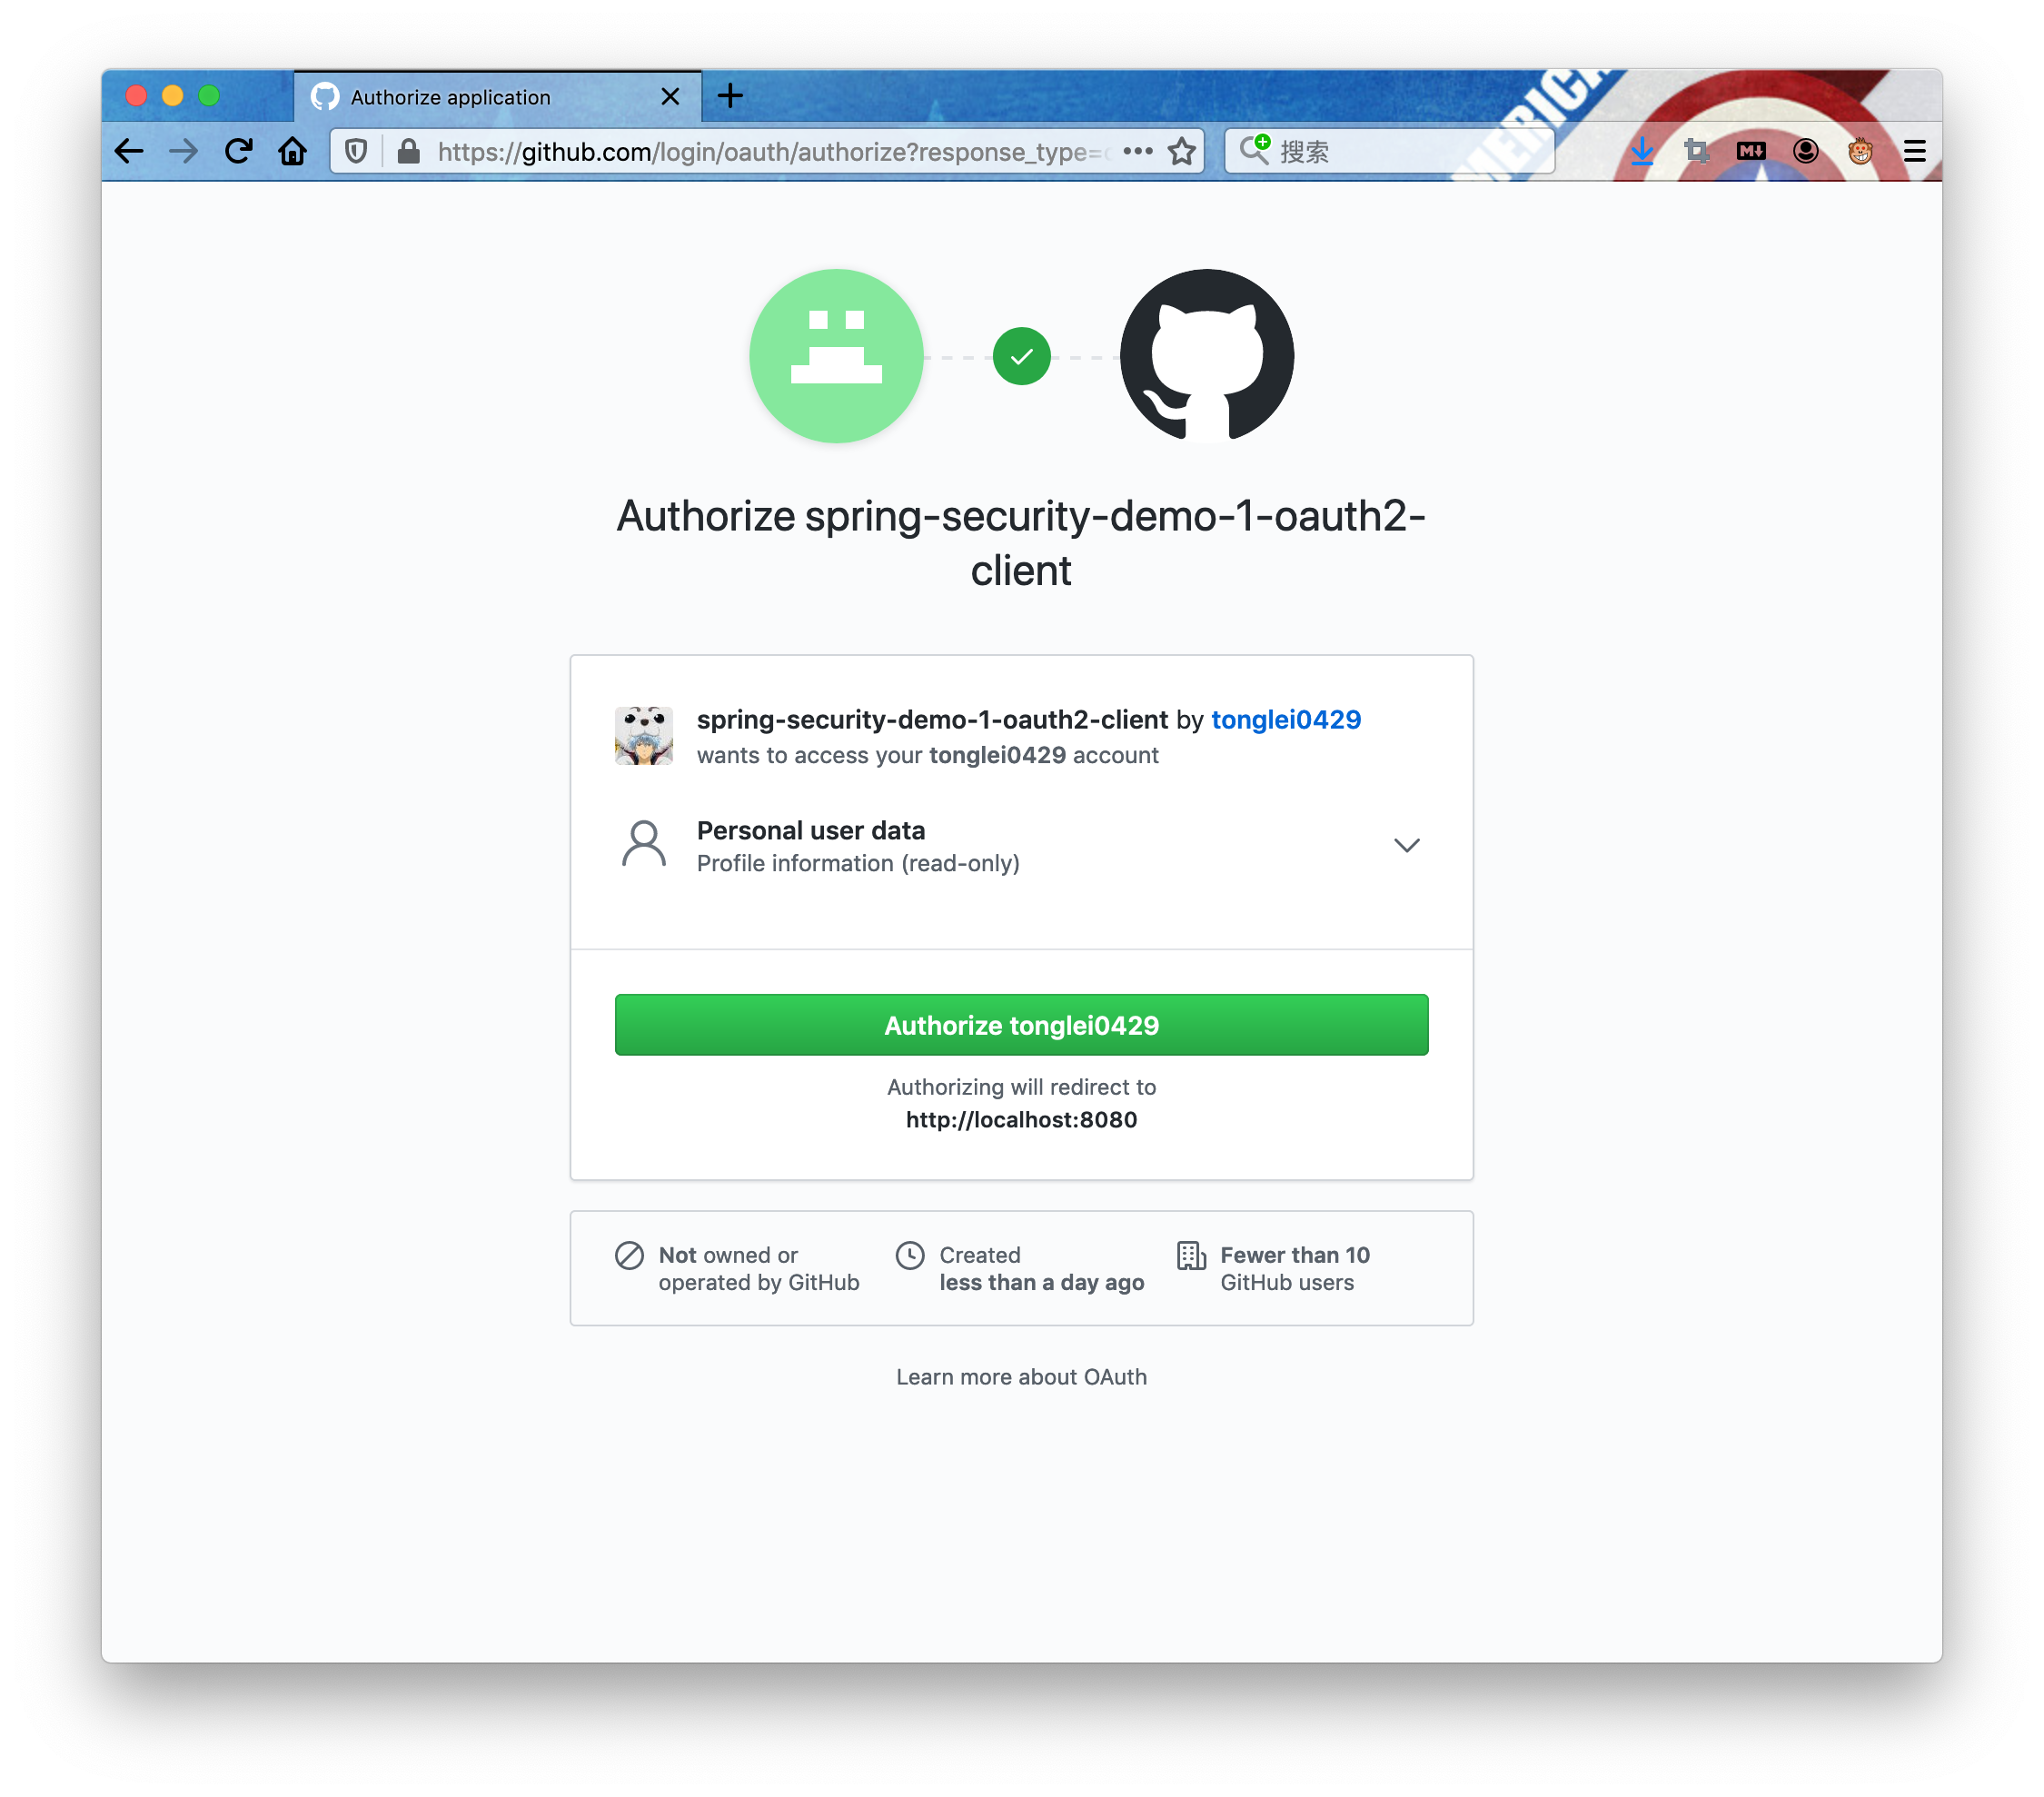
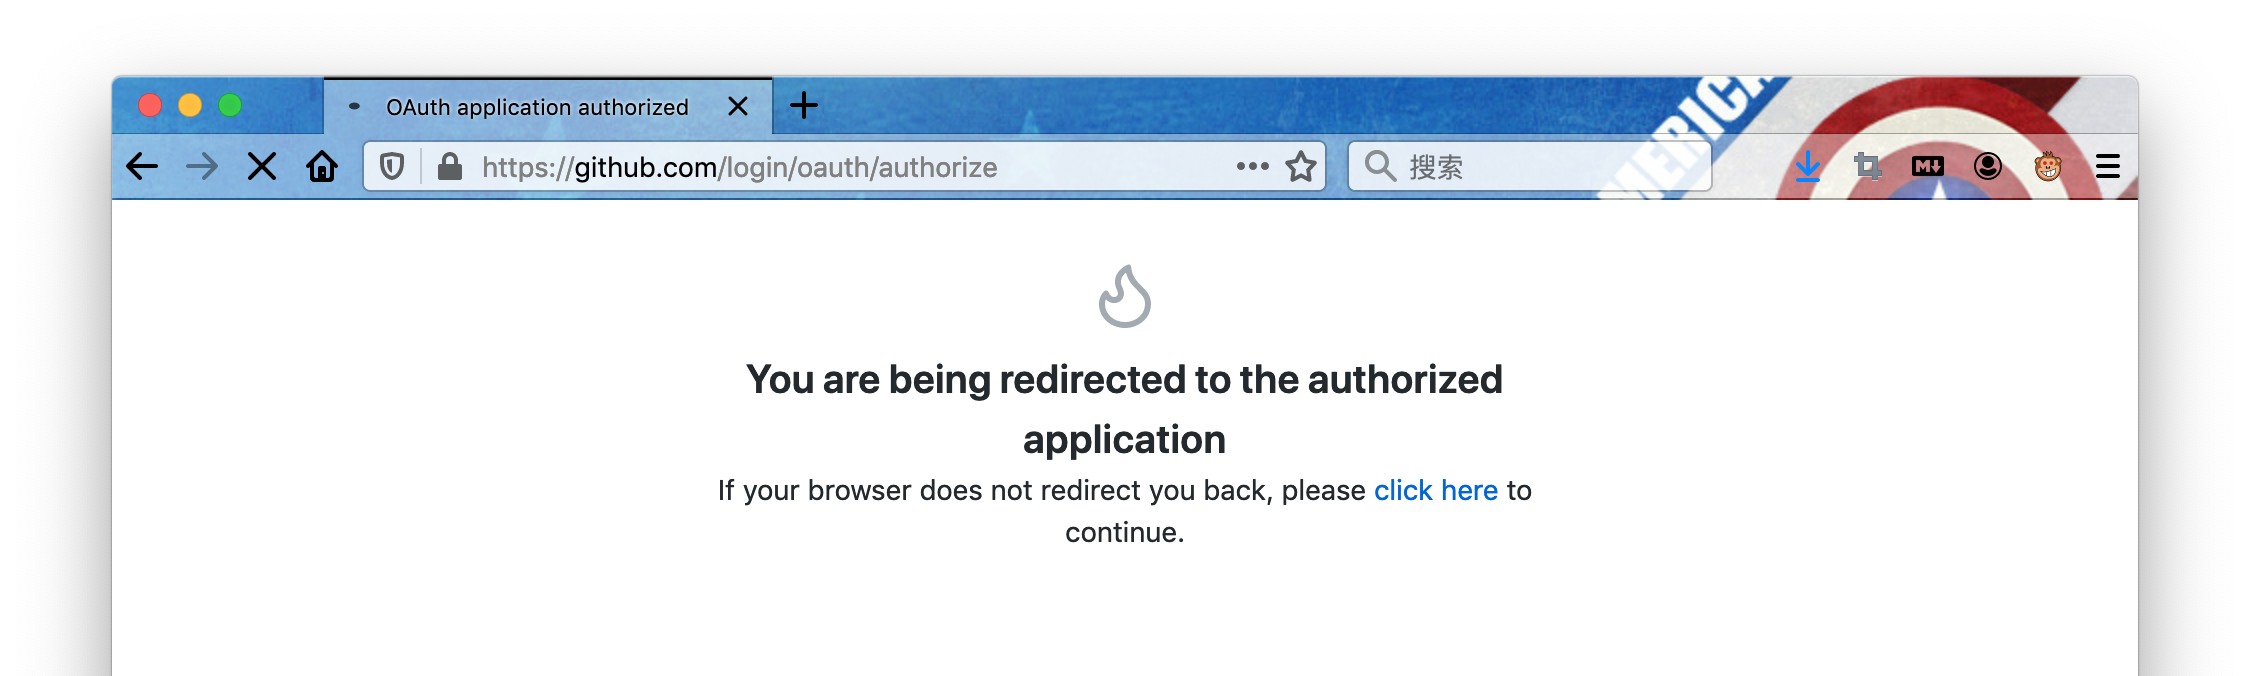
点击「Authorize tonglei0429」按钮,浏览器将跳转到过渡页面,如下所示:
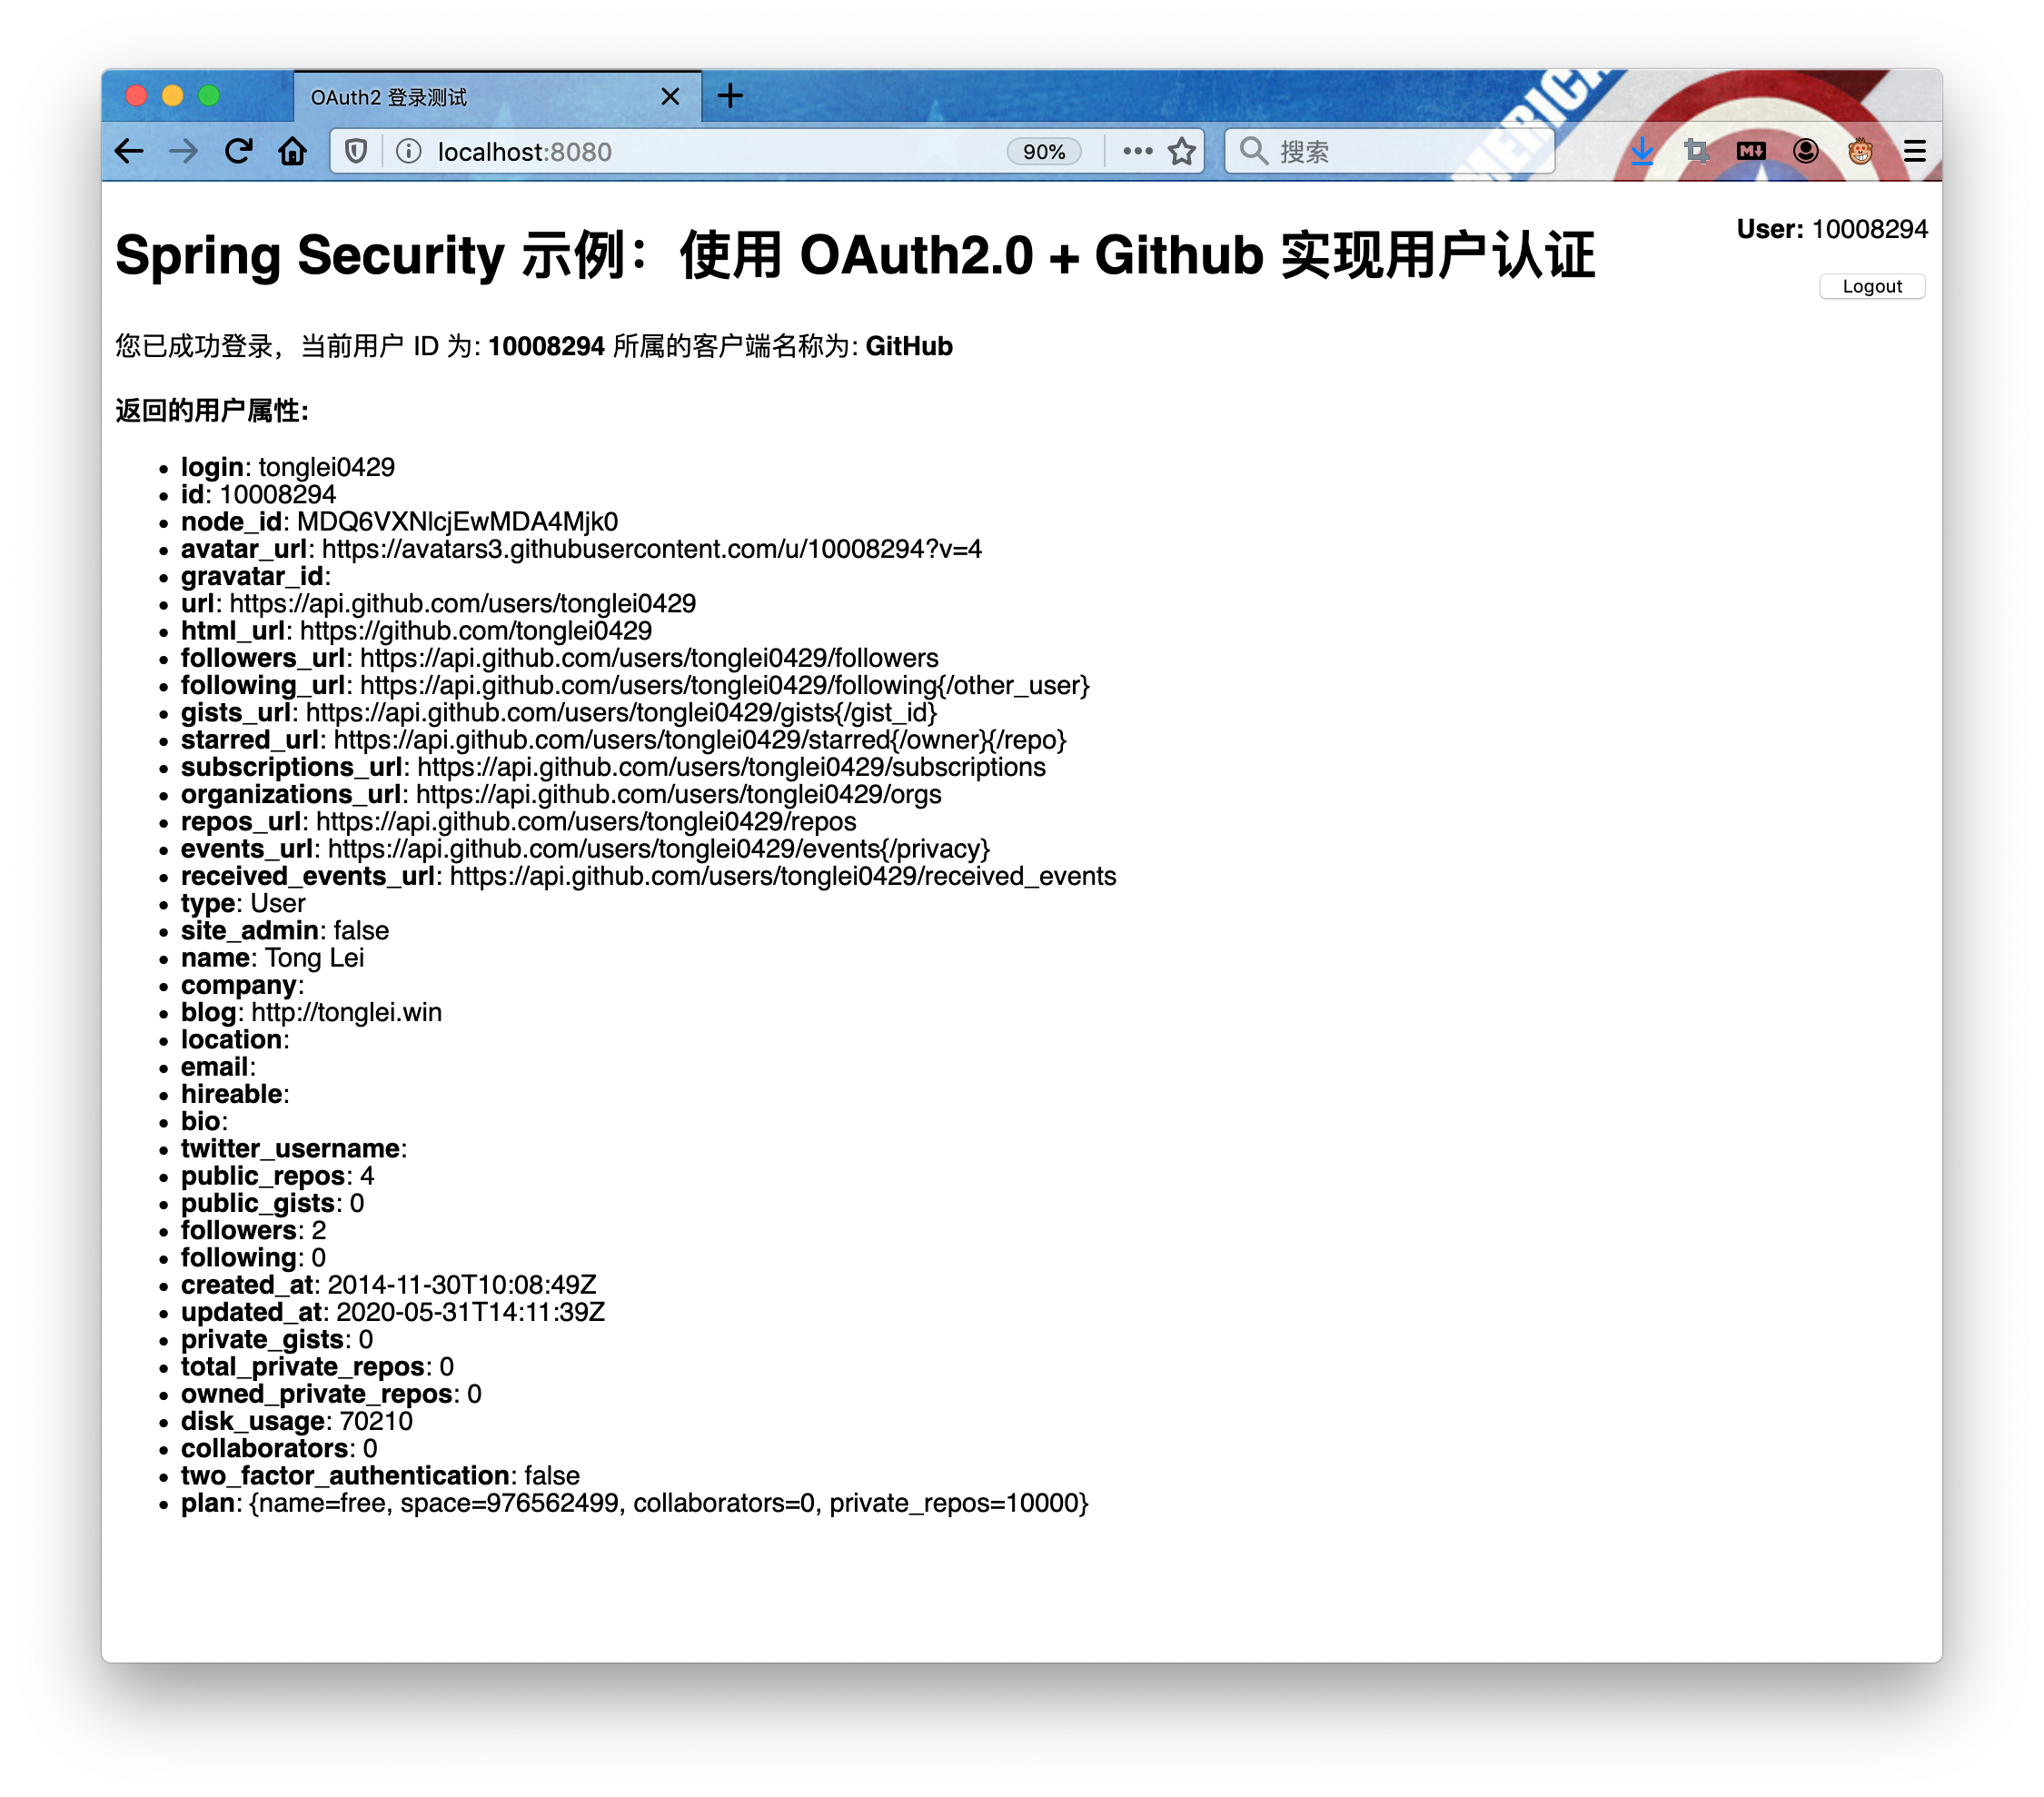
最后显示登录结果页,页面内容也就是我们在 src/main/resources/templates/index.html 中所编辑的模板一样,可以看到从 Github 网站返回的一系列用户信息。效果如下:
4. 小结
本节我们讨论了如何利用第三方平台做我们系统的 OAuth2.0 认证中心,主要的知识点如下:
- Spring Security 实现了 OAuth2.0 客户端的常用功能,开发者可以轻松的将 Spring Boot 应用作为 OAuth2.0 客户端集成到安全体系中;
- 在使用第三方作为 OAuth2.0 认证服务器时,首先要在第三方平台上完成应用注册,并获取到 Client ID 和 Client Secret 两个重要参数;
- 使用第三方 OAuth2.0 认证源,可以简化系统开发中的关于认证的操作,并且可以更轻易的实现单点登录;
- 使用第三方 OAuth2.0 认证源的时候,用户在本系统内的权限、详细用户信息等,仍需要在本地系统内维护;
- 目前在国内支持度比较好的第三方认证源有:QQ、微信、微博、Github 等。
下一节中,我们继续在 OAuth2.0 协议的基础上,构造出属于自己的认证中心。

 2026 imooc.com All Rights Reserved |