
Spring容器管理java中的对象。
HelloSpring入门
1、创建HelloSpring.java
public class HelloSpring {
    //创建成员变量
    private static String message="HelloSpring";
    //创建成员方法
    public void say(){
        System.out.println(message);
    }
}
2、创建Spring的xml文件
<?xml version="1.0" encoding="UTF-8"?>
<beans xmlns="http://www.springframework.org/schema/beans"
       xmlns:xsi="http://www.w3.org/2001/XMLSchema-instance" xmlns:context="http://www.springframework.org/schema/context"
       xmlns:mvc="http://www.springframework.org/schema/mvc"
       xsi:schemaLocation="http://www.springframework.org/schema/beans
    http://www.springframework.org/schema/beans/spring-beans.xsd
    http://www.springframework.org/schema/context
    http://www.springframework.org/schema/context/spring-context.xsd
    http://www.springframework.org/schema/mvc
    http://www.springframework.org/schema/mvc/spring-mvc-3.2.xsd">

    <!--在Spring配置文件中通过bean来创建HelloSpring对象-->
    <bean id="helloSpring" class="com.imooc.spring.HelloSpring"></bean>

</beans>
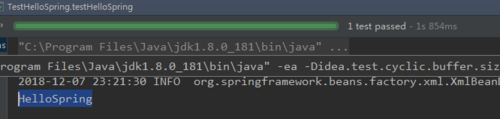
3、测试
public class TestHelloSpring {
    @Test
    public void testHelloSpring(){
        ApplicationContext context = new ClassPathXmlApplicationContext(
                "spring/spring-config.xml");
        HelloSpring helloSpring = (HelloSpring) context.getBean("helloSpring");
        helloSpring.say();
    }
}
点击查看更多内容
为 TA 点赞
评论
共同学习,写下你的评论
评论加载中...
作者其他优质文章
正在加载中


感谢您的支持,我会继续努力的~
扫码打赏,你说多少就多少
赞赏金额会直接到老师账户
支付方式
打开微信扫一扫,即可进行扫码打赏哦