前言:
本系列文章主要为我之前所学知识的一次微小的实践,以我学校图书馆管理系统为雏形所作。
本系列文章主要参考资料:
微软文档:https://docs.microsoft.com/zh-cn/aspnet/core/getting-started/?view=aspnetcore-2.1&tabs=windows
《Pro ASP.NET MVC 5》、《Bootstrap 开发精解》、《锋利的 jQuery》
此系列皆使用 VS2017+C# 作为开发环境。如果有什么问题或者意见欢迎在留言区进行留言。
项目 github 地址:https://github.com/NanaseRuri/LibraryDemo
本章内容:Identity 框架的配置、对账户进行授权的配置、数据库的初始化方法、自定义 TagHelper
一到四为对 Student 即 Identity框架的使用,第五节为对 Admin 用户的配置
一、自定义账号和密码的限制
在 Startup.cs 的 ConfigureServices 方法中可以对 Identity 的账号和密码进行限制:

 1             services.AddIdentity<Student, IdentityRole>(opts =>
 2                 {
 3                     opts.User.RequireUniqueEmail = true;
 4                     opts.User.AllowedUserNameCharacters = "qwertyuiopasdfghjklzxcvbnmQWERTYUIOPASDFGHJKLZXCVBNM0123456789";
 5                     opts.Password.RequiredLength = 6;
 6                     opts.Password.RequireNonAlphanumeric = false;
 7                     opts.Password.RequireLowercase = false;
 8                     opts.Password.RequireUppercase = false;
 9                     opts.Password.RequireDigit = false;
10                 }).AddEntityFrameworkStores<StudentIdentityDbContext>()
11                 .AddDefaultTokenProviders();
RequireUniqueEmail 限制每个邮箱只能用于一个账号。
此处 AllowedUserNameCharacters 方法限制用户名能够使用的字符,需要单独输入每个字符。
剩下的设置分别为限制密码必须有符号 / 包含小写字母 / 包含大写字母 / 包含数字。
二、对数据库进行初始化
在此创建一个 DatabaseInitiator 用以对数据库进行初始化:
 1         public static async Task Initial(IServiceProvider serviceProvider)
 2         {
 3             UserManager<Student> userManager = serviceProvider.GetRequiredService<UserManager<Student>>();
 4             if (userManager.Users.Any())
 5             {
 6                 return;
 7             }
 8             IEnumerable<Student> initialStudents = new[]
 9             {
10                 new Student()
11                 {
12                     UserName = "U201600001",
13                     Name = "Nanase",
14                     Email = "Nanase@cnblog.com",
15                     PhoneNumber = "12345678910",
16                     Degree = Degrees.CollegeStudent,
17                     MaxBooksNumber = 10,
18                 },
19                 new Student()
20                 {
21                     UserName = "U201600002",
22                     Name = "Ruri",
23                     Email = "NanaseRuri@cnblog.com",
24                     PhoneNumber = "12345678911",
25                     Degree = Degrees.DoctorateDegree,
26                     MaxBooksNumber = 15
27                 },
28             };
29
30             foreach (var student in initialStudents)
31             {
32                 await userManager.CreateAsync(student, student.UserName.Substring(student.UserName.Length - 6,6));
33             }
34         }
为确保能够进行初始化,在 Configure 方法中调用该静态方法:
1             app.UseMvc(routes =>
2             {
3                 routes.MapRoute(
4                     name: "default",
5                     template: "{controller=Home}/{action=Index}/{id?}");
6             });
7             DatabaseInitiator.Initial(app.ApplicationServices).Wait();
Initial 方法中 serviceProvider 参数将在传入 ConfigureServices 方法调用后的 ServiceProvider,此时在 Initial 方法中初始化的数据也会使用 ConfigureServices 中对账号和密码的限制。
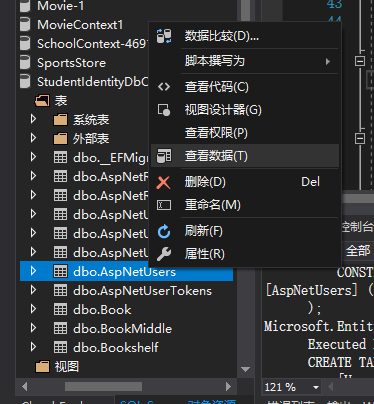
此处我们使用账号的后六位作为密码。启动网页后查看数据库的数据:

三、建立验证所用的控制器以及视图
首先创建一个视图模型用于存储账号的信息,为了方便实现多种登录方式,此处创建一个 LoginType 枚举:
[UIHint] 特性构造函数传入一个字符串用来告知在 <input/> 中时用什么模板来展示数据。
    public enum LoginType
    {
        UserName,
        Email,
        Phone
    }

    public class LoginModel
    {
        [Required(ErrorMessage = "请输入您的学号 / 邮箱 / 手机号码")]
        [Display(Name = "学号 / 邮箱 / 手机号码")]
        public string Account { get; set; }

        [Required(ErrorMessage = "请输入您的密码")]
        [UIHint("password")]
        [Display(Name = "密码")]
        public string Password { get; set; }

        [Required]
        public LoginType LoginType { get; set; }
    }
使用支架特性创建一个 StudentAccountController

 1     public class StudentAccountController : Controller
 2     {
 3         public IActionResult Login(string returnUrl)
 4         {
 5             LoginModel loginInfo=new LoginModel();
 6             ViewBag.returnUrl = returnUrl;
 7             return View(loginInfo);
 8         }
 9   }
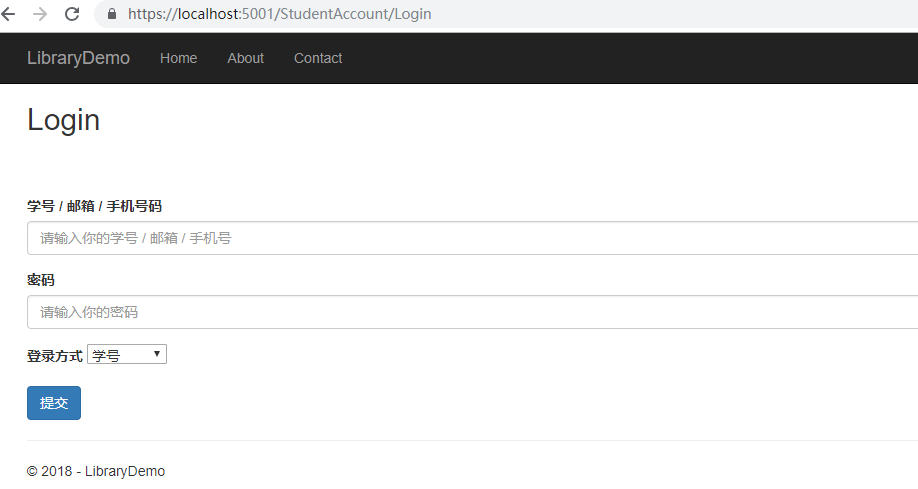
先创建普通的 Login 视图:
1 @model LoginModel
2
3 @{
4 ViewData["Title"] = "Login";
5 }
6
7 <h2>Login</h2>
8 <br/>
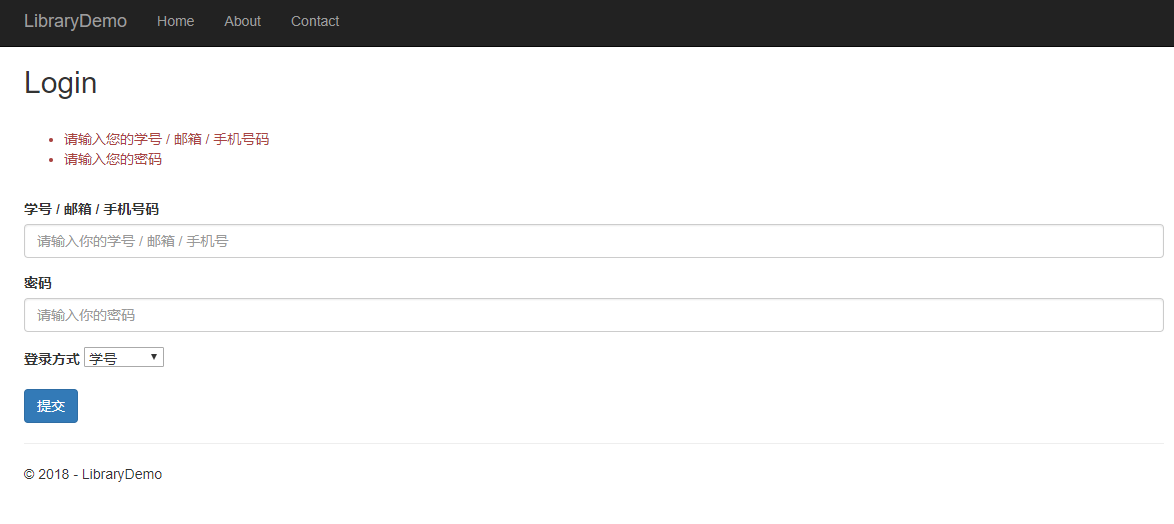
9 <div class="text-danger" asp-validation-summary="All"></div>
10 <br/>
11 <form asp-action="Login" method="post">
12 <input type="hidden" name="returnUrl" value="@ViewBag.returnUrl"/>
13 <div class="form-group">
14 <label asp-for="Account"></label>
15 <input asp-for="Account" class="form-control" placeholder="请输入你的学号 / 邮箱 / 手机号"/>
16 </div>
17 <div class="form-group">
18 <label asp-for="Password"></label>
19 <input asp-for="Password" class="form-control" placeholder="请输入你的密码"/>
20 </div>
21 <div class="form-group">
22 <label>登录方式</label>
23 <select asp-for="LoginType">
24 <option disabled value="">登录方式</option>
25 <LoginType login-type="@Enum.GetNames(typeof(LoginType))"></LoginType>
26 </select>
27 </div>
28 <input type="submit" class="btn btn-primary"/>
29 </form>
在此为添加多种登录方式,并使视图更加清晰,创建了一个 LoginTypeTagHelper ,TagHelper 可制定自定义 HTML 标记并在最终生成视图时转换成标准的 HTML 标记。
 1     [HtmlTargetElement("LoginType")]
 2     public class LoginTypeTagHelper:TagHelper
 3     {
 4         public string[] LoginType { get; set; }
 5
 6         public override Task ProcessAsync(TagHelperContext context, TagHelperOutput output)
 7         {
 8             foreach (var loginType in LoginType)
 9             {
10                 switch (loginType)
11                 {
12                     case "UserName": output.Content.AppendHtml($"<option selected=\"selected/\" value=\"{loginType}\">学号</option>");
13                         break;
14                     case "Email": output.Content.AppendHtml(GetOption(loginType, "邮箱"));
15                         break;
16                     case "Phone": output.Content.AppendHtml(GetOption(loginType, "手机号码"));
17                         break;
18                     default: break;
19                 }
20             }
21             return Task.CompletedTask;
22         }
23
24         private static string GetOption(string loginType,string innerText)
25         {
26             return $"<option value=\"{loginType}\">{innerText}</option>";
27         }
28     }
然后创建一个用于对信息进行验证的动作方法。
为了获取数据库的数据以及对数据进行验证授权,需要通过 DI(依赖注入) 获取对应的 UserManager 和 SignInManager 对象,在此针对 StudentAccountController 的构造函数进行更新。
StudentAccountController 整体:
 1 public class StudentAccountController : Controller
 2     {
 3         private UserManager<Student> _userManager;
 4         private SignInManager<Student> _signInManager;
 5
 6         public StudentAccountController(UserManager<Student> studentManager, SignInManager<Student> signInManager)
 7         {
 8             _userManager = studentManager;
 9             _signInManager = signInManager;
10         }
11
12         public IActionResult Login(string returnUrl)
13         {
14             LoginModel loginInfo = new LoginModel();
15             ViewBag.returnUrl = returnUrl;
16             return View(loginInfo);
17         }
18
19         [HttpPost]
20         [ValidateAntiForgeryToken]
21         public async Task<IActionResult> Login(LoginModel loginInfo, string returnUrl)
22         {
23             if (ModelState.IsValid)
24             {
25                 Student student =await GetStudentByLoginModel(loginInfo);
26
27                 if (student == null)
28                 {
29                     return View(loginInfo);
30                 }
31                 SignInResult signInResult = await _signInManager.PasswordSignInAsync(student, loginInfo.Password, false, false);
32
33                 if (signInResult.Succeeded)
34                 {
35                     return Redirect(returnUrl ?? "/StudentAccount/"+nameof(AccountInfo));
36                 }
37
38                 ModelState.AddModelError("", "账号或密码错误");
39
40             }
41
42             return View(loginInfo);
43         }
44
45         [Authorize]
46         public IActionResult AccountInfo()
47         {
48             return View(CurrentAccountData());
49         }
50
51         Dictionary<string, object> CurrentAccountData()
52         {
53             var userName = HttpContext.User.Identity.Name;
54             var user = _userManager.FindByNameAsync(userName).Result;
55
56             return new Dictionary<string, object>()
57             {
58                 ["学号"]=userName,
59                 ["姓名"]=user.Name,
60                 ["邮箱"]=user.Email,
61                 ["手机号"]=user.PhoneNumber,
62             };
63         }
_userManager 以及 _signInManager 将通过 DI 获得实例;[ValidateAntiForgeryToken] 特性用于防止 XSRF 攻击;returnUrl 参数用于接收或返回之前正在访问的页面,在此处若 returnUrl 为空则返回 AccountInfo 页面;[Authorize] 特性用于确保只有已授权的用户才能访问对应动作方法;CurrentAccountData 方法用于获取当前用户的信息以在 AccountInfo 视图中呈现。
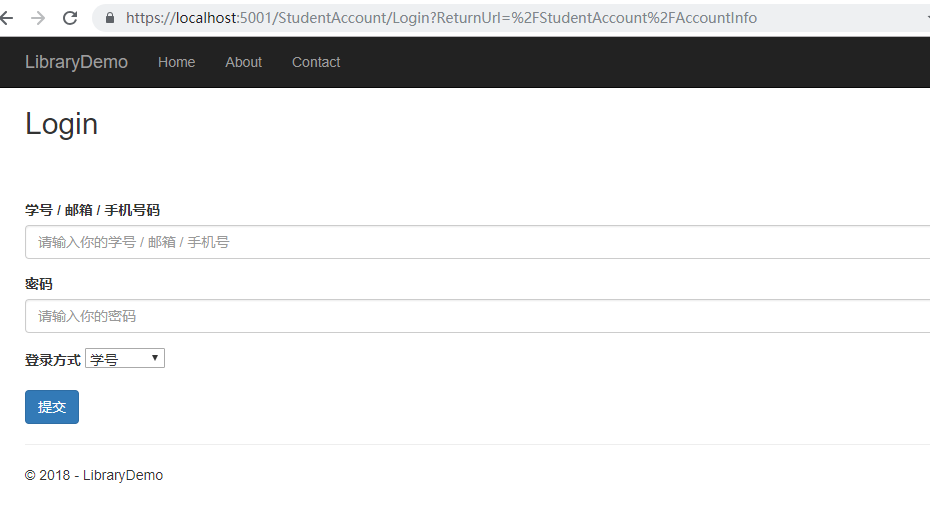
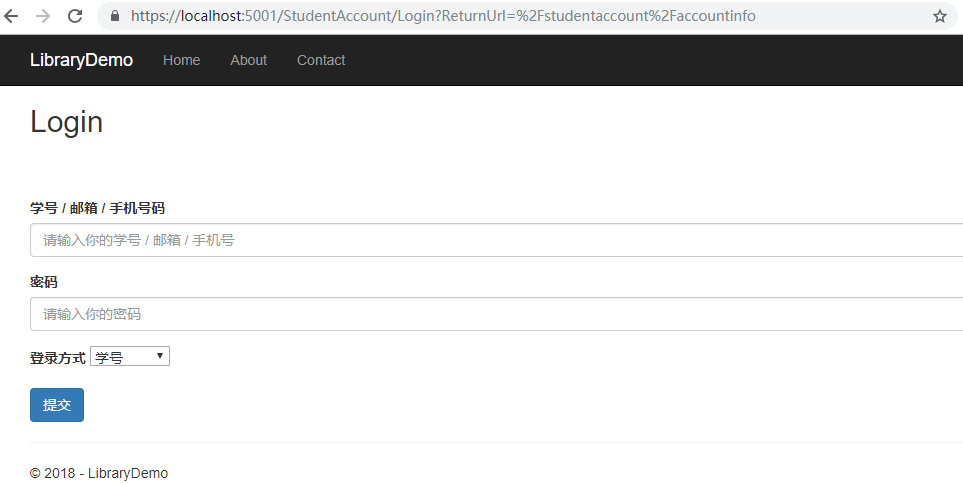
由于未进行授权,在此直接访问 AccountInfo 方法默认会返回 /Account/Login 页面请求验证,可通过在 ConfigureServices 方法进行配置以覆盖这一行为,让页面默认返回 /StudentAccount/Login :
1             services.ConfigureApplicationCookie(opts =>
2             {
3                 opts.LoginPath = "/StudentAccount/Login";
4             });
为了使 [Authorize] 特性能够正常工作,需要在 Configure 方法中使用 Authentication 中间件,如果没有调用app.UseAuthentication(),则访问带有 [Authorize] 的方法会再度要求进行验证。中间件的顺序很重要:
1             app.UseAuthentication();
2             app.UseHttpsRedirection();
3             app.UseStaticFiles();
4             app.UseCookiePolicy();
同时在 ConfigureServices 中对 Cookie 策略进行配置:
1             services.Configure<CookiePolicyOptions>(options =>
2             {
3                 options.CheckConsentNeeded = context => true;
4                 options.MinimumSameSitePolicy = SameSiteMode.None;
5             });
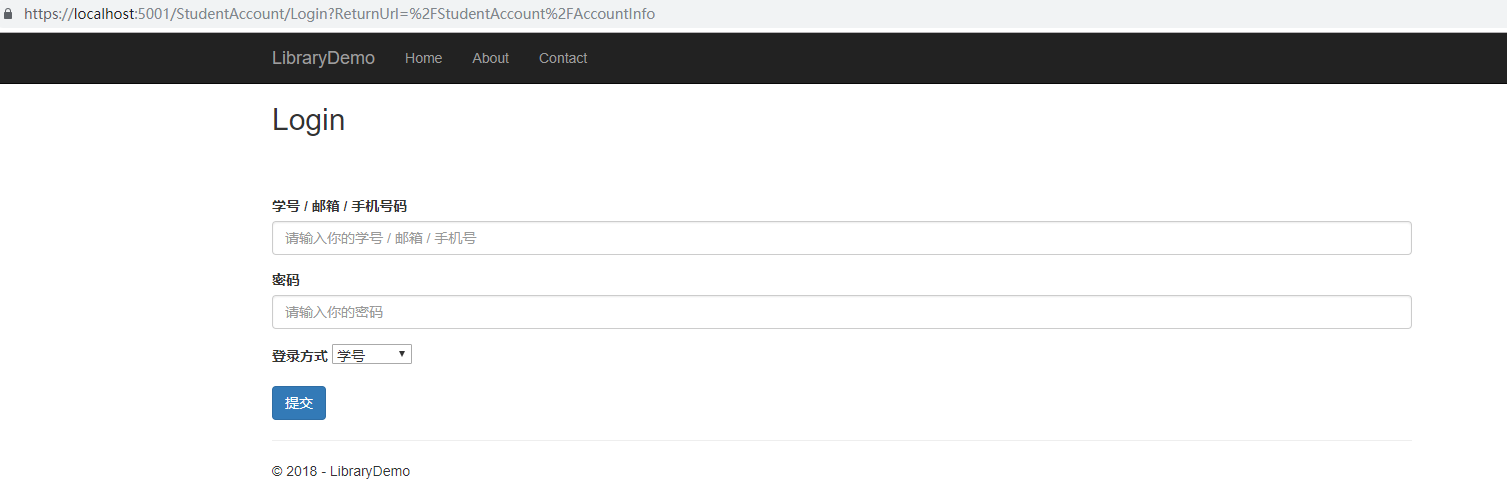
直接访问 AccountInfo 页面:
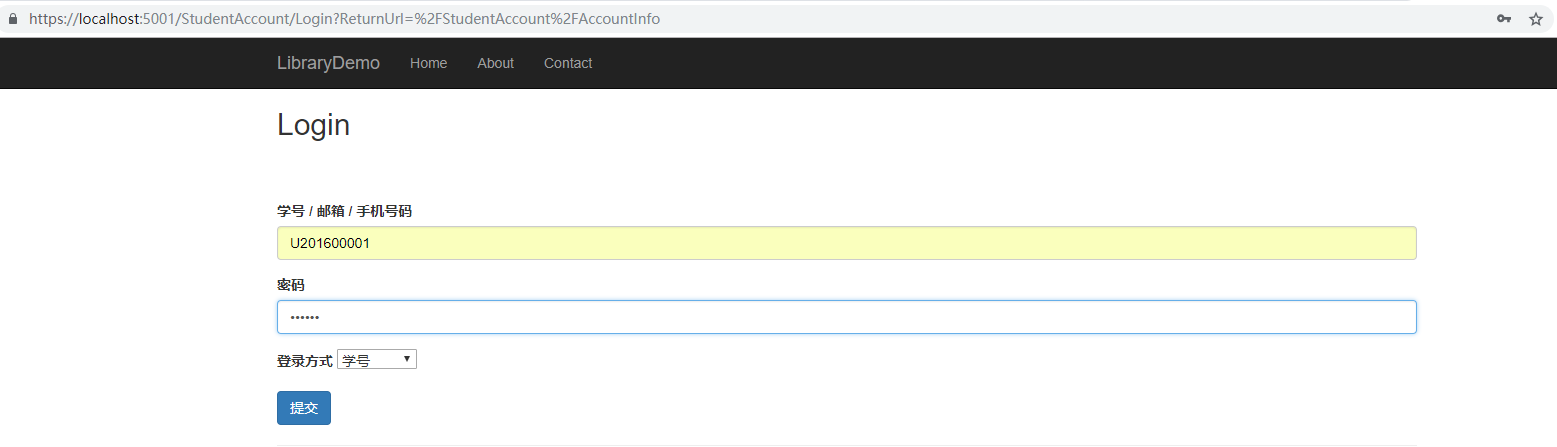
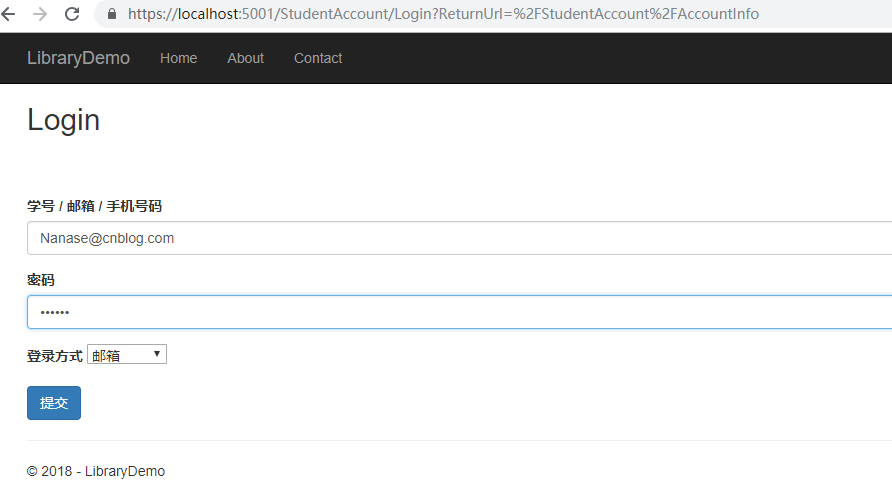
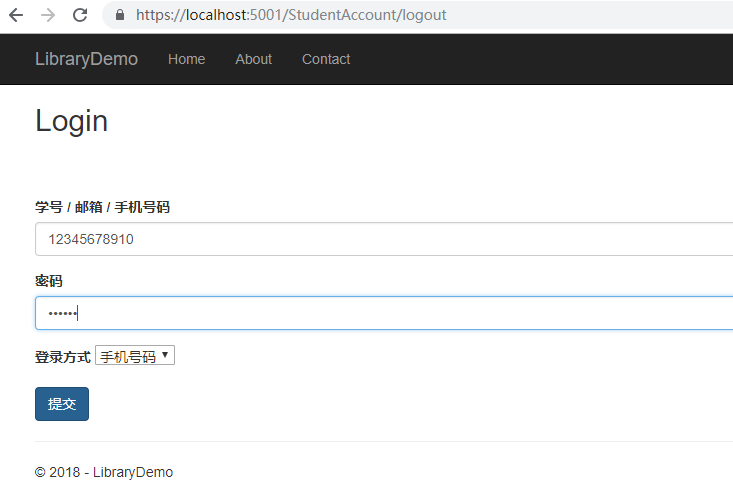
输入账号密码进行验证:
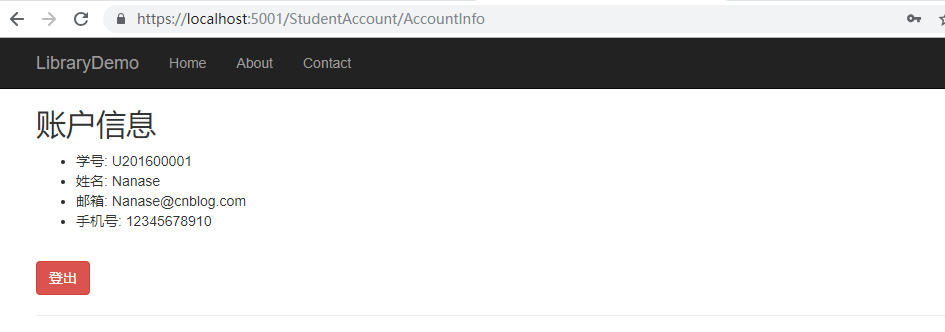
验证之后返回 /StudentAccount/AccountInfo 页面:

四、创建登出网页
简单地调用 SignOutAsync 用以清除当前 Cookie 中的授权信息。
1         [Authorize]
2         public async Task<IActionResult> Logout()
3         {
4             await _signInManager.SignOutAsync();
5             return View("Login");
6         }
同时在 AccountInfo 添加登出按钮:
 1     @model Dictionary<string, object>
 2     @{
 3         ViewData["Title"] = "AccountInfo";
 4     }
 5     <h2>账户信息</h2>
 6     <ul>
 7         @foreach (var info in Model)
 8         {
 9             <li>@info.Key: @Model[info.Key]</li>
10         }
11     </ul>
12     <br />
13     <a class="btn btn-danger" asp-action="Logout">登出</a>
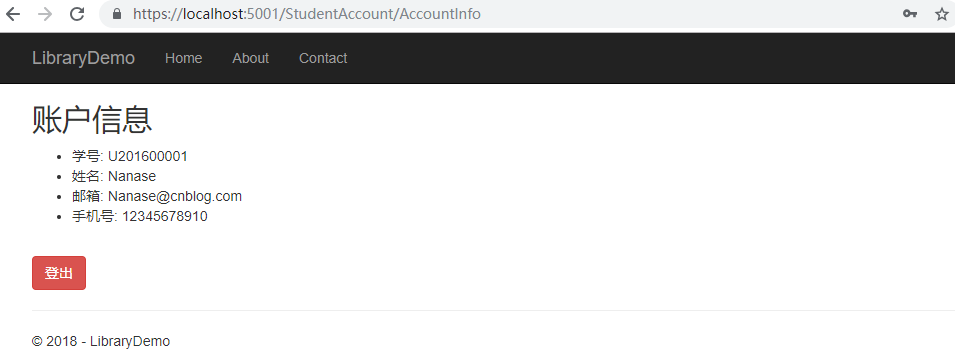
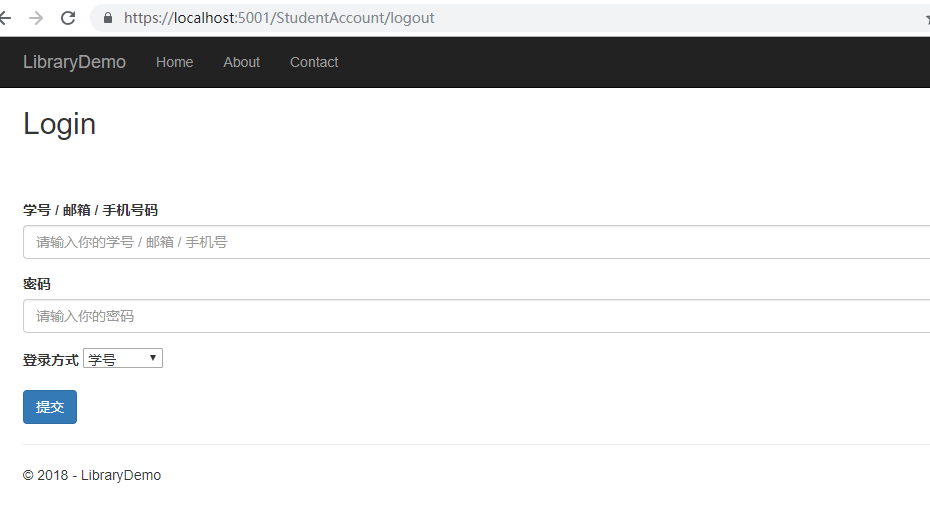
登出后返回 Login 页面,同时 AccountInfo 页面需要重新进行验证。
附加使用邮箱以及手机号验证的测试:


最后对 Login 动作方法进行修改以避免不必要的验证:
 1         public IActionResult Login(string returnUrl)
 2         {
 3             if (HttpContext.User.Identity.IsAuthenticated)
 4             {
 5                 return RedirectToAction("AccountInfo");
 6             }
 7
 8             LoginModel loginInfo = new LoginModel();
 9             ViewBag.returnUrl = returnUrl;
10             return View(loginInfo);
11         }
已授权情况下再度访问 Login 方法返回 AccountInfo :
登出后再次访问 AccountInfo 方法:
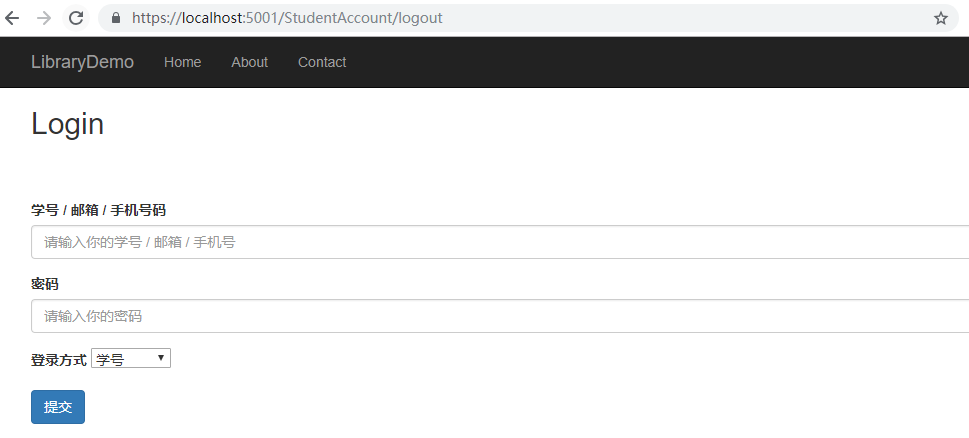
登出后需要重新验证:
五?、Admin,不可与 Identity 同时使用的基于 Cookie 的授权?
带有自定义验证逻辑项目地址:https://files-cdn.cnblogs.com/files/gokoururi/LibraryDemo-Failed.zip
本来打算使用 Cookie 进行对 Admin 的授权,但由于 Identity 使用的也是基于 Cookie 的授权并做了大量的工作,同时使用两者在一些奇奇怪怪的地方会出现 bug,如果有什么解决方案感谢不尽,因此这节只做使用 Cookie 授权的演示。
为使用 Cookie 授权,需要在 ConfigureServices 和 Configure 方法中进行配置:
ConfigureServices 中调用 services.AddAuthentication 启用验证,使用 CookieAuthenticationDefaults.AuthenticationScheme 作为默认该验证的 scheme,使用默认 Cookie 沿验证。
1             services.AddAuthentication(options =>
2                 {
3                     options.DefaultScheme = CookieAuthenticationDefaults.AuthenticationScheme;
4                 })
5                 .AddCookie();
为保证安全,密码不能使用明文保存在数据库中,因此在此使用 MD5 加密对密码进行加密。在此创建一个类用以更方便地调用:
创建 Encrptor 类,设置私有默认构造函数防止该类被实例化,添加静态方法 MD5Encrypt32 用以返回加密后的字符串:
 1     public class Encryptor
 2     {
 3         private Encryptor()
 4         {
 5         }
 6
 7         public static string MD5Encrypt(string password)
 8         {
 9             MD5 md5 = MD5.Create();
10             byte[] hashBytes = md5.ComputeHash(Encoding.UTF8.GetBytes(password));
11             StringBuilder hashPassword = new StringBuilder();
12             foreach (var b in hashBytes)
13             {
14                 hashPassword.Append(b);
15             }
16
17             return hashPassword.ToString();
18         }
19     }
在此处要注意使用 context.SaveChanges 来保存对数据库做出的增删改的操作,否则数据库将不会做出更改。对 AdminDbContext 进行初始化:
 1     public class AdminInitiator
 2     {
 3         public static async Task InitialAdmins(IServiceProvider serviceProvider)
 4         {
 5             AdminDbContext adminDbContext = serviceProvider.GetRequiredService<AdminDbContext>();
 6             if (adminDbContext.Admins.Any())
 7             {
 8                 return;
 9             }
10
11             IEnumerable<Admin> admins = new[]
12             {
13                 new Admin()
14                 {
15                     UserName = "admin",
16                     Email = "admin@cnblog.com",
17                     PhoneNumber = "10000000000",
18                     Password = "123456"
19                 },
20                 new Admin()
21                 {
22                     UserName = "admin1",
23                     Email = "admin1@cnblog.com",
24                     PhoneNumber = "10000000001",
25                     Password = "456789"
26                 },
27             };
28
29             foreach (var admin in admins)
30             {
31                 EncryptAdmin(admin);
32                 await adminDbContext.AddAsync(admin);
33                 await adminDbContext.SaveChangesAsync();
34             }
35         }
36
37         private static Admin EncryptAdmin(Admin admin)
38         {
39             admin.Password = Encryptor.MD5Encrypt(admin.Password);
40             return admin;
41         }
42     }
此处为 Authorize 特性指定授权的 Scheme,则可以通过不同的 Scheme 指定不同的授权。指定 [AllowAnoymous] 特性时,该方法可以在未授权的情况下被访问。
  1     [Authorize(AuthenticationSchemes=CookieAuthenticationDefaults.AuthenticationScheme)]
  2     public class AdminAccountController : Controller
  3     {
  4         private AdminDbContext _context;
  5
  6         public AdminAccountController(AdminDbContext context)
  7         {
  8             _context = context;
  9         }
 10
 11         [AllowAnonymous]
 12         public IActionResult Login(string returnUrl)
 13         {
 14             if (HttpContext.User.IsInRole("admin"))
 15             {
 16                 return RedirectToAction("Index");
 17             }
 18             LoginModel model = new LoginModel();
 19             return View(model);
 20         }
 21
 22         public IActionResult Index()
 23         {
 24             return View(CurrentAccountData());
 25         }
 26
 27         [HttpPost]
 28         [ValidateAntiForgeryToken]
 29         [AllowAnonymous]
 30         public async Task<IActionResult> Login(LoginModel loginInfo, string returnUrl)
 31         {
 32             if (ModelState.IsValid)
 33             {
 34                 Admin admin = new Admin();
 35                 switch (loginInfo.LoginType)
 36                 {
 37                     case LoginType.UserName:
 38                         admin = await _context.Admins.FirstOrDefaultAsync(a => a.UserName == loginInfo.Account);
 39                         break;
 40                     case LoginType.Email:
 41                         admin = await _context.Admins.FirstOrDefaultAsync(a => a.Email == loginInfo.Account);
 42                         break;
 43                     case LoginType.Phone:
 44                         admin = await _context.Admins.FirstOrDefaultAsync(a => a.PhoneNumber == loginInfo.Account);
 45                         break;
 46                     default:
 47                         admin = null;
 48                         break;
 49                 }
 50
 51                 if (admin != null)
 52                 {
 53                     string encryptedPassword = Encryptor.MD5Encrypt32(loginInfo.Password);
 54                     if (admin.Password == encryptedPassword)
 55                     {
 56                         ClaimsIdentity identity = new ClaimsIdentity(CookieAuthenticationDefaults.AuthenticationScheme);
 57                         identity.AddClaims(new[]
 58                         {
 59                             new Claim(ClaimTypes.Name, admin.UserName),
 60                             new Claim(ClaimTypes.Email,admin.Email),
 61                             new Claim(ClaimTypes.MobilePhone,admin.PhoneNumber),
 62                             new Claim(ClaimTypes.Role,"admin"),
 63                         });
 64                         var principal = new ClaimsPrincipal(identity);
 65                         await HttpContext.SignInAsync(principal,new AuthenticationProperties()
 66                         {
 67                             ExpiresUtc = DateTime.UtcNow.AddSeconds(8)
 68                         });
 69
 70                         if (returnUrl != null)
 71                         {
 72                             return Redirect(returnUrl);
 73                         }
 74
 75                         return RedirectToAction("Index");
 76                     }
 77                 }
 78                 ModelState.AddModelError("", "账号或密码错误");
 79                 return View(loginInfo);
 80             }
 81
 82             return View(loginInfo);
 83         }
 84
 85         [Authorize]
 86         public async Task<IActionResult> Logout()
 87         {
 88             await HttpContext.SignOutAsync();
 89             return View("Login");
 90         }
 91
 92         Dictionary<string, object> CurrentAccountData()
 93         {
 94             var userName = HttpContext.User.Identity.Name;
 95             var user = _context.Admins.FirstOrDefault(a => a.UserName == userName);
 96
 97             return new Dictionary<string, object>()
 98             {
 99                 ["用户名"] = user.UserName,
100                 ["邮箱"] = user.Email,
101                 ["手机号"] = user.PhoneNumber,
102             };
103         }
104     }
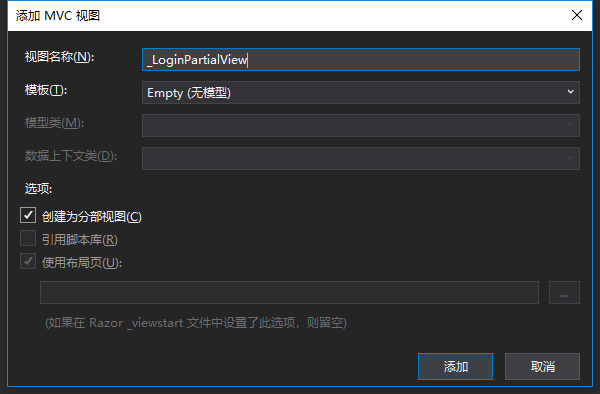
由于 Login 视图和 StudentAccountController 的 Login 视图大致一致,因此可以将重复的部分提取出来作为一个分部视图,在 Views/Shared 文件夹中创建分部视图:
 1     @model LoginModel
 2
 3     <input type="hidden" name="returnUrl" value="@ViewBag.returnUrl"/>
 4     <div class="form-group">
 5         <label asp-for="Account"></label>
 6         <input asp-for="Account" class="form-control" placeholder="请输入你的账号(学号) / 邮箱 / 手机号"/>
 7     </div>
 8     <div class="form-group">
 9         <label asp-for="Password"></label>
10         <input asp-for="Password" class="form-control" placeholder="请输入你的密码"/>
11     </div>
12     <div class="form-group">
13         <label>登录方式</label>
14         <select asp-for="LoginType">
15             <option disabled value="">登录方式</option>
16             <LoginType login-type="@Enum.GetNames(typeof(LoginType))"></LoginType>
17         </select>
18     </div>
19     <input type="submit" class="btn btn-primary"/>
20     <input type="reset" class="btn btn-primary"/>
对 StudentAccountController 的 Login 视图做出修改:
 1     @model LoginModel
 2
 3     @{
 4         ViewData["Title"] = "Login";
 5     }
 6
 7     <h2>Login</h2>
 8     <br/>
 9     <div class="text-danger" asp-validation-summary="All"></div>
10     <br/>
11     <form asp-action="Login" method="post">
12         @await  Html.PartialAsync("_LoginPartialView",Model)
13     </form>
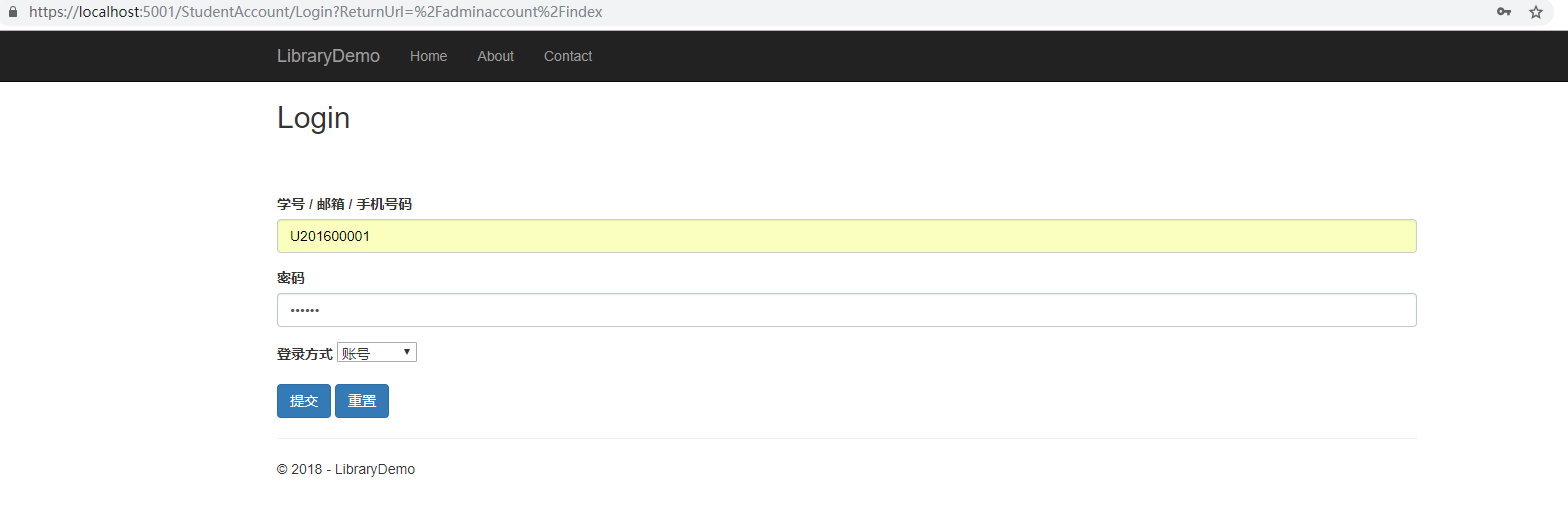
设置 AdminAccount 的 Login 视图:
 1     @model LoginModel
 2     @{
 3         ViewData["Title"] = "AdminIndex";
 4     }
 5
 6     <h2>Login</h2>
 7     <br />
 8     <div class="text-danger" asp-validation-summary="All"></div>
 9     <br />
10     <form asp-action="Login" method="post">
11         @await Html.PartialAsync("_LoginPartialView", Model)
12     </form>
AdminAccount 的 Index 视图:
 1     @model Dictionary<string,object>
 2     @{
 3         ViewData["Title"] = "AccountInfo";
 4     }
 5
 6     <h2>AccountInfo</h2>
 7
 8     <ul>
 9         @foreach (var info in Model)
10         {
11             <li>@info.Key: @Model[info.Key]</li>
12         }
13
14     </ul>
五、基于 Role 的 Identity 授权
在此把之前所有与 Admin 有关的内容全部注释掉或删除,初始化身份为 admin 的用户。
修改 StudentInitial 类,添加名为 admin 的学生数组并使用 AddToRoleAsync 为用户添加身份。在添加 Role 之前需要在 RoleManager 对象中使用 Create 方法为 Role 数据库添加特定的 Role 字段:
 1     public class StudentInitiator
 2     {
 3         public static async Task InitialStudents(IServiceProvider serviceProvider)
 4         {
 5             UserManager<Student> userManager = serviceProvider.GetRequiredService<UserManager<Student>>();
 6             RoleManager<IdentityRole> roleManager = serviceProvider.GetRequiredService<RoleManager<IdentityRole>>();
 7             if (userManager.Users.Any())
 8             {
 9                 return;
10             }
11
12             if (await roleManager.FindByNameAsync("Admin")==null)
13             {
14                 await roleManager.CreateAsync(new IdentityRole("Admin"));
15             }
16
17             if (await roleManager.FindByNameAsync("Student")==null)
18             {
19                 await roleManager.CreateAsync(new IdentityRole("Student"));
20             }
21
22             IEnumerable<Student> initialStudents = new[]
23             {
24                 new Student()
25                 {
26                     UserName = "U201600001",
27                     Name = "Nanase",
28                     Email = "Nanase@cnblog.com",
29                     PhoneNumber = "12345678910",
30                     Degree = Degrees.CollegeStudent,
31                     MaxBooksNumber = 10,
32                 },
33                 new Student()
34                 {
35                     UserName = "U201600002",
36                     Name = "Ruri",
37                     Email = "NanaseRuri@cnblog.com",
38                     PhoneNumber = "12345678911",
39                     Degree = Degrees.DoctorateDegree,
40                     MaxBooksNumber = 15
41                 }
42             };
43
44             IEnumerable<Student> initialAdmins = new[]
45             {
46                 new Student()
47                 {
48                     UserName = "A000000000",
49                     Name="Admin0000",
50                     Email = "Admin@cnblog.com",
51                     PhoneNumber = "12345678912",
52                     Degree = Degrees.CollegeStudent,
53                     MaxBooksNumber = 20
54                 }
55             };
56             foreach (var student in initialStudents)
57             {
58                 await userManager.CreateAsync(student, student.UserName.Substring(student.UserName.Length - 6, 6));
59             }
60             foreach (var admin in initialAdmins)
61             {
62                 await userManager.CreateAsync(admin, "zxcZXC!123");
63                 await userManager.AddToRoleAsync(admin, "Admin");
64             }
65         }
66     }
然后新建一个 Admin 控制器,设置 [Authorize] 特性并指定 Role 属性,使带有特定 Role 的身份才可以访问该控制器。
1 [Authorize(Roles = "Admin")]
2 public class AdminAccountController : Controller
3 {
4 private UserManager<Student> _userManager;
5 private SignInManager<Student> _signInManager;
6
7 public AdminAccountController(UserManager<Student> studentManager, SignInManager<Student> signInManager)
8 {
9 _userManager = studentManager;
10 _signInManager = signInManager;
11 }
12
13 public IActionResult Index()
14 {
15 return View(CurrentAccountData());
16 }
17
18
19
20 Dictionary<string, object> CurrentAccountData()
21 {
22 var userName = HttpContext.User.Identity.Name;
23 var user = _userManager.FindByNameAsync(userName).Result;
24
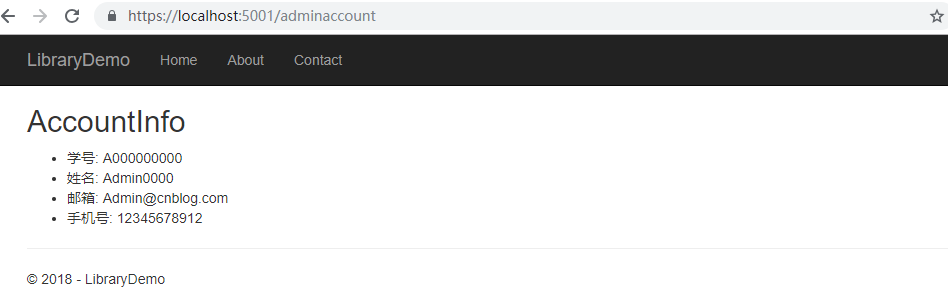
25 return new Dictionary<string, object>()
26 {
27 ["学号"] = userName,
28 ["姓名"] = user.Name,
29 ["邮箱"] = user.Email,
30 ["手机号"] = user.PhoneNumber,
31 };
32 }
33 }
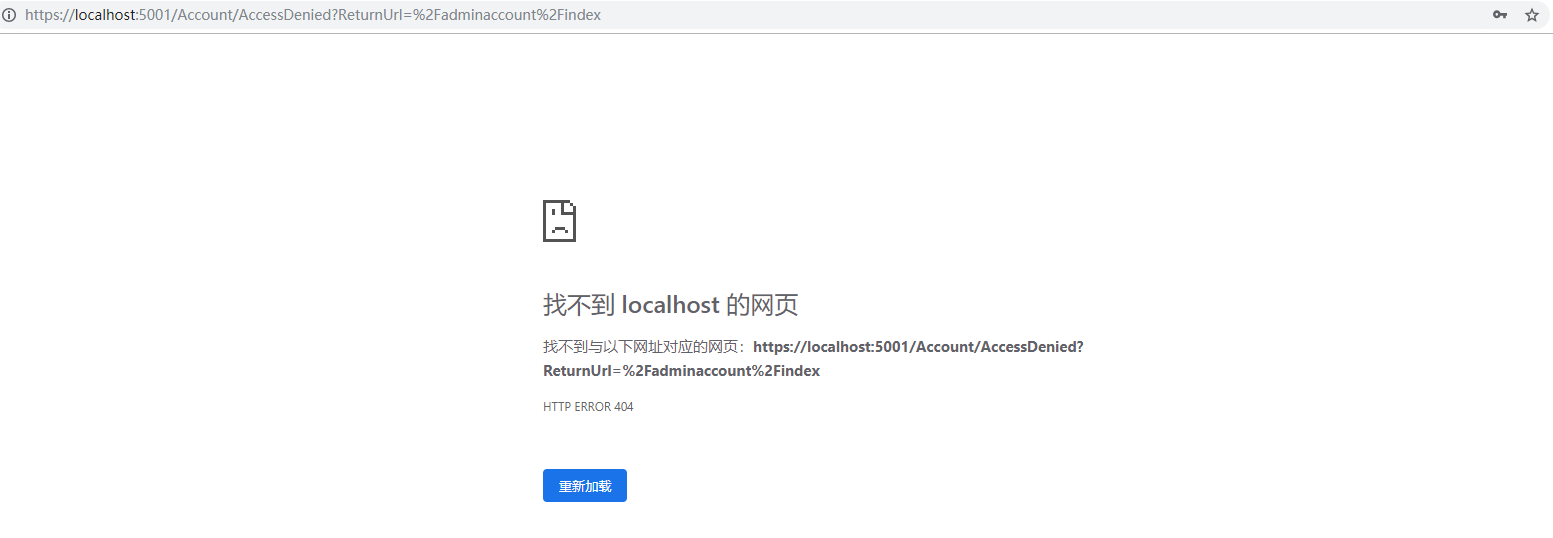
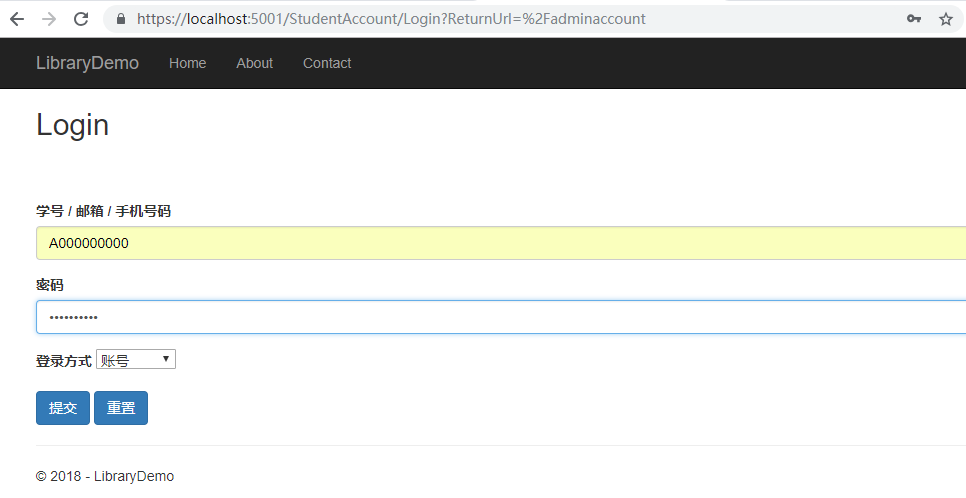
使用 Role 不是 Admin 的账户登录:
使用 Role 为 Admin 的账户登录:
对 ConfigureServices 作进一步配置,添加 Cookie 的过期时间和不满足 Authorize 条件时返回的 Url:
            services.ConfigureApplicationCookie(opts =>
            {                opts.Cookie.HttpOnly = true;
                opts.LoginPath = "/StudentAccount/Login";                opts.AccessDeniedPath = "/StudentAccount/Login";
                opts.ExpireTimeSpan=TimeSpan.FromMinutes(5);
            });
则当 Role 不为 Admin 时将返回 /StudentAccount/Login 而非默认的 /Account/AccessDeny。
共同学习,写下你的评论
评论加载中...
作者其他优质文章