
一、使用maven创建maven-web-app项目
groupId:pub.timespace(域名反写,组织id)
artifactId:springmvc(项目名称)
使用的是jdk1.8版本。
二、配置tomcat,启动服务器项目能否显示
1、配置项目项目
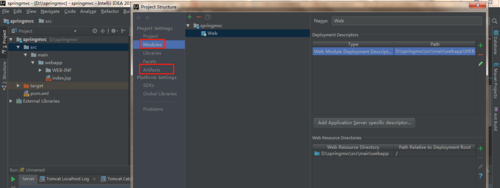
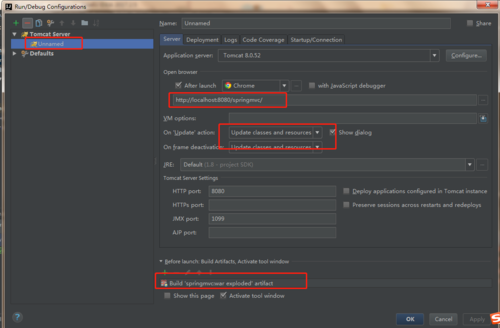
2、配置服务器信息
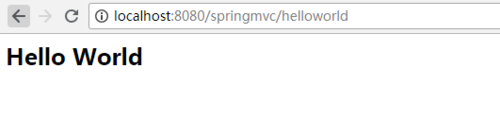
3、启动tomcat,验证能否显示Hello World
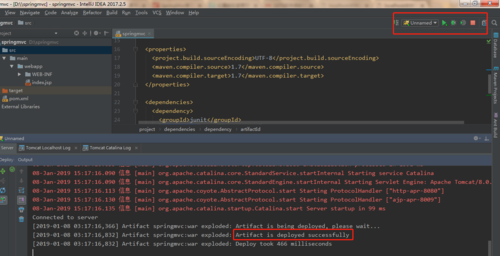
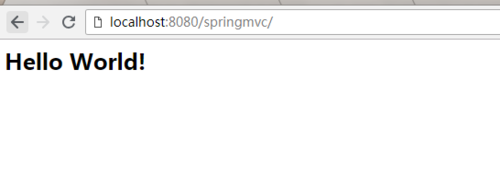
OK!
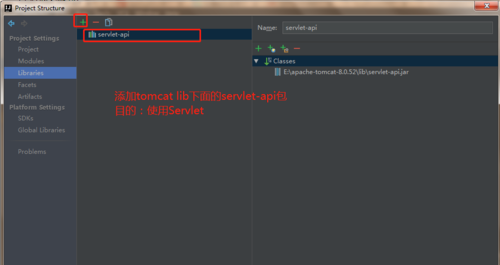
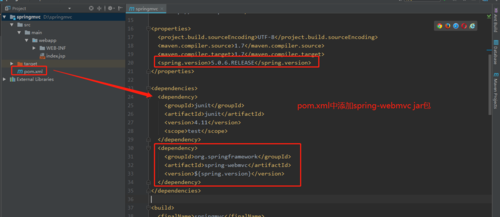
三、添加springMVC相关的jar包
1、添加servlet-api.jar
2、添加spring-webmvc的jar包
四、添加springmvc核心组件DispatcherServlet
1、web.xml中配置前框控制器,读取spring-webmvc的配置文件。
<web-app>
  <display-name>Archetype Created Web Application</display-name>
  <servlet>
    <servlet-name>DispatcherServlet</servlet-name>
    <servlet-class>org.springframework.web.servlet.DispatcherServlet</servlet-class>
    <init-param>
      <param-name>contextConfigLocation</param-name>
      <param-value>classpath:spring-webmvc.xml</param-value>
    </init-param>
    <load-on-startup>1</load-on-startup>
  </servlet>
  <servlet-mapping>
    <servlet-name>DispatcherServlet</servlet-name>
    <!--所有的请求url都交给前端控制器进行处理-->
    <url-pattern>/</url-pattern>
  </servlet-mapping>
</web-app>
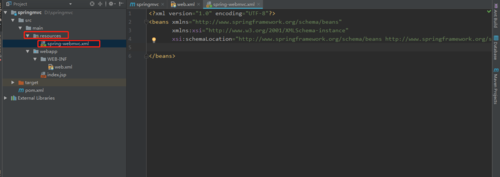
2、在spring-webmvc.xml中配置相关组件
<!--开启组件扫描,注册控制器为spring容器中的bean-->
<context:component-scan base-package="pub.timespace"/>
<!--相当于配置mvc适配器-->
<mvc:annotation-driven/>
<!--配置视图解析器-->
<bean id="viewResource" class="org.springframework.web.servlet.view.InternalResourceViewResolver">
    <property name="prefix" value="/WEB-INF/jsp/"/>
    <property name="suffix" value=".jsp"/>
</bean>
xml头部可以直接在网上copy下来。
<beans xmlns="http://www.springframework.org/schema/beans"
       xmlns:xsi="http://www.w3.org/2001/XMLSchema-instance" xmlns:p="http://www.springframework.org/schema/p"
       xmlns:context="http://www.springframework.org/schema/context"
       xmlns:mvc="http://www.springframework.org/schema/mvc"
       xsi:schemaLocation="http://www.springframework.org/schema/beans
                        http://www.springframework.org/schema/beans/spring-beans-3.1.xsd
                        http://www.springframework.org/schema/context
                        http://www.springframework.org/schema/context/spring-context-3.1.xsd
                        http://www.springframework.org/schema/mvc
                        http://www.springframework.org/schema/mvc/spring-mvc-4.0.xsd">
</beans>
五、编写前端页面、向后台发送请求
<!--index.jsp-->
<a href="/springmvc/helloworld">向后台提交get请求</a>
<!--success.jsp-->
<h2>Hello World</h2>
1、点击链接向后台发送get请求,映射的路径为/helloworld。
2、后台接收请求后,进行内部请求转发,返回到success.jsp。
六、编写后台代码
package pub.timespace;


import org.springframework.stereotype.Controller;
import org.springframework.web.bind.annotation.RequestMapping;

@Controller
public class HelloServlet {
    @RequestMapping("/helloworld")
    public String sayHello(){
        return "success";
    }
}
七、测试
Tomcat服务器可以正常启动,且springmvc项目能够正常部署。但是打开index.jsp页面时出现了页面乱码。
原因:页面编码没有进行设置。
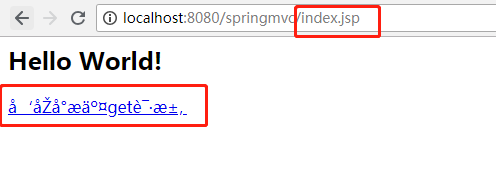
<%@ page contentType="text/html;charset=UTF-8" language="java" %>

点击链接后,进入success.jsp页面。
点击查看更多内容
为 TA 点赞
评论
共同学习,写下你的评论
评论加载中...
作者其他优质文章
正在加载中


感谢您的支持,我会继续努力的~
扫码打赏,你说多少就多少
赞赏金额会直接到老师账户
支付方式
打开微信扫一扫,即可进行扫码打赏哦