和尚在很久以前了解过 ConstraintLayout 的基本用法,但实际应用的却比较少;近来和尚在尝试一些历史项目的优化,对于 View-UI 绘制方面,准备通过 ConstraintLayout 来减少绘制层级;
Bias 偏向
ConstraintLayout 可以通过 _bias 属性设置偏向于水平或竖直某一端;
- 使用 _bias 属性时需要关联水平或竖直方向的两端关联;若未设置关联关系,单纯的 _bias 偏向无效果;
- _bias 偏向与权重无关系,所谓偏向,是水平或竖直某一端距边缘剩余空间的占比;
- _bias 默认为 0.5 居中展示,整体范围是 [0.0, 1.0];
<Button
    android:layout_width="wrap_content"
    android:layout_height="wrap_content"
    android:text="Center B (水平+竖直)"
    app:layout_constraintBottom_toBottomOf="parent"
    app:layout_constraintEnd_toEndOf="parent"
    app:layout_constraintStart_toStartOf="parent"
    app:layout_constraintTop_toTopOf="parent" />
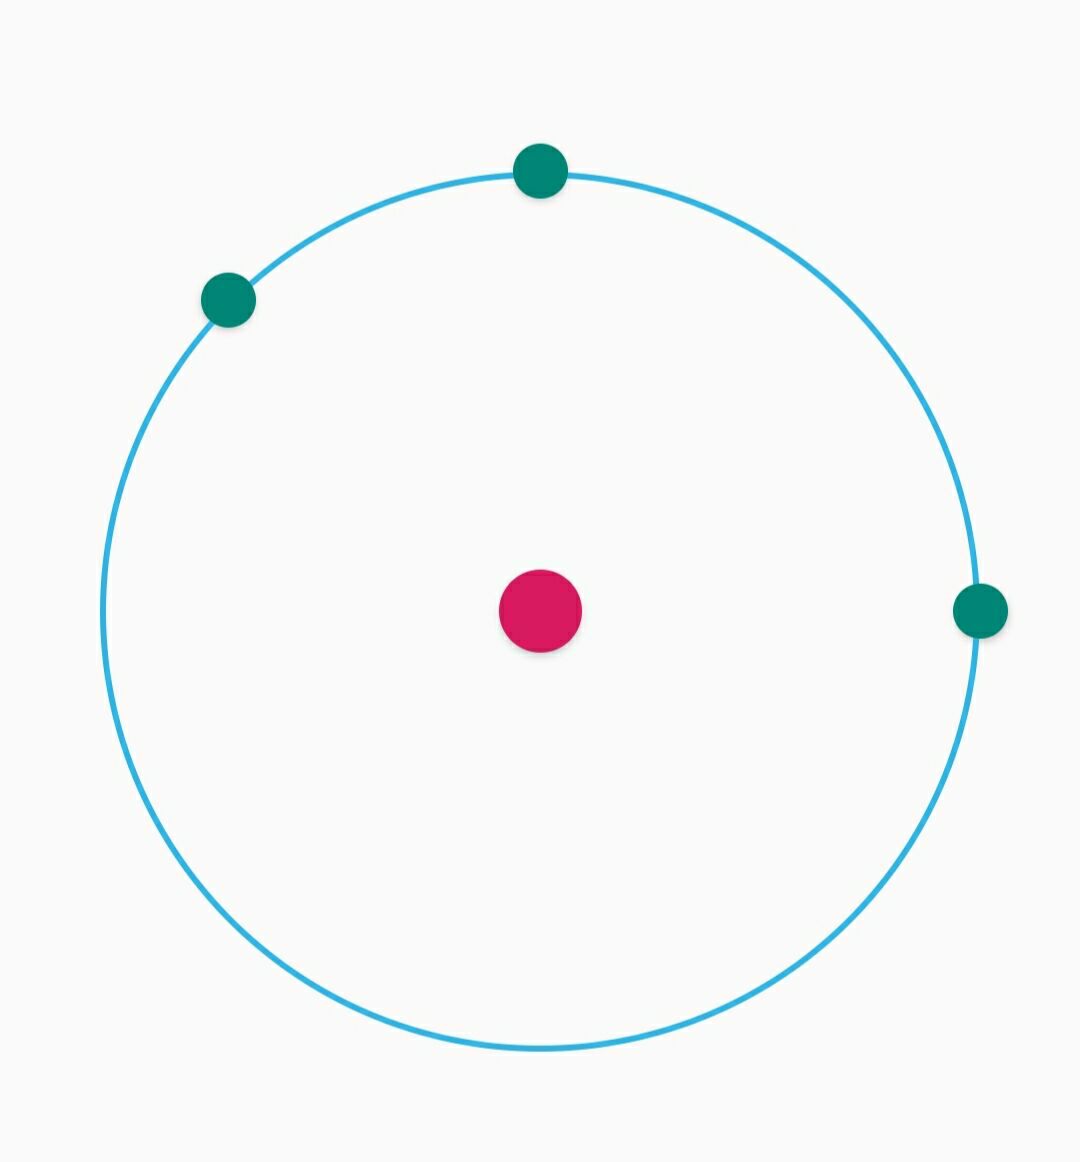
Circular positioning 圆形定位
ConstraintLayout 可以通过半径和角度来设置两个控件的关联约束;
- app:layout_constraintCircle 用来设置关联的控件,以此控件作为圆形中心;
- app:layout_constraintCircleAngle 用来设置两个控件的相对角度,其范围是 [0, 360],以顺时针方向,竖直向上的为 0,与数学中的坐标系一致;
- app:layout_constraintCircleRadius 作为圆形的半径设置两个控件的距离;
Button
    android:id="@+id/circle_btn"
    android:layout_width="30dp"
    android:layout_height="30dp"
    android:background="@drawable/btn_circle_red"
    app:layout_constraintBottom_toBottomOf="parent"
    app:layout_constraintEnd_toEndOf="parent"
    app:layout_constraintStart_toStartOf="parent"
    app:layout_constraintTop_toTopOf="parent" />

<Button
    android:layout_width="20dp"
    android:layout_height="20dp"
    android:background="@drawable/btn_circle_green"
    app:layout_constraintCircle="@+id/circle_btn"
    app:layout_constraintCircleAngle="90"
    app:layout_constraintCircleRadius="160dp" />
Group 组的显隐性
ConstraintLayout 减少了控件的 View 层级,但对于多个控件的显隐形可以通过 Group 来处理;Group 通过设置 referenced_ids / setReferencedIds 将设置的控件数组统一管理,直接设置 Group 的显隐性即可;
<androidx.constraintlayout.widget.Group
    android:id="@+id/constract_group"
    android:layout_width="match_parent"
    android:layout_height="match_parent"
    app:constraint_referenced_ids="circle_item_btn1,circle_item_btn2,circle_item_btn3" />

mGroup.setVisibility(isVisible ? View.VISIBLE : View.GONE);

Chains 链式结构
和尚在使用 ConstraintLayout 时,对于多个控件的整体居中尝试了链式结构;在学习过程中发现 Chains 有更多实用的效果;
和尚需要设置几个控件共同居中,且这几个控件的间距位置不变;
- 编辑设置多个预展示的控件;
2. 选中需要设置的多个控件,右键 Chains 设置 Create Vertical Chains;如图展示,虽然整体居中,但控件间的相对间隔也改变了;因为默认的 _chainStyle 为 spread 样式;
3. 设置最顶部链头属性 app:layout_constraintVertical_chainStyle=“packed”;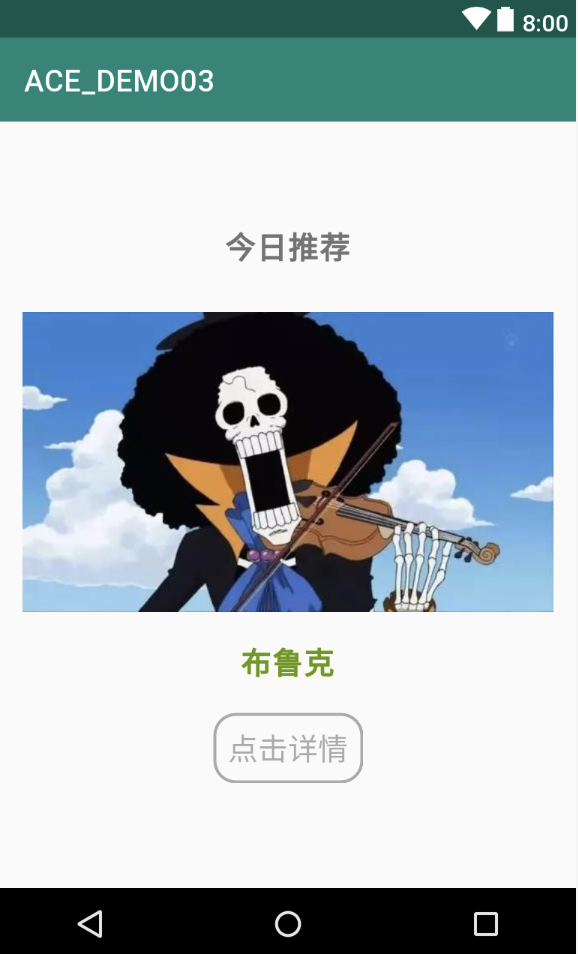
链式结构的整体效果主要是通过 Chains Head 链头来决定!
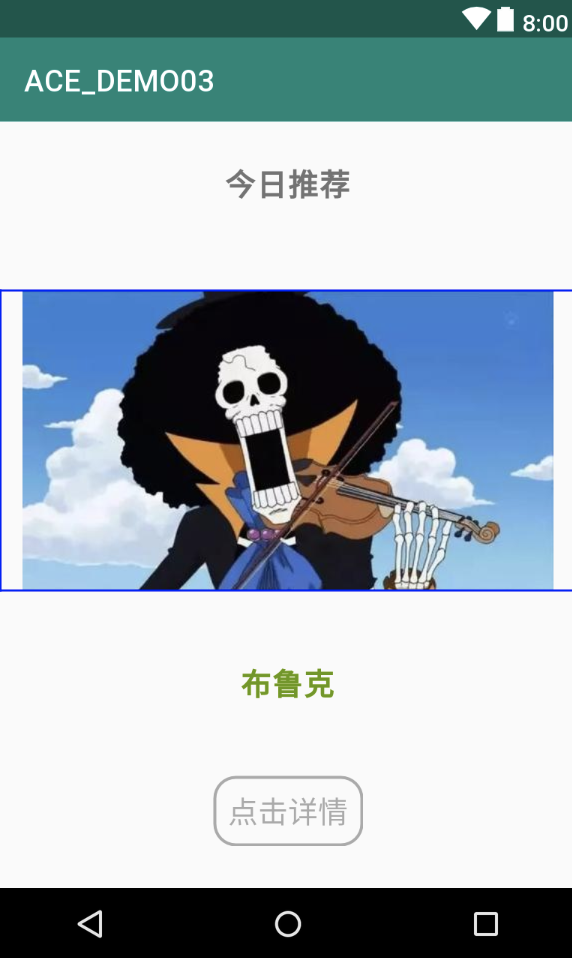
ChainStyle - spread
spread 为平均分散排列,及各个控件间的距离是均分的(不包括控件自身设置的 margin / padding 属性);
ChainStyle - spread_inside
spread_inside 也是平均分散排列,其中两端默认是紧临水平或竖直两端的(不包括控件自身设置的 margin / padding 属性);
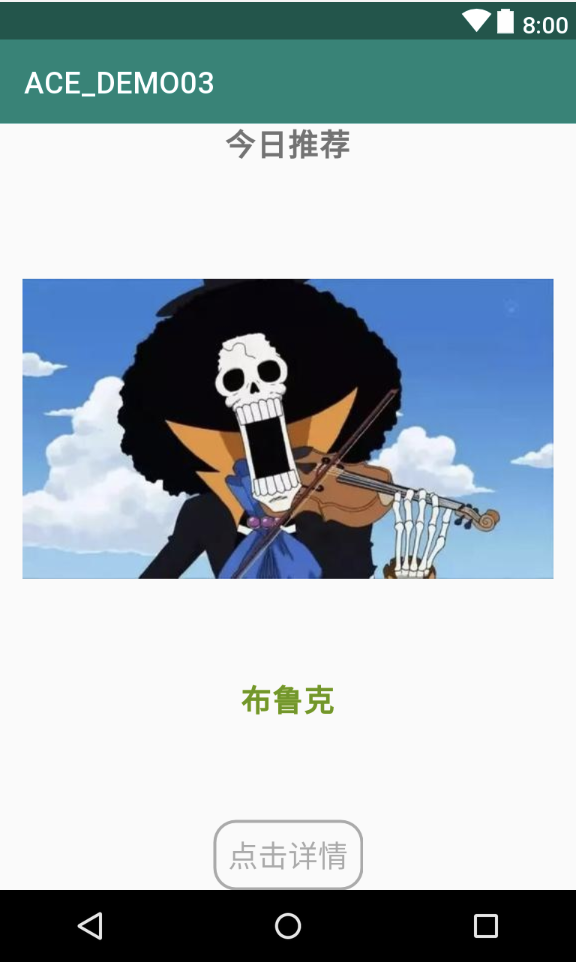
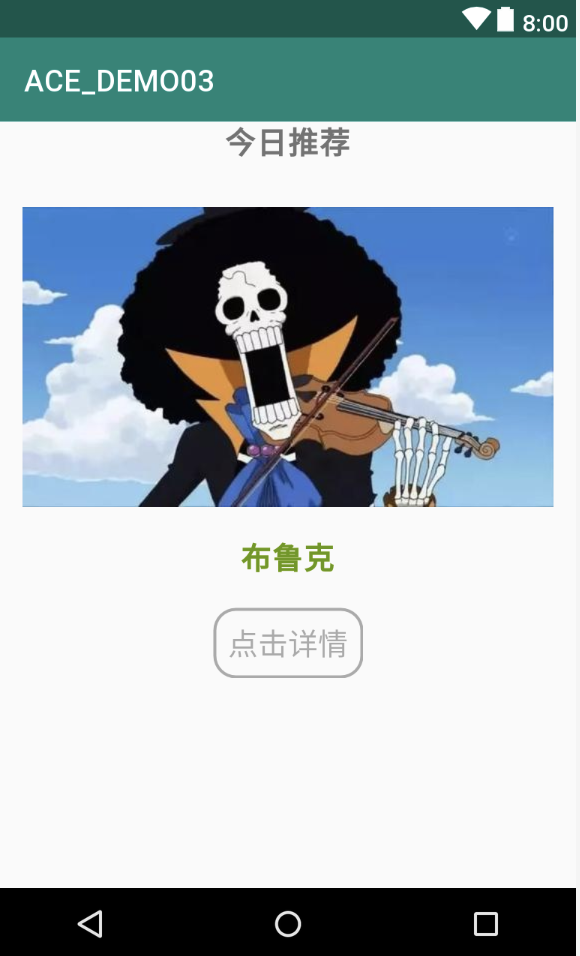
ChainStyle - packed
packed 是把链式结构中关联的控件组作为一个整体进行排列,可以设置 Bias 整体偏向等;
<?xml version="1.0" encoding="utf-8"?>
<androidx.constraintlayout.widget.ConstraintLayout xmlns:android="http://schemas.android.com/apk/res/android"
    xmlns:app="http://schemas.android.com/apk/res-auto"
    android:layout_width="match_parent"
    android:layout_height="match_parent">

    <TextView
        android:id="@+id/textView"
        android:layout_width="wrap_content" android:layout_height="wrap_content"
        android:text="今日推荐" android:textSize="20sp"
        android:textStyle="bold"
        app:layout_constraintBottom_toTopOf="@+id/imageView"
        app:layout_constraintEnd_toEndOf="parent"
        app:layout_constraintStart_toStartOf="parent"
        app:layout_constraintTop_toTopOf="parent"
        app:layout_constraintVertical_chainStyle="packed" />

    <ImageView
        android:id="@+id/imageView"
        android:layout_width="match_parent" android:layout_height="wrap_content"
        android:layout_marginTop="30dp" android:class="lazyload" src="data:image/png;base64,iVBORw0KGgoAAAANSUhEUgAAAAEAAAABCAYAAAAfFcSJAAAAAXNSR0IArs4c6QAAAARnQU1BAACxjwv8YQUAAAAJcEhZcwAADsQAAA7EAZUrDhsAAAANSURBVBhXYzh8+PB/AAffA0nNPuCLAAAAAElFTkSuQmCC" data-original="@mipmap/icon_hzw"
        app:layout_constraintBottom_toTopOf="@+id/textView2"
        app:layout_constraintEnd_toEndOf="parent"
        app:layout_constraintStart_toStartOf="parent"
        app:layout_constraintTop_toBottomOf="@+id/textView" />

    <TextView
        android:id="@+id/textView2"
        android:layout_width="wrap_content" android:layout_height="wrap_content"
        android:layout_marginTop="20dp" android:text="布鲁克"
        android:textColor="@android:color/holo_green_dark"
        android:textSize="20sp" android:textStyle="bold"
        app:layout_constraintBottom_toTopOf="@+id/textView5"
        app:layout_constraintEnd_toEndOf="parent"
        app:layout_constraintStart_toStartOf="parent"
        app:layout_constraintTop_toBottomOf="@+id/imageView" />

    <TextView
        android:id="@+id/textView5"
        android:layout_width="wrap_content" android:layout_height="wrap_content"
        android:layout_marginTop="20dp" android:background="@drawable/btn_circle_gray"
        android:padding="10dp" android:text="点击详情"
        android:textColor="@android:color/darker_gray" android:textSize="20sp"
        app:layout_constraintBottom_toBottomOf="parent"
        app:layout_constraintEnd_toEndOf="parent"
        app:layout_constraintStart_toStartOf="parent"
        app:layout_constraintTop_toBottomOf="@+id/textView2" />
</androidx.constraintlayout.widget.ConstraintLayout>
Weighted Chains 权重链
类似于 LinearLayout 中的 widget 权重,ConstraintLayout 也可以通过 _weight 设置权重效果;其中使用权重时需优先设置好 Chains 链式结构;
<View
    android:id="@+id/view"
    android:layout_width="0dp"
    android:layout_height="120dp"
    android:background="@color/colorPrimary"
    app:layout_constraintEnd_toStartOf="@+id/view2"
    app:layout_constraintHorizontal_weight="1"
    app:layout_constraintStart_toStartOf="parent" />

<View
    android:id="@+id/view2"
    android:layout_width="0dp"
    android:layout_height="120dp"
    android:background="@color/colorAccent"
    app:layout_constraintEnd_toStartOf="@+id/view3"
    app:layout_constraintHorizontal_weight="2"
    app:layout_constraintStart_toEndOf="@+id/view" />

<View
    android:id="@+id/view3"
    android:layout_width="0dp"
    android:layout_height="120dp"
    android:background="@color/colorPrimary"
    app:layout_constraintEnd_toEndOf="parent"
    app:layout_constraintHorizontal_weight="1"
    app:layout_constraintStart_toEndOf="@+id/view2" />

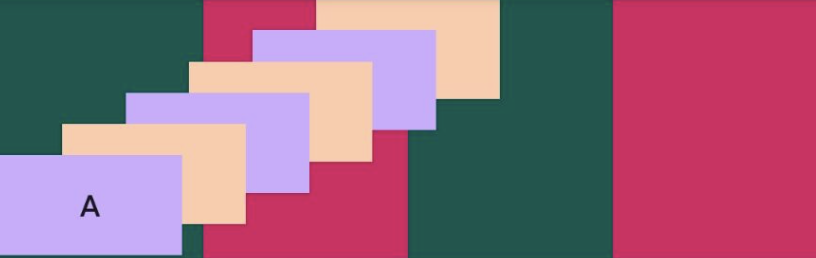
Gone Margins 隐藏外边距
在应用中,margins 为外边距,在使用 ConstraintLayout 关联布局时,添了 _goneMargin 属性;即控件 B 是以控件 A 作为关联基础,当控件 A 动态隐藏时,可以通过 _goneMargin 设置控件 B 的新的外边距;其中 _goneMargin 属性需要设置在非隐藏控件 B 中;
<TextView
    android:id="@+id/view7"
    android:layout_width="100dp"
    android:layout_height="100dp"
    android:layout_marginLeft="15dp"
    android:background="@color/colorPrimary"
    android:text="A"
    android:visibility="gone"
    app:layout_constraintEnd_toStartOf="@+id/view8"
    app:layout_constraintStart_toStartOf="@+id/imageView"
    app:layout_constraintTop_toBottomOf="@+id/item_tv3" />

<TextView
    android:id="@+id/view8"
    android:layout_width="100dp"
    android:layout_height="100dp"
    android:layout_marginLeft="15dp"
    android:background="@color/colorAccent"
    android:text="B"
    app:layout_constraintEnd_toStartOf="@+id/view9"
    app:layout_constraintStart_toEndOf="@+id/view7"
    app:layout_constraintTop_toBottomOf="@+id/item_tv3"
    app:layout_goneMarginLeft="30dp"
    app:layout_goneMarginStart="30dp" />

和尚这次整理的还很浅显,未曾设计源码,主要是之前应用较少的场景,对于层级的优化还是很重要的;如有错误,请多多指导!
来源: 阿策小和尚
共同学习,写下你的评论
评论加载中...
作者其他优质文章