
webapi_2 今天全是大经典案例
今天的案例又大又经典 我想想怎么搞呢因为要用到外联样式之类的了 写入内联也太大了
先来一个单独小页面的吧 一个仿淘宝右侧侧边栏的案例 不多说都在注释里了
<!DOCTYPE html>
<html lang="en">
<head>
    <meta charset="UTF-8">
    <meta http-equiv="X-UA-Compatible" content="IE=edge">
    <meta name="viewport" content="width=device-width, initial-scale=1.0">
    <title>Document</title>
    <style>
        header {
            width: 80%;
            height: 500px;
            background-color: aqua;
        }
        nav {
            width: 80%;
            height: 600px;
            margin: 20px 0;
            background-color: saddlebrown;
        }
        section {
            width: 80%;
            height: 1500px;
            background-color: gold;
        }
        aside {
            position: absolute;
            top: 60%;
            right: 17%;
            width: 60px;
            height: 100px;
            background-color: sandybrown;
        }
    </style>
</head>
<body>
    <header></header>
    <nav></nav>
    <section></section>
    <aside></aside>
    <script>
        // 这小小的一道题  还真不轻松 后面还要再做几遍 先来复盘一下
        // 第一步先获得nav的一个offsettop实际上就是我们要转为fixed的像素点 然后这里有个关键点 同时用aside也就是侧边栏的offsettop减去nav的top
        // 作为等会转为fixed的一个top值 这个很关键 不然等会按照绝对定位的top值来 就会突然挑一下 不够自然
        var aside = document.querySelector('aside')
        var nav = document.querySelector('nav')
        var navTop = nav.offsetTop
        var asideOffsetTop = aside.offsetTop
        var asideTop = asideOffsetTop - navTop
        // 第二部分 滚动到section的offsettop的时候显示返回顶部
        var section = document.querySelector('section')
        // 得到这两个值便可以进入滚动事件
        document.onscroll = function() {
            if (window.pageYOffset >= navTop) {
                aside.style.position = 'fixed'
                aside.style.top = asideTop + 'px'
            } else {
                aside.style.position = 'absolute'
                aside.style.top = asideOffsetTop + 'px'
            }
            if (window.pageYOffset >= section.offsetTop) {
                aside.innerText = '返回顶部'
            } else {
                aside.innerText = ''
            }
        }
    </script>
</body>
</html>
然后是一个模拟模态框拖拽的,这是经典了吧
<!DOCTYPE html>
<html lang="en">
<head>
<meta charset="UTF-8">
<meta http-equiv="X-UA-Compatible" content="IE=edge">
<meta name="viewport" content="width=device-width, initial-scale=1.0">
<title>Document</title>
<style>
.login-header {
width: 100%;
text-align: center;
height: 30px;
font-size: 24px;
line-height: 30px;
}
ul,
li,
ol,
dl,
dt,
dd,
div,
p,
span,
h1,
h2,
h3,
h4,
h5,
h6,
a {
padding: 0px;
margin: 0px;
}
.login {
display: none;
width: 512px;
height: 280px;
position: fixed;
border: #ebebeb solid 1px;
left: 50%;
top: 50%;
background: #ffffff;
box-shadow: 0px 0px 20px #ddd;
z-index: 9999;
transform: translate(-50%, -50%);
}
.login-title {
width: 100%;
margin: 10px 0px 0px 0px;
text-align: center;
line-height: 40px;
height: 40px;
font-size: 18px;
position: relative;
cursor: move;
}
.login-input-content {
margin-top: 20px;
}
.login-button {
width: 50%;
margin: 30px auto 0px auto;
line-height: 40px;
font-size: 14px;
border: #ebebeb 1px solid;
text-align: center;
}
.login-bg {
display: none;
width: 100%;
height: 100%;
position: fixed;
top: 0px;
left: 0px;
background: rgba(0, 0, 0, .3);
}
a {
text-decoration: none;
color: #000000;
}
.login-button a {
display: block;
}
.login-input input.list-input {
float: left;
line-height: 35px;
height: 35px;
width: 350px;
border: #ebebeb 1px solid;
text-indent: 5px;
}
.login-input {
overflow: hidden;
margin: 0px 0px 20px 0px;
}
.login-input label {
float: left;
width: 90px;
padding-right: 10px;
text-align: right;
line-height: 35px;
height: 35px;
font-size: 14px;
}
.login-title span {
position: absolute;
font-size: 12px;
right: -20px;
top: -30px;
background: #ffffff;
border: #ebebeb solid 1px;
width: 40px;
height: 40px;
border-radius: 20px;
}
</style>
</head>
<body>
<!-- 1.点击弹出层,会弹出模态框, 并且显示灰色半透明的遮挡层。
2.点击关闭按钮,可以关闭模态框,并且同时关闭灰色半透明遮挡层。
3.鼠标放到模态框最上面一行,可以按住鼠标拖拽模态框在页面中移动。
4.鼠标松开,可以停止拖动模态框移动 -->
<div class="login-header"><a id="link" href="javascript:;">点击,弹出登录框</a></div>
<div id="login" class="login">
<div id="title" class="login-title">登录会员
<span><a id="closeBtn" href="javascript:void(0);" class="close-login">关闭</a></span>
</div>
<div class="login-input-content">
<div class="login-input">
<label>用户名:</label>
<input type="text" placeholder="请输入用户名" name="info[username]" id="username" class="list-input">
</div>
<div class="login-input">
<label>登录密码:</label>
<input type="password" placeholder="请输入登录密码" name="info[password]" id="password" class="list-input">
</div>
</div>
<div id="loginBtn" class="login-button"><a href="javascript:void(0);" id="login-button-submit">登录会员</a></div>
</div>
<!-- 遮盖层 -->
<div id="bg" class="login-bg"></div>
<script>
var btn = document.querySelector('#link')
var login = document.querySelector('.login')
var close = document.querySelector('.close-login')
btn.addEventListener('click', function() {
login.style.display = 'block'
login.nextElementSibling.style.display = 'block'
})
close.addEventListener('click', function() {
login.style.display = 'none'
login.nextElementSibling.style.display = 'none'
})
login.firstElementChild.addEventListener('mousedown', function(e) {
// 鼠标按下先获得鼠标在盒子内的一个坐标 这也是整套过程中不会变的值
var mouseX = e.pageX - login.offsetLeft
var mouseY = e.pageY - login.offsetTop
// 按下的过程中再进行移动
document.addEventListener('mousemove', move)
// 不断地用鼠标移动的坐标去减鼠标在盒子中的位置 把值给到盒子的left top偏移量
function move(e) {
var x = e.pageX - mouseX
var y = e.pageY - mouseY
login.style.left = x + 'px'
login.style.top = y + 'px'}
document.addEventListener('mouseup', function() {
document.removeEventListener('mousemove', move)
})
// 注意!!!移动和鼠标按起 都是在document里面发生的事件 移动不弄在doucument里面移动时会变卡 按起不弄在document里面按起的设置就会无效
})
</script>
</body>
</html>
然后就是一些在网页里面的案例了 我决定先来几张图片 看看效果 然后把最重要的js逻辑实现和对应的html代码弄上来就行了吧 毕竟这是两个最关键的东西
首先第一个呢是一个京东放大镜效果的案例 做出来差不多就像下图的样子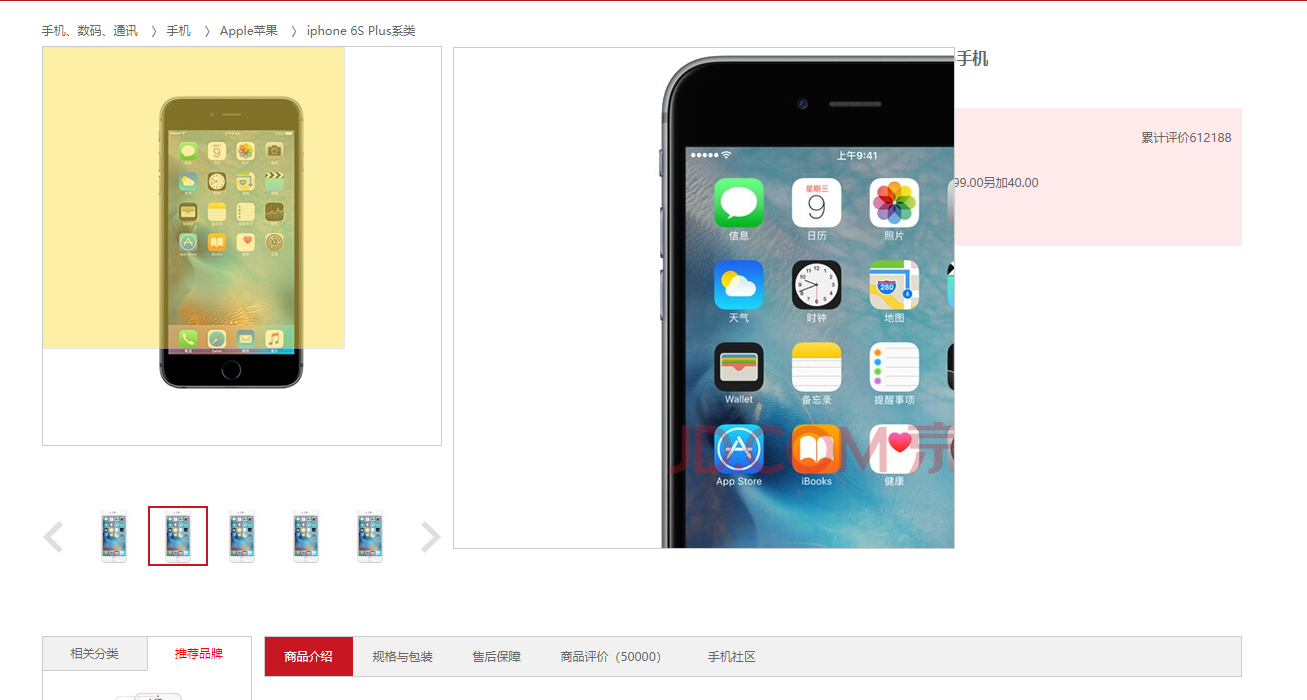
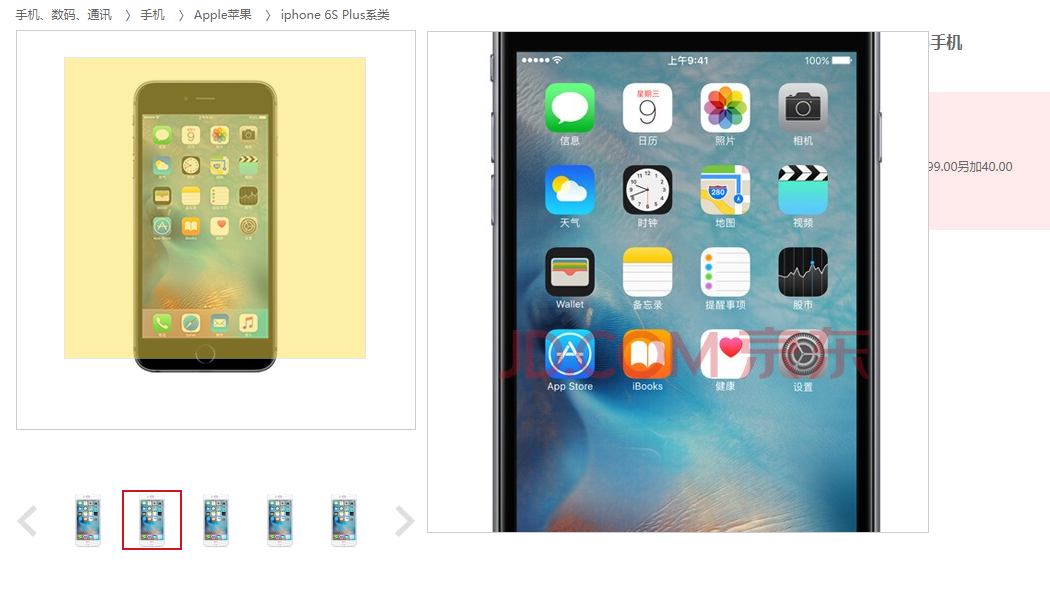
可以移动可以跟随 然后对应的html呢就是这个
<div class="preview_wrap fl">
                <div class="preview_img">
                    <img class="lazyload" src="data:image/png;base64,iVBORw0KGgoAAAANSUhEUgAAAAEAAAABCAYAAAAfFcSJAAAAAXNSR0IArs4c6QAAAARnQU1BAACxjwv8YQUAAAAJcEhZcwAADsQAAA7EAZUrDhsAAAANSURBVBhXYzh8+PB/AAffA0nNPuCLAAAAAElFTkSuQmCC" data-original="upload/s3.png" alt="">
                    <div class="mask"></div>
                    <div class="big">
                        <img class="lazyload" src="data:image/png;base64,iVBORw0KGgoAAAANSUhEUgAAAAEAAAABCAYAAAAfFcSJAAAAAXNSR0IArs4c6QAAAARnQU1BAACxjwv8YQUAAAAJcEhZcwAADsQAAA7EAZUrDhsAAAANSURBVBhXYzh8+PB/AAffA0nNPuCLAAAAAElFTkSuQmCC" data-original="upload/big.jpg" alt="" class="bigImg">
                    </div>
                </div>
html代码很少也不需要啥子太多 这个css可能要多点 然后是我们的js代码

// 鼠标一进入浏览区 面罩显示
document.addEventListener('DOMContentLoaded', function() {
    var box = document.querySelector('.preview_img')
    var mask = document.querySelector('.mask')
    var big = document.querySelector('.big')
    var bigImg = document.querySelector('.bigImg')
    box.addEventListener('mousemove', function(e) {
        mask.style.display = 'block'
        big.style.display = 'block'
        var x = e.pageX - box.offsetLeft - (mask.offsetWidth/2)
        var y = e.pageY - box.offsetTop - (mask.offsetHeight/2)
        mask.style.left =x + 'px'
        mask.style.top = y + 'px'
        // 设置界线
        //最大移动距离
        var maskMax = box.offsetWidth - mask.offsetWidth
        if (x <= 0) {
            mask.style.left = 0 + 'px'
        }else if(x >= maskMax) {
            mask.style.left = maskMax + 'px'
        }
        if (y <= 0) {
            mask.style.top = 0 + 'px'
        } else if (y >= maskMax) {
            mask.style.top = maskMax + 'px'
        }
        // 这里有个小点需要注意一下 一直卡在这里 对于下面的大图显示有问题不设置的话
        // 需要将x y做一个规整 不然他也是一直在动
        x = x < 0 ? '0px' : mask.offsetLeft;
        x = x > maskMax ? '100px' : mask.offsetLeft;
        y = y < 0 ? '0px' : mask.offsetTop;
        y = y > maskMax ? '100px' : mask.offsetTop;
        // 大图移动距离公式
        // 大图片的移动距离 = 遮挡层移动距离 * 大图片最大移动距离 / 遮挡层的最大移动距离
        // 大图最大移动距离
        var bigMove = bigImg.offsetWidth - big.offsetWidth
        var bigX = x * bigMove / maskMax
        var bigY = y * bigMove / maskMax
        bigImg.style.left = -bigX + 'px'
        bigImg.style.top = -bigY + 'px'
    })
})
我们下期见哈哈 不然格子不够
前端爱好者,望大佬给个内推机会!!!
点击查看更多内容
为 TA 点赞
评论
共同学习,写下你的评论
评论加载中...
作者其他优质文章
正在加载中


感谢您的支持,我会继续努力的~
扫码打赏,你说多少就多少
赞赏金额会直接到老师账户
支付方式
打开微信扫一扫,即可进行扫码打赏哦