课程名称:web前端架构师
课程章节:第16周 第七章 使用 OAuth2 协议完成用户创建以及验证功能
主讲老师:张轩
课程内容: 使用 OAuth2 完成用户的登录创建
使用 gitee 进行 OAuth2 认证
首先在 gitee 平台上创建第三方应用 。链接地址为 https://gitee.com/oauth/applications
创建完第三方应用后,将创建应用的 Client ID、Client Secret 和应用回调地址添加到环境变量中,并添加到 config 文件中
gitee OAuth 文档地址 https://gitee.com/api/v5/oauth_doc#/
认证的流程 - 授权码模式
应用通过 浏览器 或 Webview 将用户引导到码云三方认证页面上(get 请求方式)
https://gitee.com/oauth/authorize?client_id={client_id}&redirect_uri={redirect_uri}&response_type=code
码云认证服务器通过回调地址{redirect_uri}将 用户授权码 传递给 应用服务器 或者直接在 Webview 中跳转到携带 用户授权码的回调地址上,Webview 直接获取code即可。这里我们可以获取 code 就可以了
应用服务器 或 Webview 使用 access_token API 向 码云认证服务器发送post请求传入 用户授权码 以及 回调地址( POST请求, 请求过程建议将 client_secret 放在 Body 中传值,以保证数据安全。)
https://gitee.com/oauth/token?grant_type=authorization_code&code={code}&client_id={client_id}&redirect_uri={redirect_uri}&client_secret={client_secret}
通过上面就拿到了 access_token,就可以访问 open api 的接口了
代码实现
用户访问页面,跳转到授权页面
async giteeOAuth() {
  const { ctx, app } = this;
  const config = app.config.giteeConfig;
  const url = `https://gitee.com/oauth/authorize?client_id=${config.clientId}&redirect_uri=${config.redirectURI}&response_type=code`;
  ctx.redirect(url);
}
用户授权后,就会我们填写的 redirect uri 接口,在这个接口中获取 code,然后通过 code 获取到 access_token 返回给用户
 async oAuthGiteeCallback() {
    const { ctx, service } = this;
    const { code } = ctx.request.query;
    const data = await service.user.getGiteeAccessToken(code);
    ctx.helper.success({
      ctx,
      res: data,
    });
  }
根据 code 获取 access_token
public async getGiteeAccessToken(code: string) {
  const { ctx, app } = this;
  const { cid, secret, redirectURL } = app.config.giteeConfig;
  const { data } = await ctx.curl('https://gitee.com/oauth/token', {
    method: 'post',
    contentType: 'json',
    dataType: 'json',
    data: {
      grant_type: 'authorization_code',
      code,
      client_id: cid,
      redirect_uri: redirectURL,
      client_secret: secret,
    },
  });
  return data;
}
然后通过 access_token 获取,访问 gitee open api 获取用户信息
public async getGiteeUser(access_token: string) {
  const { ctx } = this;
  const { data } = await ctx.curl<GiteeUser>(`https://gitee.com/api/v5/user?access_token=${access_token}`, {
    dataType: 'json',
  });
  return data;
}
使用 Gitee OAuth 实现登录注册功能
用户授权后,会调用我们填写的回调接口,首先我们获取到 code,然后通过 code 获取用户信息
async signByGitee() {
  const { ctx, service } = this;
  const { code } = ctx.request.query;
  const token = await service.user.signByGitee(code);
  ctx.helper.success({
    ctx,
    res: {
      token,
    },
  });
}
拿到 code 以后,我们需要获取用户的 access_token, 然后 获取 gitee 上的信息,查询该用户是否存在,存在就创建token 返回,不存在就创建用户并创建 token 后返回
 public async signByGitee(code: string) {
    const { ctx } = this;
    // 获取 access_token
    const { access_token } = await this.getGiteeAccessToken(code);
    // 获取 gitee 用户
    const giteeUser = await this.getGiteeUser(access_token);
    const User = ctx.model.User;
    const stringGiteeID = giteeUser.id.toString();
    // 查询该 gitee 用户是否存在,存在就直接返回 token
    const user = await User.findOne({ giteeID: stringGiteeID });
    if (user) {
      return this.getToken(user.username);
    }
    const { email, avatar_url } = giteeUser;
    // 创建用户并返回 token
    const newUser = await User.create({
      username: `Gitee${stringGiteeID}`,
      giteeID: stringGiteeID,
      email,
      avatar: avatar_url,
      type: 'gitee',
    });
    return this.getToken(newUser.username);
  }
这样就完成了使用 Gitee OAuth 登录创建用户的功能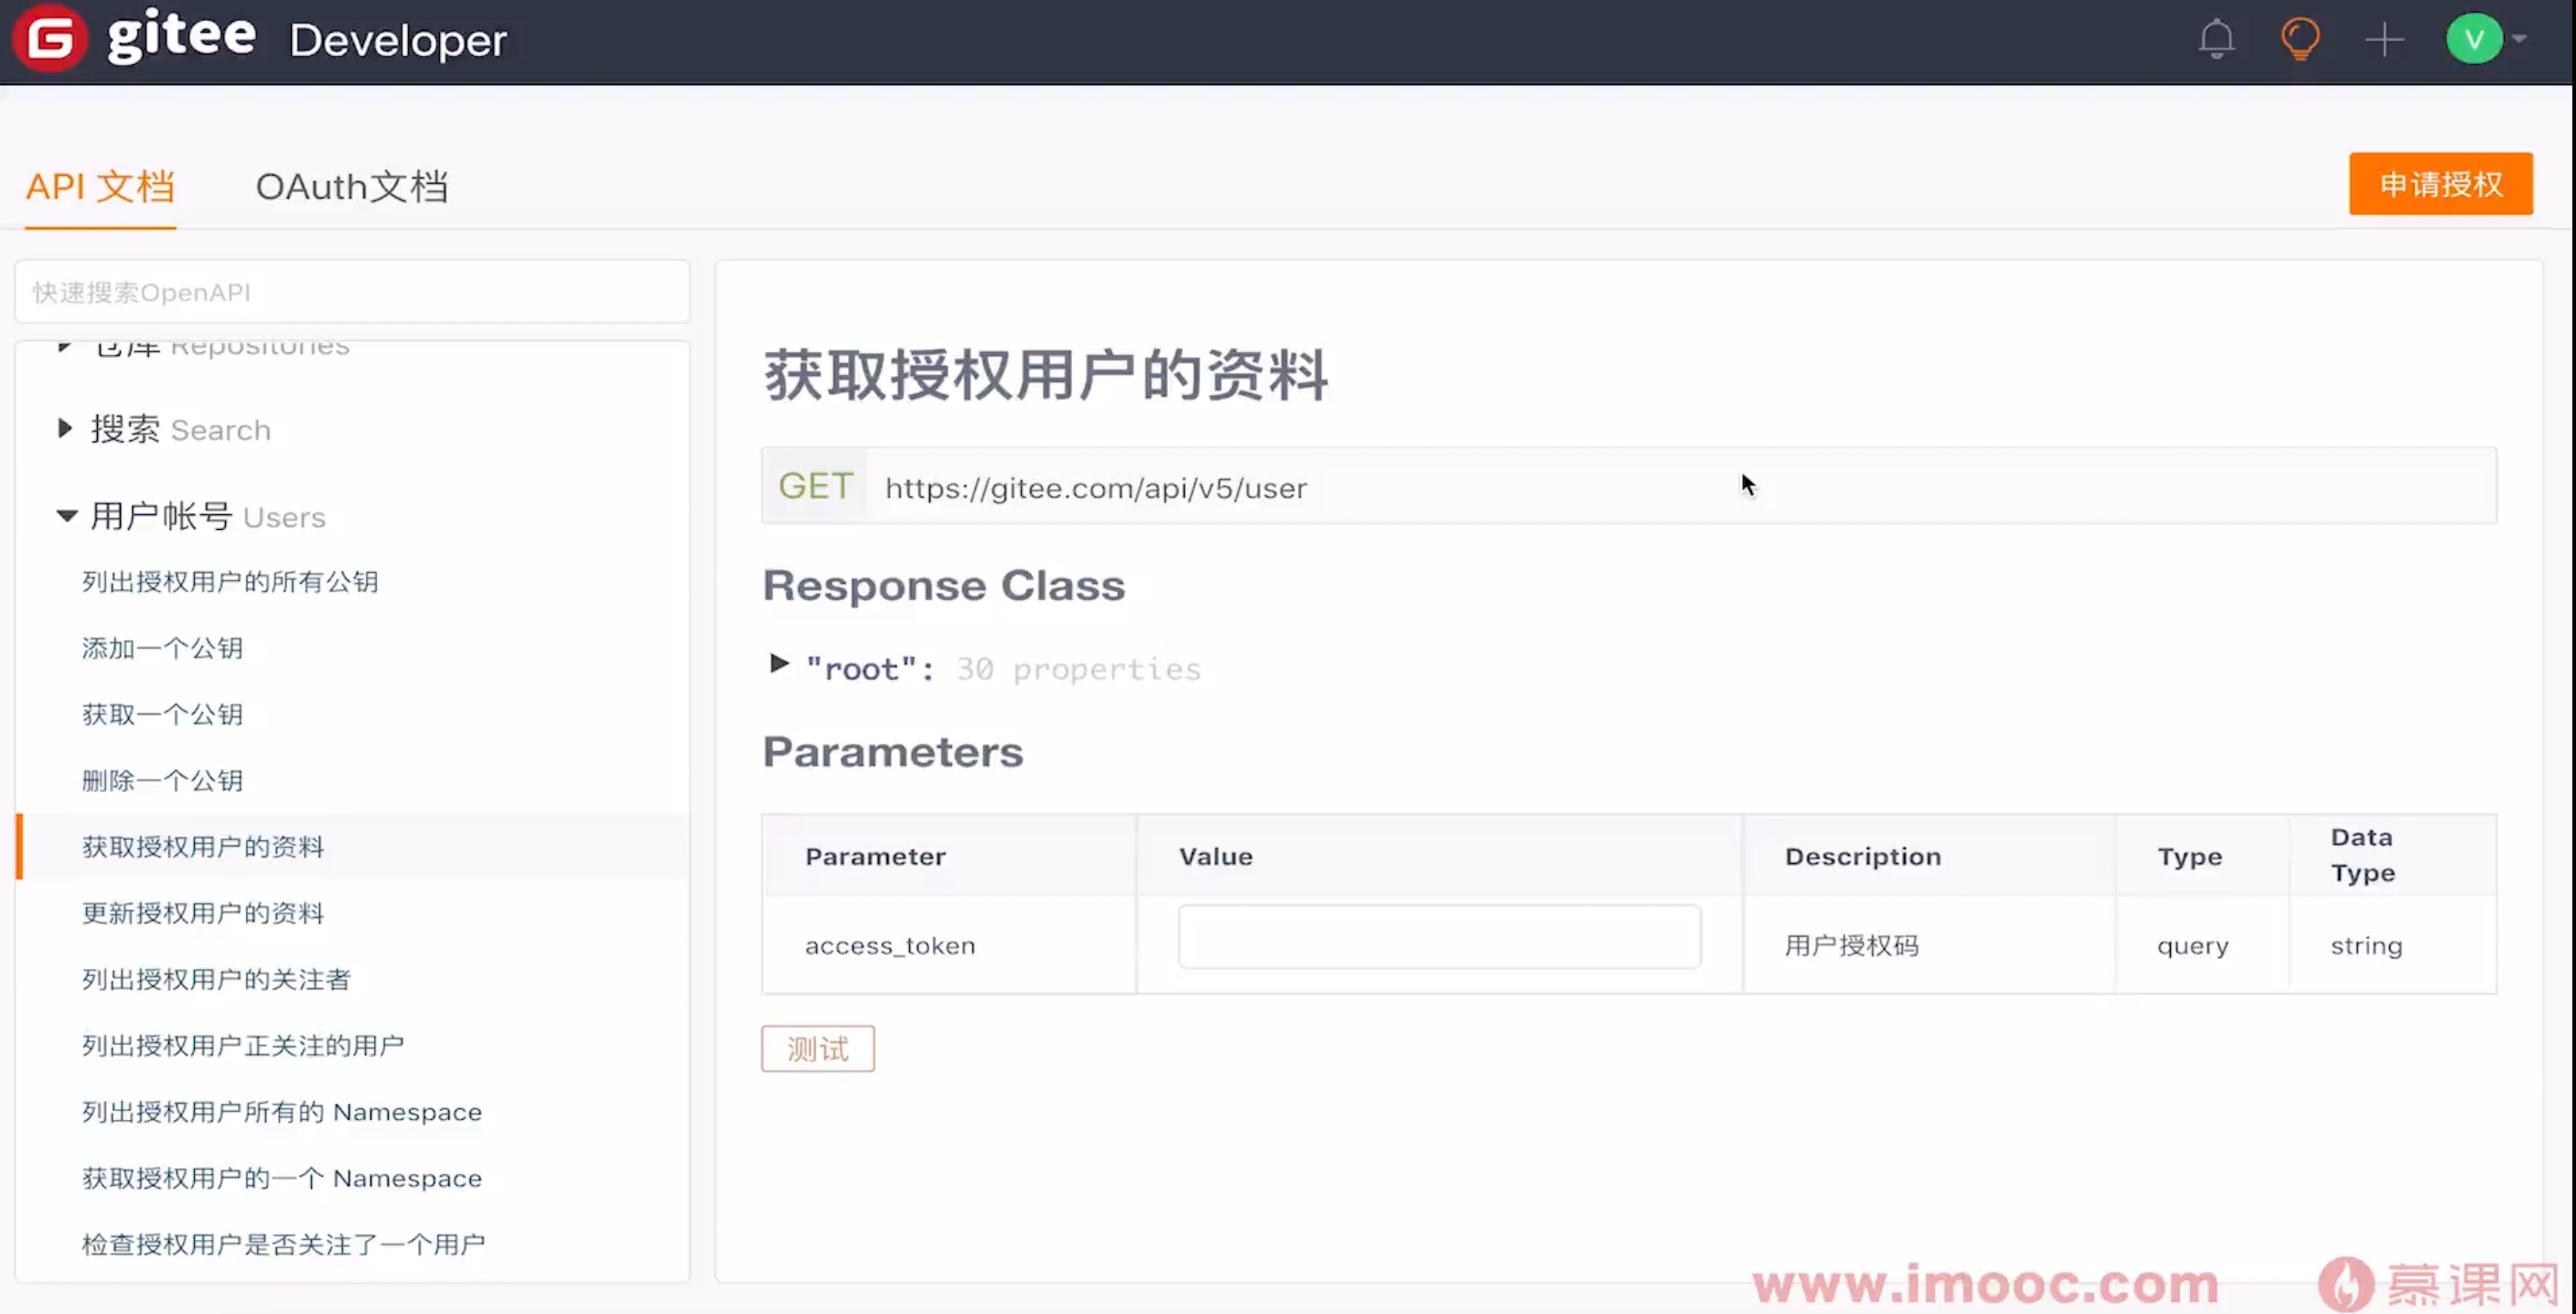
共同学习,写下你的评论
评论加载中...
作者其他优质文章