课程名称:web前端架构师
课程章节:第16周 第七章 使用 OAuth2 协议完成用户创建以及验证功能
主讲老师:张轩
课程内容: 前后端分离 OAuth 登录、使用 egg-cors 支持跨域
前后端分离 OAuth 登录
之前实现的 OAuth 都是在服务端实现的,客户端肯定无法使用,前后端分离的项目要使用,就需要做一些其他处理
首先需要先了解下 window.postMessage
. 文档地址 https://developer.mozilla.org/zh-CN/docs/Web/API/Window/postMessage
postMessage 可以在两个 window 之间传递消息
登录流程
整个过程是这样的
- 用户点击 gitee OAuth 登录, A页面
- 使用 window.open 方法打开授权链接 B页面(服务端页面)
- 用户点击授权后,拿到用户 token,调用 windows.opener.postMessage 向 A 页面发送消息
- A 页面接受到消息后,就可以拿到 token 实现登录了
就这样整个前后端分离授权登录流程就完成了
代码实现
首先是用户登录页面
<body>
    <button onclick="giteeOAuth()">gitee 授权</button>
</body>
<script>
    // 用户点击授权登录后,跳转到服务端授权页面 B 页面
    function giteeOAuth(){
        window.open('http://localhost:7001/user/passport/gitee', '__blank')
    }
    // 接受 B 页面发送过来的 token
    window.addEventListener('message', (res) => {
        console.log(res.data)
    })
</script>
服务端页面,首先跳转到 gitee 授权页面进行授权
async giteeOAuth() {
  const { ctx, app } = this;
  const config = app.config.giteeConfig;
  const url = `https://gitee.com/oauth/authorize?client_id=${config.cid}&redirect_uri=${config.redirectURL}&response_type=code`;
  ctx.redirect(url);
}
授权成功后,会调用回调接口,回调接口返回一个页面, 将 token 通过 windows.opener.postMessage 发送给用户登录页面
async signByGitee() {
  const { ctx, service } = this;
  const { code } = ctx.request.query;
  const token = await service.user.signByGitee(code);
  await ctx.render('giteeOAuth.ejs', {
    token,
  });
}
这样 gitee 授权登录功能就完成了
使用 egg-cors 支持跨域
跨域的基本知识
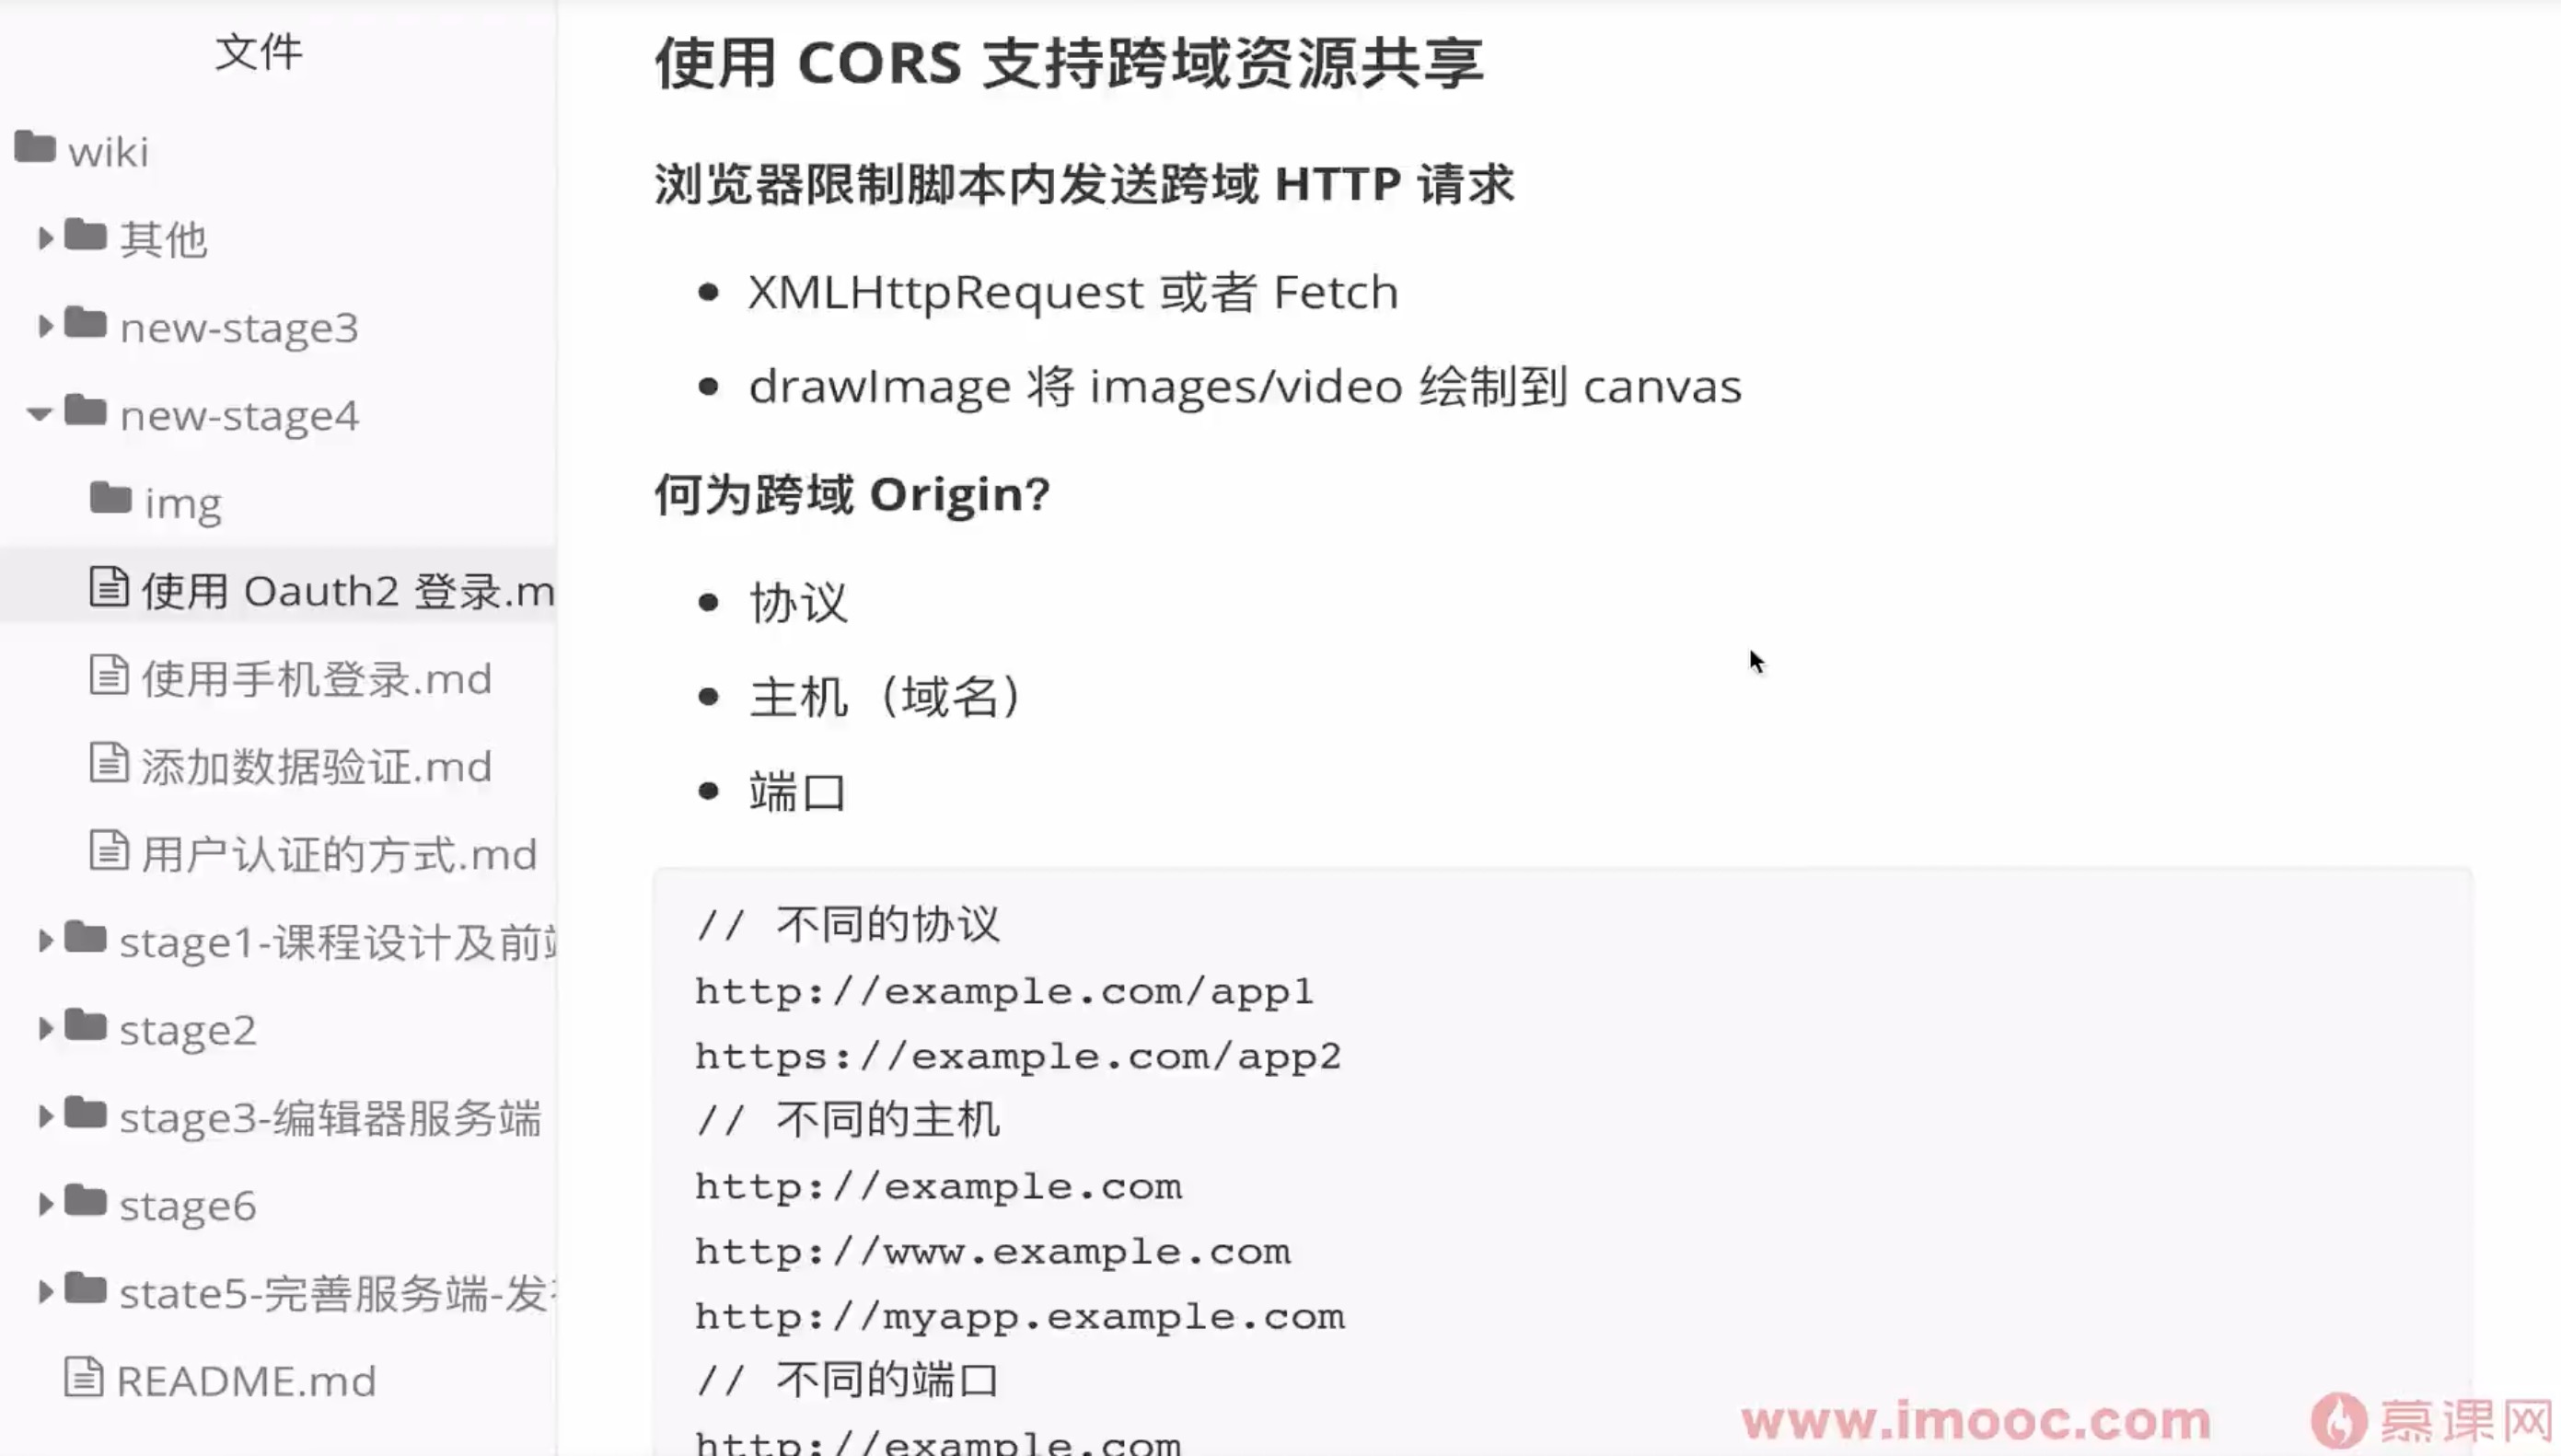
浏览器限制脚本内发送跨域 HTTP 请求
- XMLHttpRequest 或者 Fetch
- drawImage 将 images/video 绘制到 canvas
何为跨域 Origin?
- 协议
- 主机(域名)
- 端口
上面三个中有一个不一样就会出现跨域
// 不同的协议
http://example.com/app1
https://example.com/app2
// 不同的主机
http://example.com
http://www.example.com
http://myapp.example.com
// 不同的端口
http://example.com
http://example.com:8080
// 特别注意,下面两个是同源的,因为 http 默认使用的是 80 端口
http://example.com:80
http://example.com
CORS (Cross-Origin Resource Sharing,跨域资源共享)字段
跨源资源共享标准新增了一组 HTTP 首部字段,允许服务器声明哪些源站通过浏览器有权限访问哪些资源。
Access-Control-Allow-Origin: <origin> | *
// 只能拿到一些最基本的响应头,
Cache-Control、Content-Language、Content-Type、Expires、Last-Modified、Pragma
Access-Control-Expose-Headers: X-My-Custom-Header, X-Another-Custom-Header
Access-Control-Allow-Methods: <method>[, <method>]*
使用 egg-cors 支持跨域
npm i egg-cors
开启 egg-cors 插件
// config/plugin.js
...
 cors: {
    enable: true,
    package: 'egg-cors',
  },
...
配置 egg-cors 插件
config.cors = {
  // 允许跨域访问的地址
  origin: 'http://localhost:3000',
  // 允许请求的方式
  allowMethods: 'GET,HEAD,PUT,OPTIONS,POST,DELETE,PATCH',
};
就这样 egg程序就可以支持跨域了
我们可以在之前授权登录的接口进行请求测试
window.addEventListener('message', (res) => {
    const token = res.data
    if (token) {
        fetch('http://localhost:7001/user', {
            headers: {
                Authorization: 'Bearer ' + token
            }
        }).then(res => res.json()).then(res => {
            console.log(res)
        })
    }
})
测试可以正常运行
但是,现在我们打开控制台,会看到我们发送两次请求,其中一次请求,它的 type是 Preflight
Preflight
对那些可能对服务器数据产生副作用的 HTTP 请求方法(特别是 GET 以外的 HTTP 请求,或者搭配某些 MIME 类型的 POST 请求),浏览器必须首先使用 OPTIONS 方法发起一个预检请求(preflight request),从而获知服务端是否允许该跨源请求
简单请求不会发送 Preflight 请求
简单满足的条件
使用下列方法之一:
- GET
- HEAD
- POST
Content-Type 的值仅限于下列三者之一
- text/plain
- multipart/form-data
- application/x-www-form-urlencoded
没有自定义的 Header
代码测试
下面代码会发送两次请求 ,有 preflight。因为没有满足 Content-Type 的值
axios.post('http://localhost:7001/user/signin', {
     username: 'xxx@qq.com',
     password: '12345678'
 }).then(res => {
     console.log(res)
 })
修改后,就只会发送一次请求
axios.post('http://localhost:7001/user/signin', {
     username: 'xxx@qq.com',
     password: '12345678'
 }, {
     headers: {
         'Content-Type': 'application/x-www-form-urlencoded'
     }
 }).then(res => {
     console.log(res)
 })
共同学习,写下你的评论
评论加载中...
作者其他优质文章