
课程名称:web前端架构师
课程章节:第16周 第八章 编写作品相关代码以及学习装饰器的使用
主讲老师:张轩
课程内容:编写作品相关代码
创建 work model
首先分析我们所需要的字段
- 作品链接唯一标识,用于链接使用 uuid
- 作品标题 title
- 描述 desc
- 封面 coverImg
- 内容 content
- 创建人 user
- 是否热门 hot
- …
目前所需要的就这几个字段,后面需要可以再添加
编写代码
import { Application } from 'egg';
import { type ObjectId } from 'mongoose';
export interface IWork{
  uuid: string
  title: string
  desc: string
  coverImg?: string
  content?: string
  user: ObjectId
  author: string
  isHot?: string
}

export default (app: Application) => {
  const mongoose = app.mongoose;
  const { Schema } = mongoose;
  const Work = new mongoose.Schema<IWork>({
    uuid: {
      type: String,
      unique: true,
    },
    title: String,
    desc: String,
    coverImg: String,
    content: String,
    user: {
      type: Schema.Types.ObjectId,
      ref: 'User',
    },
    author: String,
    isHog: String,
  }, {
    timestamps: true,
  });
  return mongoose.model<IWork>('Work', Work);
};
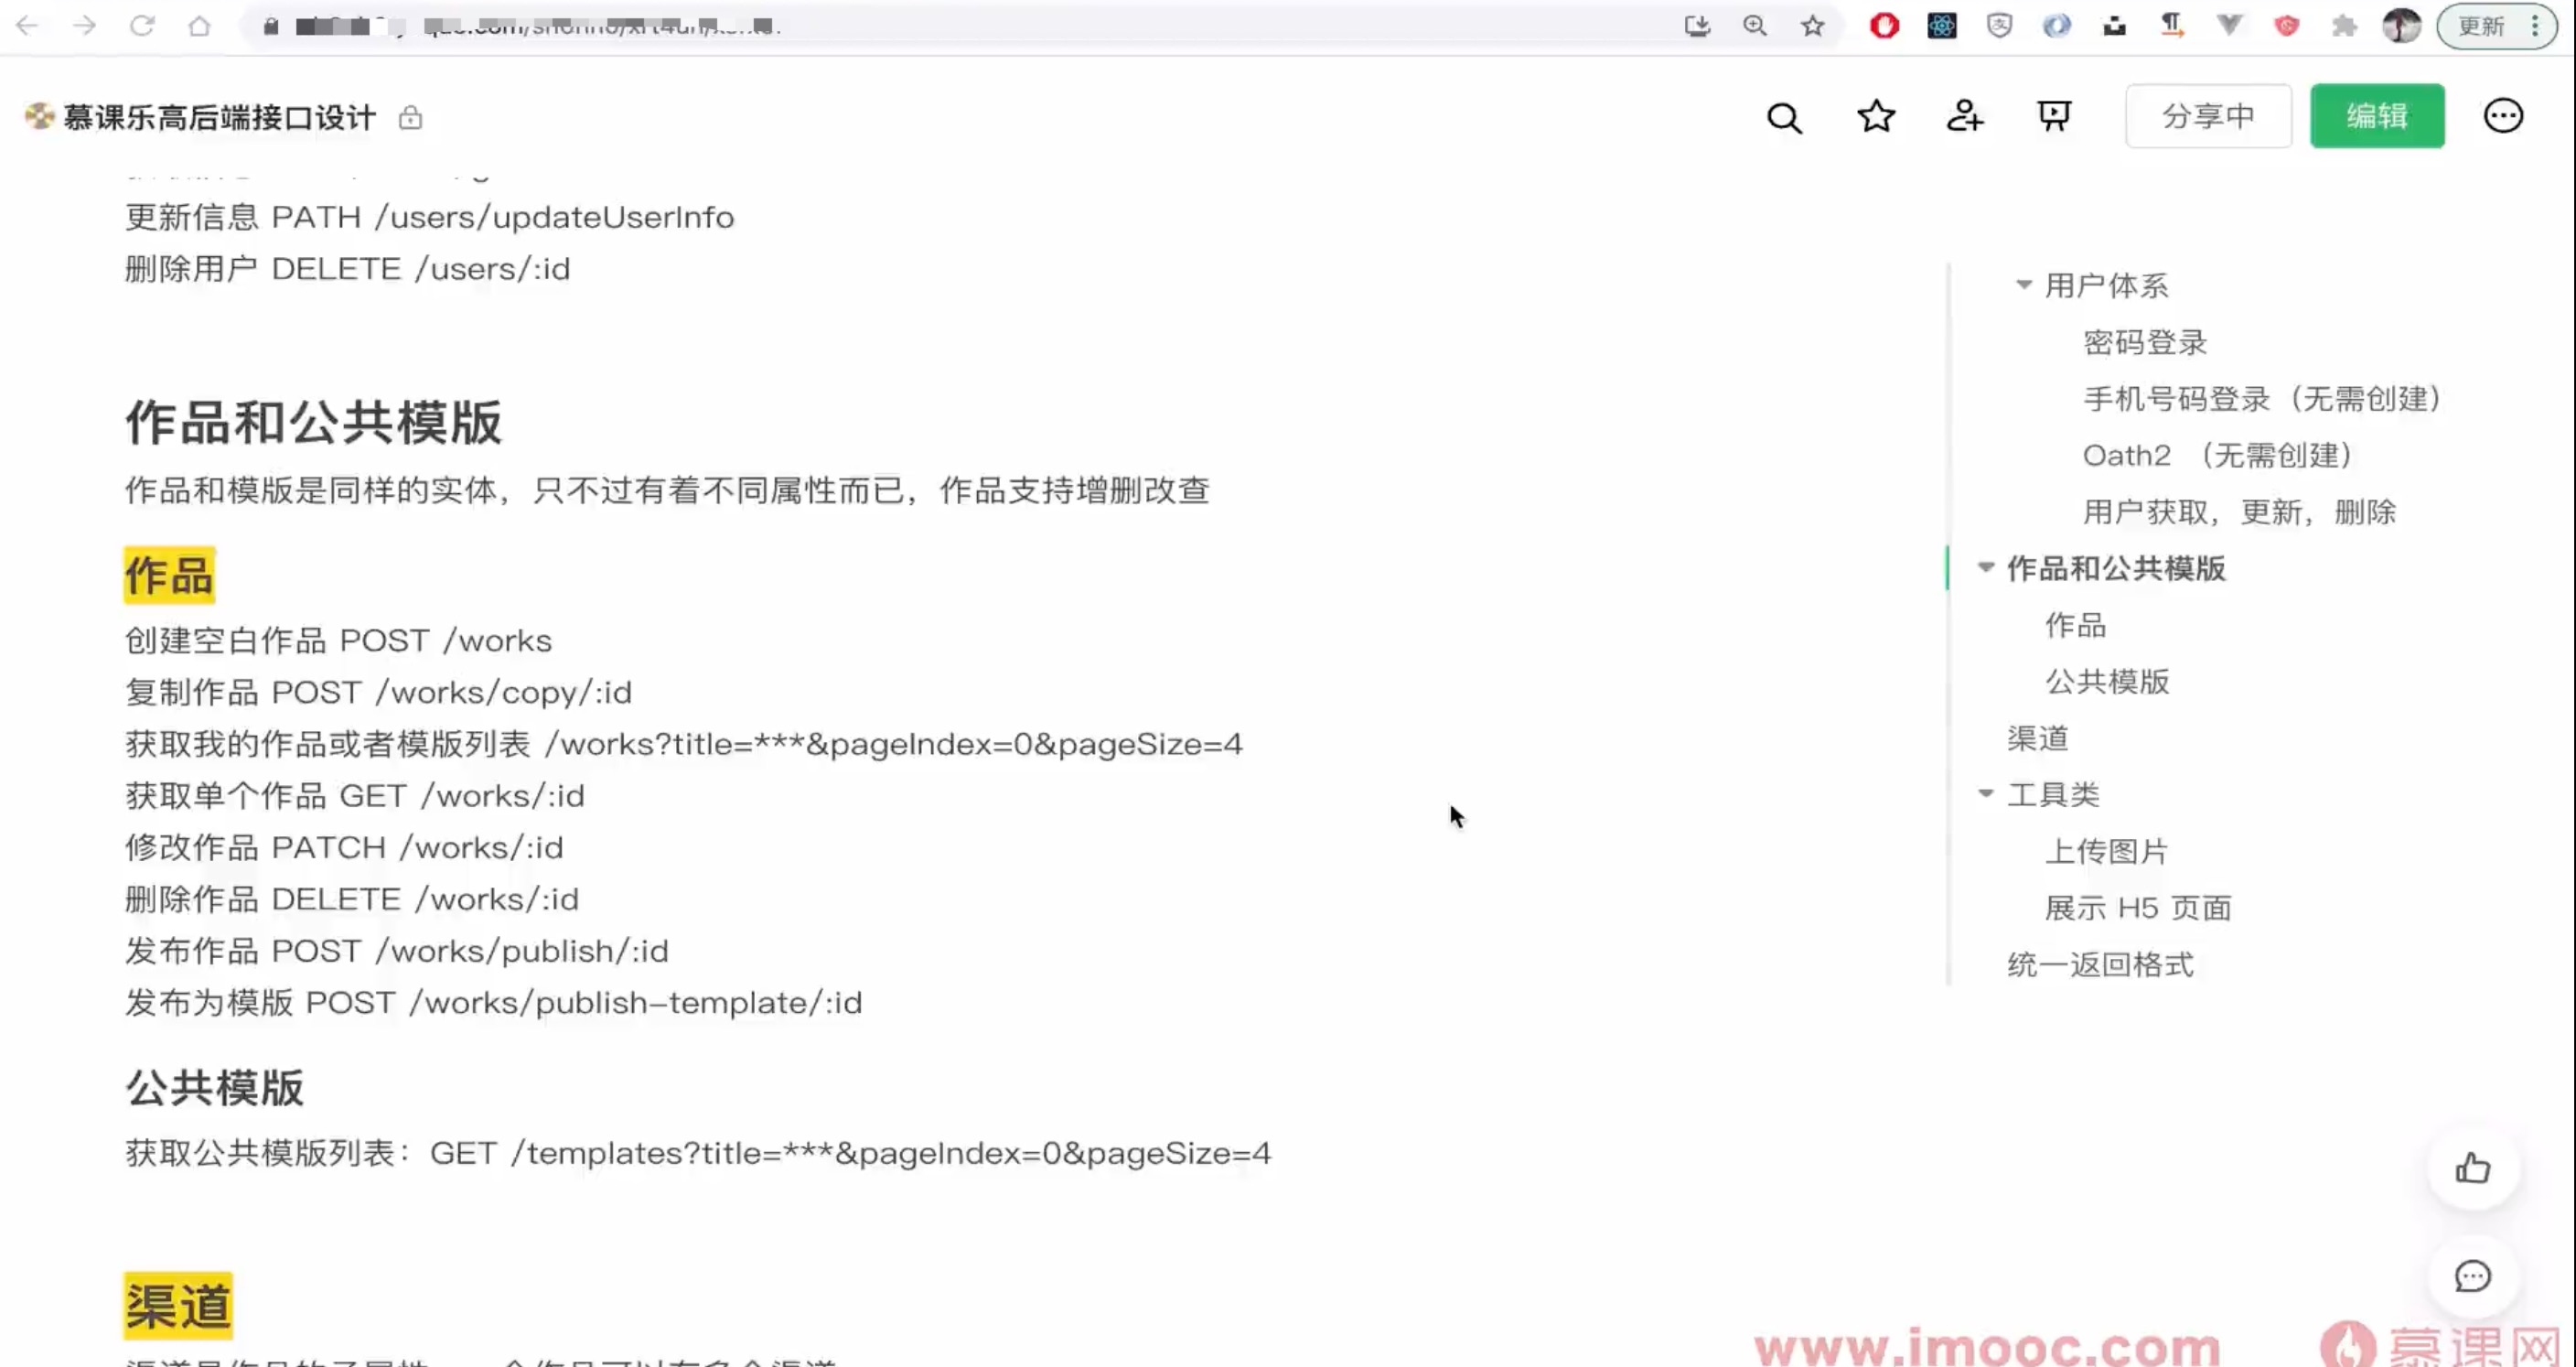
创建作品
首先需要先验证用户是否输入标题这个必填参数,创建的用户名和用户id 不应该通过参数传递,这样做很不合理。可以通过 token 中获取到,这样就会更加的安全
所以,第一步先验证是否输入标题
import { Controller } from 'egg';
const rules = {
  title: {
    required: true,
  },
};
export default class Work extends Controller {
  async createWork() {
    const { ctx, app } = this;
    const { body } = ctx.request.body;
    const errors = app.validator.validate(rules, body);
    if (errors) {
      ctx.helper.error({ ctx, errType: 'workValidateFail', err: errors });
    }
  }
}
第二步,通 token 中获取到用户名和用户 id
import { Service } from 'egg';

export default class UserService extends Service {
  public async createWork() {
    const { ctx } = this;
    const { user, _id } = ctx.state.user;
  }
}
第三步,创建作品. 在这里,我们使用 nanoid 来生成 uuid ,注意不要使用 v4 到版本,v4无法运行,要使用 v3 到版本。
import { nanoid } from 'nanoid';

export default class WorkService extends Service {
  public async createWork() {
    const { ctx } = this;
    const { body } = ctx.request;
    const uuid = nanoid(6);
    const { username, _id } = ctx.state.user;
    return this.ctx.model.Work.create({
      title: body.title,
      user: Types.ObjectId(_id),
      username,
      uuid,
    });
  }
}
我们发现,这几天的代码中有很多重复的逻辑,例如验证邮箱、验证手机号等,我们需要想办法将这里逻辑抽离出来。在这之前,先了解下装饰器。
装饰器 Decorator
装饰器是一种特殊的声明,可附加在类、方法、访问器、属性、参数声明上。
装饰器使用 @expression 的形式,其中 expression 必须能够演算为在运行时调用的函数,其中包括装饰声明信息。在不改变对象自身的基础上,动态增加额外的职责。把对象核心职责和要装饰的功能分开了。非侵入式的行为修改。
装饰器的更多信息可以参考阮一峰老师的 《ECMAScript 6 入门》 中的 Decorator这一章。 https://es6.ruanyifeng.com/#docs/decorator
点击查看更多内容
为 TA 点赞
评论
共同学习,写下你的评论
评论加载中...
作者其他优质文章
正在加载中


感谢您的支持,我会继续努力的~
扫码打赏,你说多少就多少
赞赏金额会直接到老师账户
支付方式
打开微信扫一扫,即可进行扫码打赏哦