
课程名称:基于Vue3最新标准,实现后台前端综合解
课程章节: 第一章
课程讲师:Sunday
课程内容 :
头像需要做出一个 鼠标移入 图片位置位移的一个效果
首先编写一个 头像组件 PanThumb
<template>
  <div
    :style="{ zIndex: zIndex, height: height, width: width }"
    class="pan-item"
  >
    <div class="pan-info">
      <div class="pan-info-roles-container">
        <slot />
      </div>
    </div>
    <div :style="{ backgroundImage: `url(${image})` }" class="pan-thumb"></div>
  </div>
</template>

<script setup>
import { defineProps } from 'vue'
defineProps({
  image: {
    type: String
  },
  zIndex: {
    type: Number,
    default: 1
  },
  width: {
    type: String,
    default: '150px'
  },
  height: {
    type: String,
    default: '150px'
  }
})
</script>

<style scoped>
.pan-item {
  width: 200px;
  height: 200px;
  border-radius: 50%;
  display: inline-block;
  position: relative;
  cursor: pointer;
  box-shadow: 0 1px 3px rgba(0, 0, 0, 0.2);

  .pan-info {
    position: absolute;
    width: inherit;
    height: inherit;
    border-radius: 50%;
    overflow: hidden;
    box-shadow: inset 0 0 0 5px rgba(0, 0, 0, 0.05);

    h3 {
      color: #fff;
      text-transform: uppercase;
      position: relative;
      letter-spacing: 2px;
      font-size: 14px;
      margin: 0 60px;
      padding: 22px 0 0 0;
      height: 85px;
      font-family: 'Open Sans', Arial, sans-serif;
      text-shadow: 0 0 1px #fff, 0 1px 2px rgba(0, 0, 0, 0.3);
    }

    p {
      color: #fff;
      padding: 10px 5px;
      font-style: italic;
      margin: 0 30px;
      font-size: 12px;
      border-top: 1px solid rgba(255, 255, 255, 0.5);

      a {
        display: block;
        color: #333;
        width: 80px;
        height: 80px;
        background: rgba(255, 255, 255, 0.3);
        border-radius: 50%;
        color: #fff;
        font-style: normal;
        font-weight: 700;
        text-transform: uppercase;
        font-size: 9px;
        letter-spacing: 1px;
        padding-top: 24px;
        margin: 7px auto 0;
        font-family: 'Open Sans', Arial, sans-serif;
        opacity: 0;
        transition: transform 0.3s ease-in-out 0.2s,
          opacity 0.3s ease-in-out 0.2s, background 0.2s linear 0s;
        transform: translateX(60px) rotate(90deg);
      }

      a:hover {
        background: rgba(255, 255, 255, 0.5);
      }
    }

    .pan-info-roles-container {
      padding: 20px;
      text-align: center;
    }
  }

  .pan-thumb {
    width: 100%;
    height: 100%;
    background-position: center center;
    background-size: cover;
    border-radius: 50%;
    overflow: hidden;
    position: absolute;
    transform-origin: 95% 40%;
    transition: all 0.3s ease-in-out;
  }

  .pan-item:hover .pan-thumb {
    transform: rotate(-110deg);
  }

  .pan-item:hover .pan-info p a {
    opacity: 1;
    transform: translateX(0px) rotate(0deg);
  }
}
</style>
首先 在留一个slot 这样可以在调用组件的页面进行传值
然后是定义 鼠标悬浮在上面的时候 进行rotate 2d 旋转 -110
然后再主页面调入
<template>
  <div class="">
    <pan-thumb
      :image="$store.getters.userInfo.avatar"
      :height="'100px'"
      :width="'100px'"
      :hoverable="false"
    >
      <div>Hello</div>
      {{ $store.getters.userInfo.title }}
    </pan-thumb>
  </div>
</template>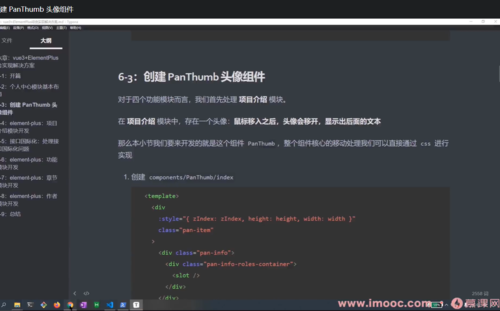
点击查看更多内容
为 TA 点赞
评论
共同学习,写下你的评论
评论加载中...
作者其他优质文章
正在加载中


感谢您的支持,我会继续努力的~
扫码打赏,你说多少就多少
赞赏金额会直接到老师账户
支付方式
打开微信扫一扫,即可进行扫码打赏哦