
文章标题:【金秋打卡】第24天+Python办公自动化
第一模块: 学习课程名称:Python办公自动化;章节名称(序号): 4-6综合实战:某培训机构就业数据分析(二);讲师姓名:离岛
第二模块: 课程内容(内容概述):
综合实战:需求分析
1.Xlrd模块读取Excel数据;
2.xlsxwriter模块生成就业数据图表
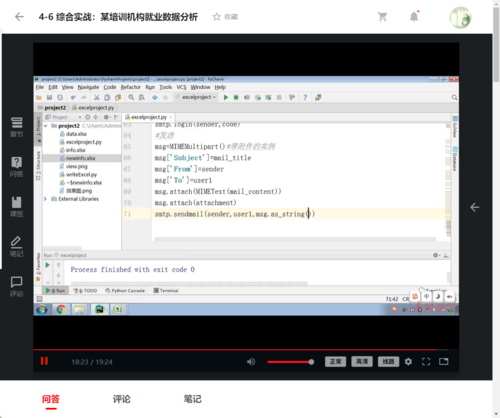
3.smtplib模块发送附件邮件
(1)smtplib模块对smtp协议进行了封装,提供更便捷的方式发送电子邮件;
(2)发送邮件——>登录(服务器设置)、写邮件(信息发送给方、信息接收方、邮件主题、邮件内容-附件)、发送;
主要学习了如何发送邮件;
第三模块: 最终的解决思路:

xlrd
xlsxwriter
smtplib
form email.mime.text MIMEText form email.mime.multipart MIMEMultipart
form email.mime.application MIMEApplication

date=xlrd.open_workbook()
classinfo=[]
sheet date.sheets():
    dict={:sheet.name,:}sum=i (sheet.nrows):
        i>:
          sum+=(sheet.cell(i,).value)dict[]=sum/(sheet.nrows-)
    classinfo.append(dict)
(classinfo)

workbook=Xlsxwriter.workbook()
sheet=workbook.add_worksheet()nameinfo=[]
salaryinfo=[]
item classinfo:
    nameinfo.append(item[])
    salaryinfo.append(item[])
sheet.write_column(,nameinfo)
sheet.write_column(,salaryinfo)
chart=workbook.add_chart({:})
chart=set_title(:’‘)
chart.add_series({
    :,
    :,
    :})
sheet.insert_chart(,chart)
workbook.close()
host_server=sender=code=user1=mail_title=“”
mail_content=attachment=MIMEApplication((,).read())
attachment.add_header(,,=)

smtp=smtplib.SMTP(host_server)
smtp=login(sender,code)
msg=MIMEMultipart()msg[]=mail_title
msg[]=sender
msg[]=user1
msg.attch(MIMEText(mail_content))
msg.attach(attachment)
smtp.sendmail(sender,user1,msg.as_string())
点击查看更多内容
1人点赞
评论
共同学习,写下你的评论
评论加载中...
作者其他优质文章
正在加载中


感谢您的支持,我会继续努力的~
扫码打赏,你说多少就多少
赞赏金额会直接到老师账户
支付方式
打开微信扫一扫,即可进行扫码打赏哦