
SpringBoot定时任务
标签:
SpringBoot
项目中很多时候会使用到定时任务,这篇文章介绍一下springboot整合定时任务。
springboot整合定时任务其实就两点,
1.创建一个能被定时任务类,方法上加入@Scheduled注解
2.在启动类application上加入@EnableScheduling注解
代码如下,pom文件我只加入了devtools,其实不加入也可以
<?xml version="1.0" encoding="UTF-8"?>
<project xmlns="http://maven.apache.org/POM/4.0.0" xmlns:xsi="http://www.w3.org/2001/XMLSchema-instance"
         xsi:schemaLocation="http://maven.apache.org/POM/4.0.0 http://maven.apache.org/xsd/maven-4.0.0.xsd">
    <modelVersion>4.0.0</modelVersion>

    <groupId>com.dalaoyang</groupId>
    <artifactId>springboot_scheduled</artifactId>
    <version>0.0.1-SNAPSHOT</version>
    <packaging>jar</packaging>

    <name>springboot_scheduled</name>
    <description>springboot_scheduled</description>

    <parent>
        <groupId>org.springframework.boot</groupId>
        <artifactId>spring-boot-starter-parent</artifactId>
        <version>1.5.9.RELEASE</version>
        <relativePath/> <!-- lookup parent from repository -->
    </parent>

    <properties>
        <project.build.sourceEncoding>UTF-8</project.build.sourceEncoding>
        <project.reporting.outputEncoding>UTF-8</project.reporting.outputEncoding>
        <java.version>1.8</java.version>
    </properties>

    <dependencies>
        <dependency>
            <groupId>org.springframework.boot</groupId>
            <artifactId>spring-boot-starter</artifactId>
        </dependency>

        <dependency>
            <groupId>org.springframework.boot</groupId>
            <artifactId>spring-boot-devtools</artifactId>
            <scope>runtime</scope>
        </dependency>
        <dependency>
            <groupId>org.springframework.boot</groupId>
            <artifactId>spring-boot-starter-test</artifactId>
            <scope>test</scope>
        </dependency>
    </dependencies>

    <build>
        <plugins>
            <plugin>
                <groupId>org.springframework.boot</groupId>
                <artifactId>spring-boot-maven-plugin</artifactId>
            </plugin>
        </plugins>
    </build>


</project>
application类代码如下:
package com.dalaoyang;

import org.springframework.boot.SpringApplication;
import org.springframework.boot.autoconfigure.SpringBootApplication;
import org.springframework.scheduling.annotation.EnableScheduling;

@SpringBootApplication
@EnableScheduling
public class SpringbootScheduledApplication {

    public static void main(String[] args) {
        SpringApplication.run(SpringbootScheduledApplication.class, args);
    }
}
定时任务类TestTimer
package com.dalaoyang.timer;

import org.springframework.scheduling.annotation.Scheduled;
import org.springframework.stereotype.Component;

import java.util.Date;

/**
 * @author dalaoyang
 * @Description
 * @project springboot_learn
 * @package com.dalaoyang.timer
 * @email yangyang@dalaoyang.cn
 * @date 2018/4/7
 */
@Component
public class TestTimer {

    @Scheduled(cron = "0/1 * * * * ?")
    private void test() {
        System.out.println("执行定时任务的时间是:"+new Date());
    }

}
到这里启动项目,可以看到控制台如下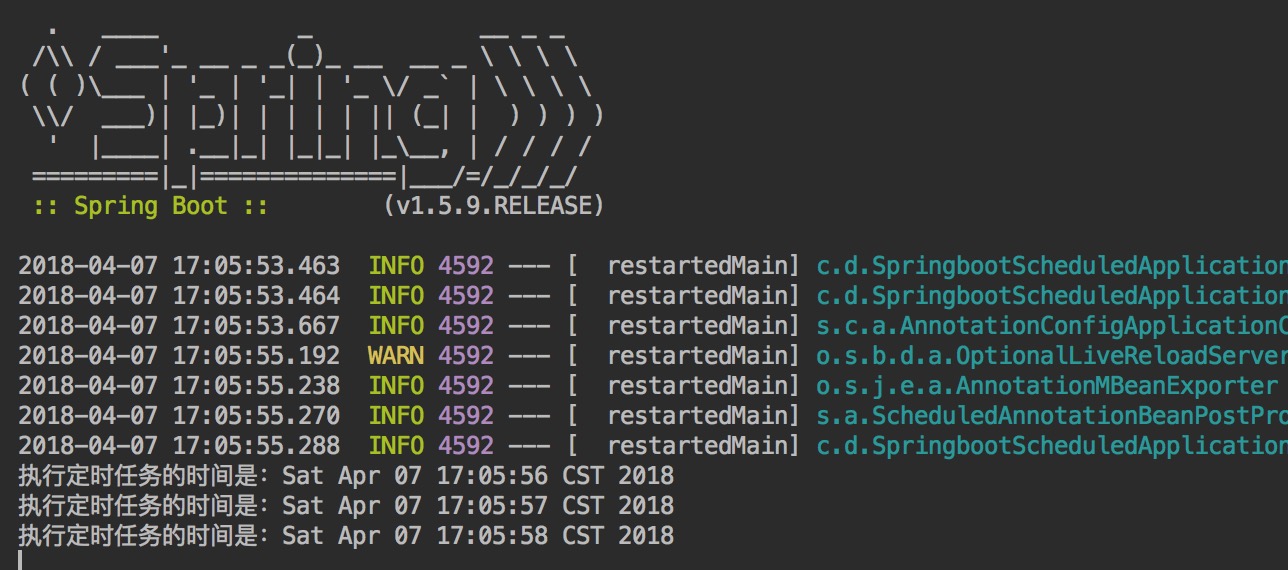
需要注意的是@Scheduled(cron = “0/1 * * * * ?”)中cron的值根据自己实际需要去写,如果需要可以去下面的网站去弄。
http://cron.qqe2.com/
点击查看更多内容
2人点赞
评论
共同学习,写下你的评论
评论加载中...
作者其他优质文章
正在加载中


感谢您的支持,我会继续努力的~
扫码打赏,你说多少就多少
赞赏金额会直接到老师账户
支付方式
打开微信扫一扫,即可进行扫码打赏哦