Navigation 是 JetPack 中的一个组件,用于方便的实现页面的导航,所以抽象出了一个 destination 的概念,大部分情况一个 destination 就表示一个 Fragment,但是它同样可以指代 Activity、其它的导航图。
最初要有个起始页面,叫 start destination,处于栈底,是启动时的第一个页面,当然也是返回可见的最后一个页面。多个 destination 连接起来就组成了一个导航图,类似于一种栈结构,页面先进先出。destination 之间的连接叫做 action。
概念略抽象,下面看具体的应用。
准备
-
在 Android Studio 3.2 Canary 14 以上的版本中,打开 Preferences -> Experimental -> Enable Navigation Editor,然后重启。
-
添加依赖
def nav_version = "1.0.0-alpha05" implementation "android.arch.navigation:navigation-fragment:$nav_version" // use -ktx for Kotlin implementation "android.arch.navigation:navigation-ui:$nav_version" // use -ktx for Kotlin // optional - Test helpers androidTestImplementation "android.arch.navigation:navigation-testing:$nav_version" // use -ktx for Kotlin -
创建资源文件
在 res 目录右击,选择 New > Android Resource File,Resource type 选择 Navigation。如下图


创建 destination
先创建一个 Fragment
// FirstFragment.kt
class FirstFragment : Fragment() {

    override fun onCreateView(inflater: LayoutInflater, container: ViewGroup?,
                              savedInstanceState: Bundle?): View? {
        return inflater.inflate(R.layout.fragment_first, container, false)
    }
}
<!-- fragment_first.xml -->
<?xml version="1.0" encoding="utf-8"?>
<LinearLayout xmlns:android="http://schemas.android.com/apk/res/android"
    xmlns:tools="http://schemas.android.com/tools"
    android:layout_width="match_parent"
    android:layout_height="match_parent"
    android:orientation="vertical"
    android:gravity="center_horizontal"
    tools:context=".navigation.FirstFragment" >

    <TextView
        android:layout_width="wrap_content"
        android:layout_height="wrap_content"
        android:textColor="@android:color/black"
        android:textSize="20sp"
        android:text="@string/hello_first_fragment"
        android:layout_marginTop="20dp"/>

</LinearLayout>
然后配置 navigation 文件,打开 res/navigation/nav_graph 文件,添加一个 fragment 节点
- name 指定 Fragment 的路径
- tools:layout 指定布局文件
- app:startDestination 指定这个 Fragment 是
start destination
<?xml version="1.0" encoding="utf-8"?>
<navigation xmlns:android="http://schemas.android.com/apk/res/android"
    xmlns:app="http://schemas.android.com/apk/res-auto"
    xmlns:tools="http://schemas.android.com/tools"
    android:id="@+id/nav_graph"
    app:startDestination="@id/nav_graph_first_fragment">
    <fragment
        android:id="@+id/nav_graph_first_fragment"
        android:name="pot.ner347.androiddemo.navigation.FirstFragment"
        android:label="first"
        tools:layout="@layout/fragment_first"/>
</navigation>
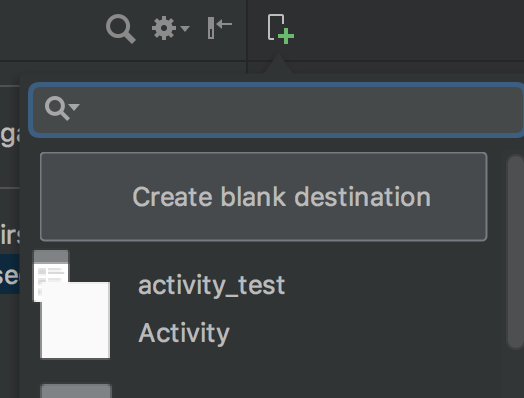
也可以在 nav_graph 的 design 视图下,选择 Create blank destination 来创建一个 Fragment,而不用先创建好再选择。
Activity 中引用
第一种方式是在 xml 里写 fragment。如下:
<?xml version="1.0" encoding="utf-8"?>
<android.support.constraint.ConstraintLayout
    ... >

    <fragment
        android:layout_width="match_parent"
        android:layout_height="match_parent"
        android:id="@+id/nav_fragment"
        android:name="androidx.navigation.fragment.NavHostFragment"
        app:navGraph="@navigation/nav_graph"
        app:defaultNavHost="true" />
</android.support.constraint.ConstraintLayout>
- android:name 是 NavHostFragment,它实现了 NavHost,这是一个用于放置管理 destination 的空视图。
- app:navGraph 用于将这个 NavHostFragment 和 nav_graph.xml 关联起来。
- app:defaultNavHost 表示 NavHostFragment 可以拦截处理返回键。
第二种方式是通过代码创建 NavHostFragment,先修改 Activity 的 xml:
<?xml version="1.0" encoding="utf-8"?>
<android.support.constraint.ConstraintLayout
    ... >

    <FrameLayout
        android:layout_width="match_parent"
        android:layout_height="match_parent"
        android:id="@+id/frame_layout" />
</android.support.constraint.ConstraintLayout>
然后在 Activity 中引入:
override fun onCreate(savedInstanceState: Bundle?) {
    super.onCreate(savedInstanceState)
    setContentView(R.layout.activity_navigation)

    val finalHost = NavHostFragment.create(R.navigation.nav_graph)
    supportFragmentManager.beginTransaction()
            .replace(R.id.frame_layout, finalHost)
            .setPrimaryNavigationFragment(finalHost) // 等价于 xml 中的 app:defaultNavHost="true"
            .commit()
}
连接两个 destination
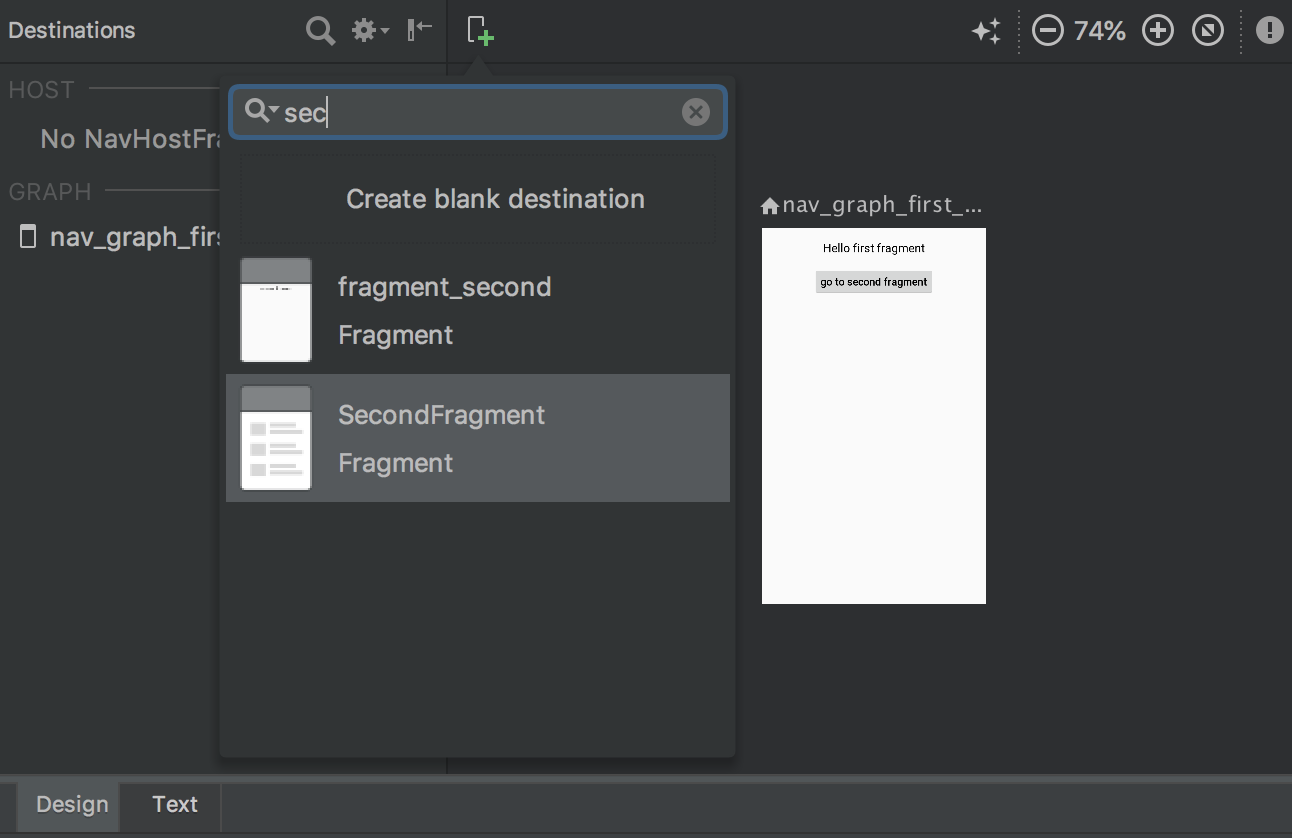
再创建一个 SecondFragment。到 nav_graph 中添加 SecondFragment,直接在 design 视图中搜索选择
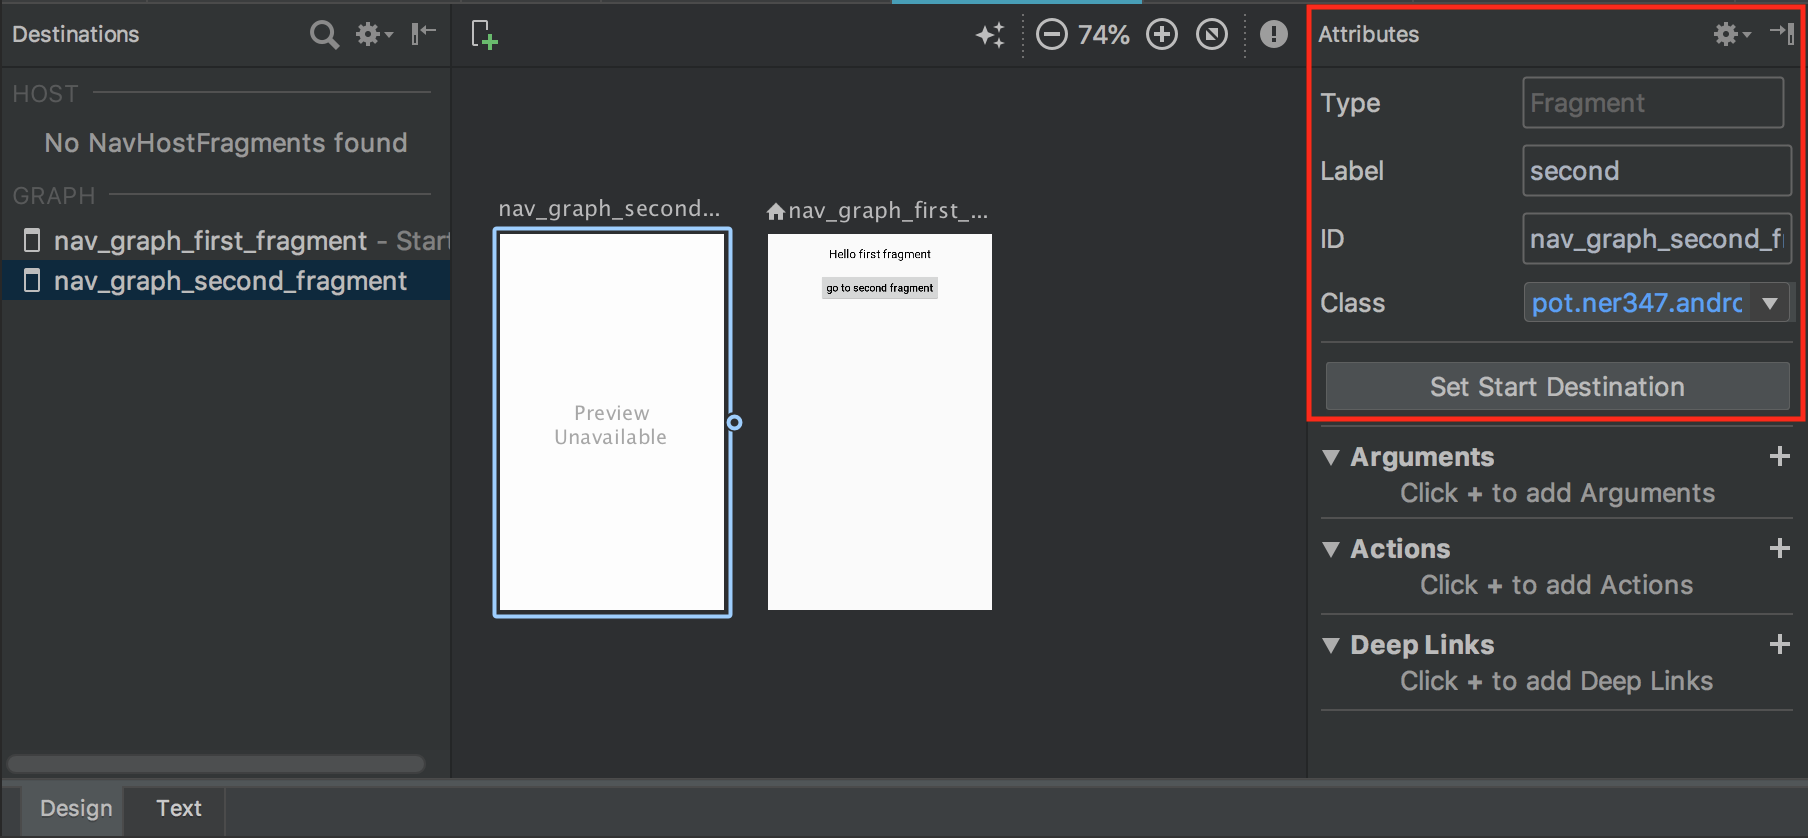
直接在右侧设置 id,label 等。然后在页面上拖,代码里自动多了一段 action:
<fragment
    android:id="@+id/nav_graph_first_fragment"
    android:name="pot.ner347.androiddemo.navigation.FirstFragment"
    android:label="first"
    tools:layout="@layout/fragment_first">
    <action
        android:id="@+id/action_nav_graph_first_fragment_to_nav_graph_second_fragment"
        app:destination="@id/nav_graph_second_fragment" />
</fragment>

<fragment
    android:id="@+id/nav_graph_second_fragment"
    android:name="pot.ner347.androiddemo.navigation.SecondFragment"
    android:label="second"
    tools:layout="@layout/fragment_second" >
</fragment>
- app:destination 指定要跳转到 Fragment 的 id。
- app:id 定义这个 action 的 id,代码里执行跳转时要用到。
处理跳转
跳转通过 NavController 对象,它有三种获取方法:
NavHostFragment.findNavController(Fragment)Navigation.findNavController(Activity, @IdRes int viewId)Navigation.findNavController(View)
调用 NavController 的 navigate 方法执行跳转,navigate 的参数可以是一个 destination(这里就是 fragment 在导航图 nav_graph 中的 id),也可以是 action 的 id。
override fun onViewCreated(view: View, savedInstanceState: Bundle?) {
    super.onViewCreated(view, savedInstanceState)

    button.onClick {

//                NavHostFragment.findNavController(this@FirstFragment)
//                        .navigate(R.id.action_nav_graph_first_fragment_to_nav_graph_second_fragment)
        Navigation.findNavController(getView()!!)
                .navigate(R.id.action_nav_graph_first_fragment_to_nav_graph_second_fragment)
    }
}
添加跳转动画
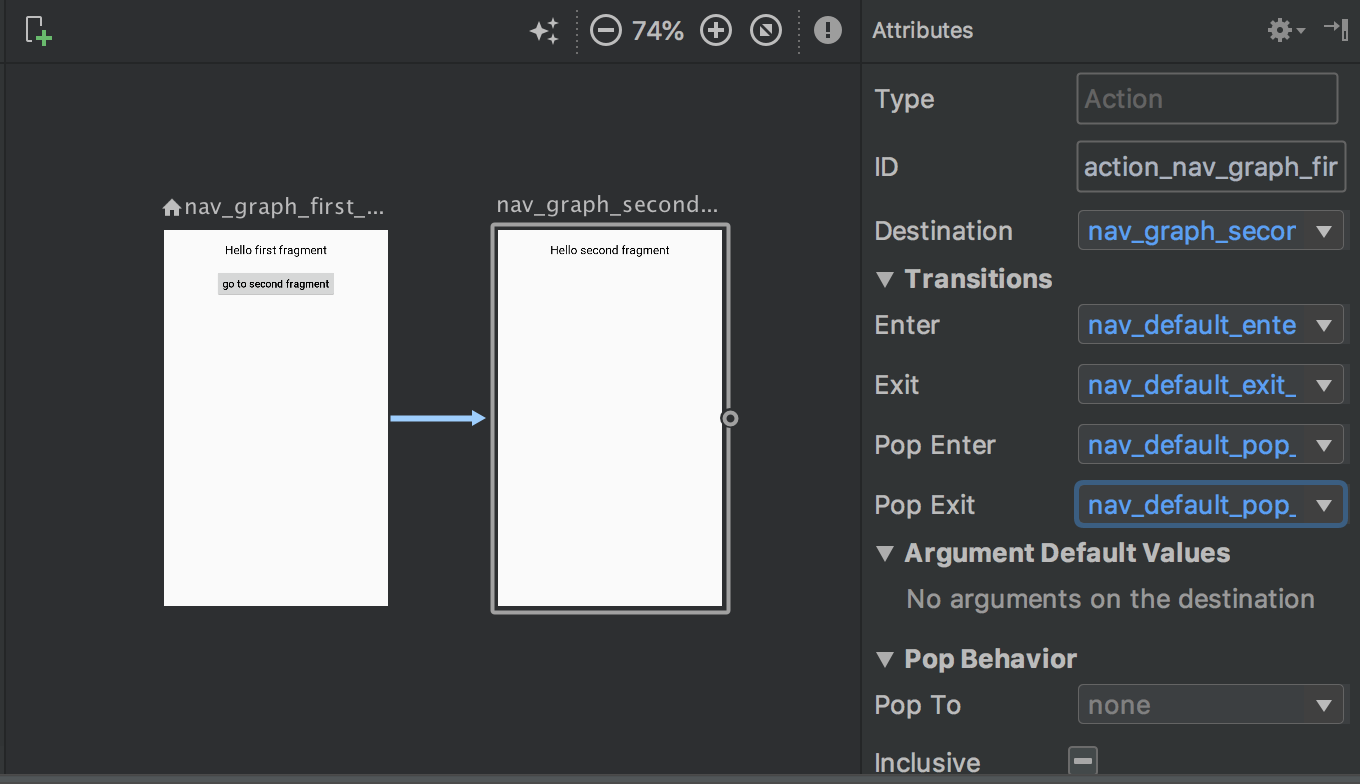
点击目标箭头,右侧添加动画:
代码自动变成:
<fragment
    android:id="@+id/nav_graph_first_fragment"
    android:name="pot.ner347.androiddemo.navigation.FirstFragment"
    android:label="first"
    tools:layout="@layout/fragment_first">
    <action
        android:id="@+id/action_nav_graph_first_fragment_to_nav_graph_second_fragment"
        app:destination="@id/nav_graph_second_fragment"
        app:enterAnim="@anim/nav_default_enter_anim"
        app:exitAnim="@anim/nav_default_exit_anim"
        app:popEnterAnim="@anim/nav_default_pop_enter_anim"
        app:popExitAnim="@anim/nav_default_pop_exit_anim" />
</fragment>
支持 View 动画和属性动画,enterAnim 和 exitAnim 是去往栈里添加一个 destination 时两个 destination 的动画,popEnterAnim 和 popExitAnim 是从栈里移除一个 destination 时的动画。
传递数据
要跳转到 SecondFragment,要往 SecondFragment 里带数据,在目的 Fragment 里添加 <argument>
<!-- nav_graph.xml -->
<?xml version="1.0" encoding="utf-8"?>
<navigation xmlns:android="http://schemas.android.com/apk/res/android"
    ... >

    <fragment
        android:id="@+id/nav_graph_second_fragment"
        android:name="pot.ner347.androiddemo.navigation.SecondFragment"
        android:label="second"
        tools:layout="@layout/fragment_second" >
        <argument android:name="name" android:defaultValue="Max"/>
    </fragment>
</navigation>
FirstFragment 添加数据
button.onClick {
     val bundle = bundleOf("name" to "silas")
     Navigation.findNavController(getView()!!)
            .navigate(R.id.action_nav_graph_first_fragment_to_nav_graph_second_fragment, bundle)
}
SecondFragment 获取数据
override fun onCreateView(inflater: LayoutInflater, container: ViewGroup?,
savedInstanceState: Bundle?): View? {
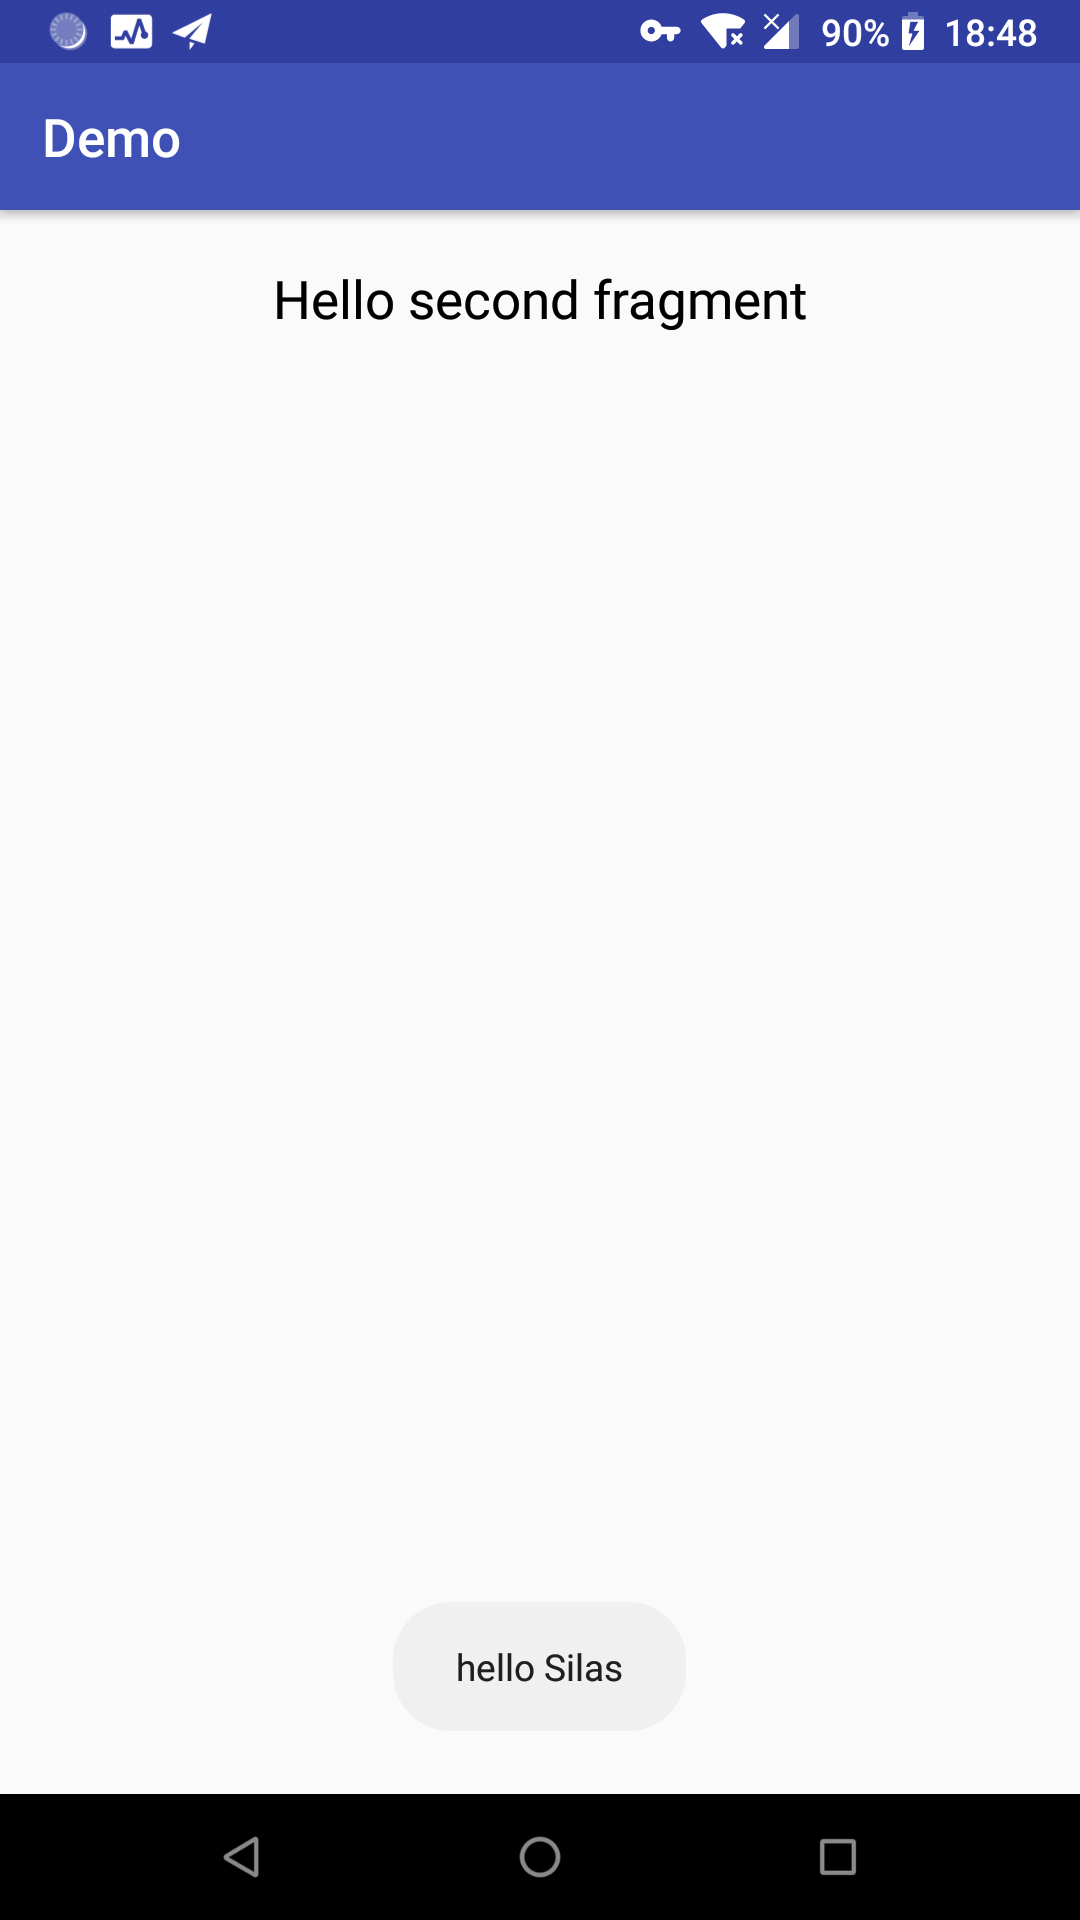
arguments?.getString("name")?.let { toast("hello $it") }
return inflater.inflate(R.layout.fragment_second, container, false)
}
如果 FirstFragment 没有带数据,那么 SecondFragment 将收到默认值 “Max”。
类型安全方式传递数据
项目的 build.gradle 中添加
buildscript {
    repositories {
        google()
    }
    dependencies {
        classpath "android.arch.navigation:navigation-safe-args-gradle-plugin:1.0.0-alpha05"
    }
}
module 的 build.gradle 中应用:
apply plugin: "androidx.navigation.safeargs"
同步发现要升级 gradle 版本到 4.6,随之 gradle tools 必须到 3.2.0-rc02,然后要升级 kotlin 版本,然后又让下载 build tools 28.0.2,然后总是不能下载,看网上方法,关闭代理,把 Preferences -> HTTP Proxy 从 No proxy 改成 Auto-detect proxy settings。
<!-- nav_graph.xml -->
<?xml version="1.0" encoding="utf-8"?>
<navigation xmlns:android="http://schemas.android.com/apk/res/android"
    ... >

    <fragment
        android:id="@+id/nav_graph_second_fragment"
        android:name="pot.ner347.androiddemo.navigation.SecondFragment"
        android:label="second"
        tools:layout="@layout/fragment_second" >
        <argument android:name="name" android:defaultValue="Max" app:argType="string"/>
    </fragment>
</navigation>
和普通的区别就在于 <argument> 多了个 argType 指定了数据类型。
FirstFragment 修改
val action = FirstFragmentDirections.actionNavGraphFirstFragmentToNavGraphSecondFragment()
action.setName("Silas")
Navigation.findNavController(getView()!!).navigate(action)
SecondFragment 接收
override fun onCreateView(inflater: LayoutInflater, container: ViewGroup?,
                              savedInstanceState: Bundle?): View? {
    toast("hello ${SecondFragmentArgs.fromBundle(arguments).name}")
    return inflater.inflate(R.layout.fragment_second, container, false)
}
如果 FirstFragment 去掉 action.setName("Silas"),那么 SecondFragment 里得到的也是默认值 Max。

看生成的 FirstFragmentDirections 的 setName 和 SecondFragmentArgs 的 fromBundle:
@NonNull
public ActionNavGraphFirstFragmentToNavGraphSecondFragment setName(@NonNull String name) {
  if (name == null) {
    throw new IllegalArgumentException("Argument "name" is marked as non-null but was passed a null value.");
  }
  this.name = name;
  return this;
}
@NonNull
public static SecondFragmentArgs fromBundle(Bundle bundle) {
SecondFragmentArgs result = new SecondFragmentArgs();
bundle.setClassLoader(SecondFragmentArgs.class.getClassLoader());
if (bundle.containsKey("name")) {
  result.name = bundle.getString("name");
  if (result.name == null) {
    throw new IllegalArgumentException("Argument "name" is marked as non-null but was passed a null value.");
  }
}
加了一些判断,所谓安全也就是指这个吧。
参考:
共同学习,写下你的评论
评论加载中...
作者其他优质文章